URBAN SHAPES AND VIEW POINTS
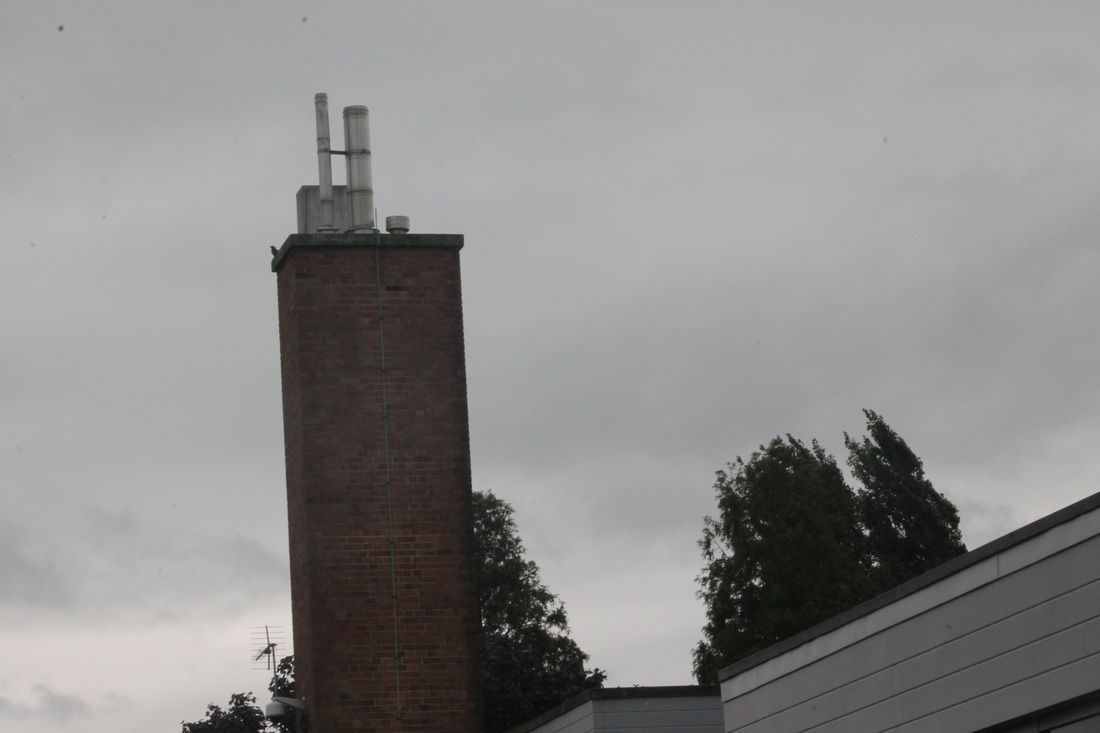

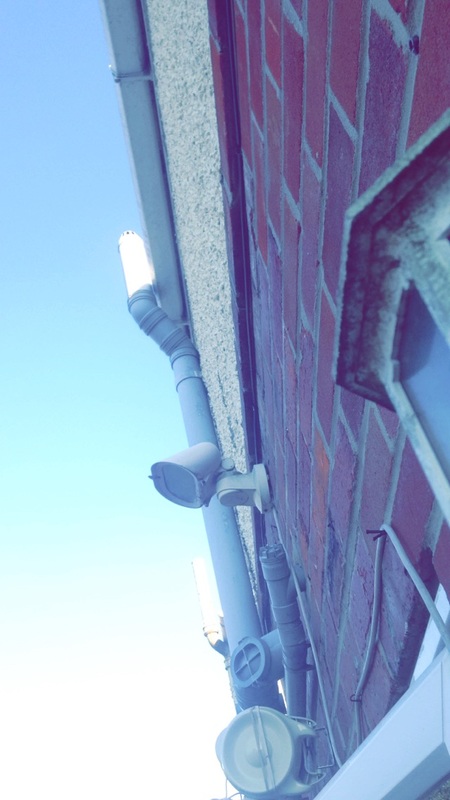
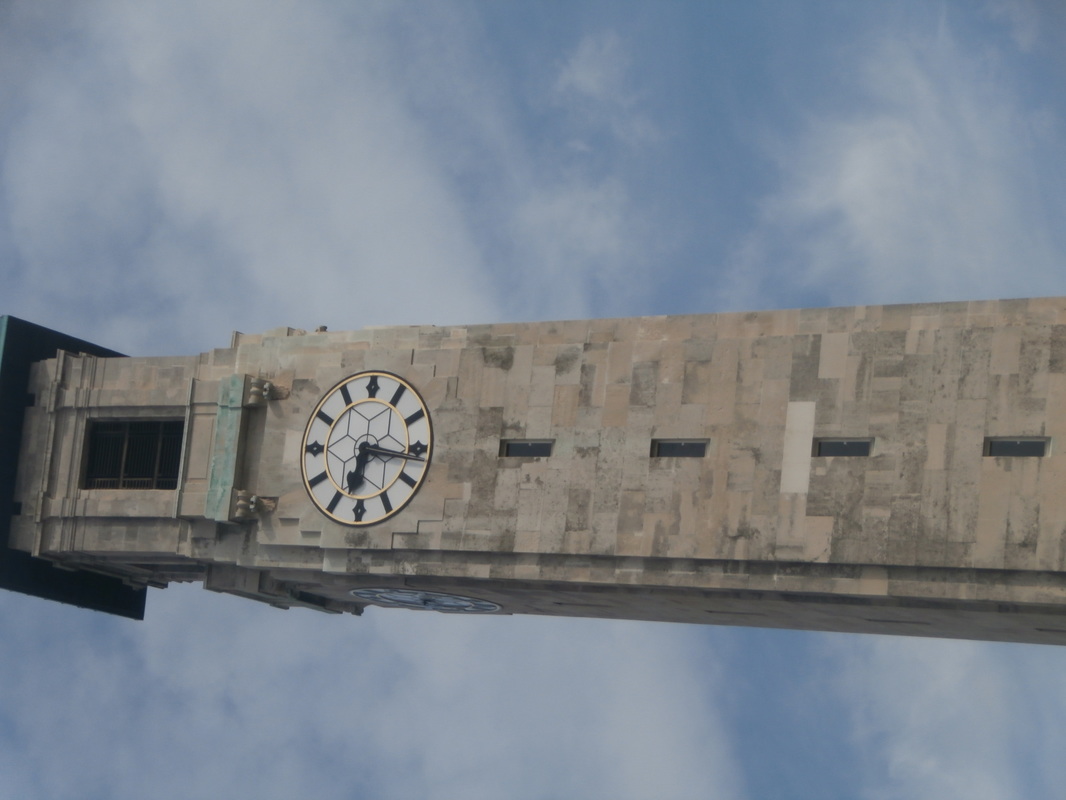
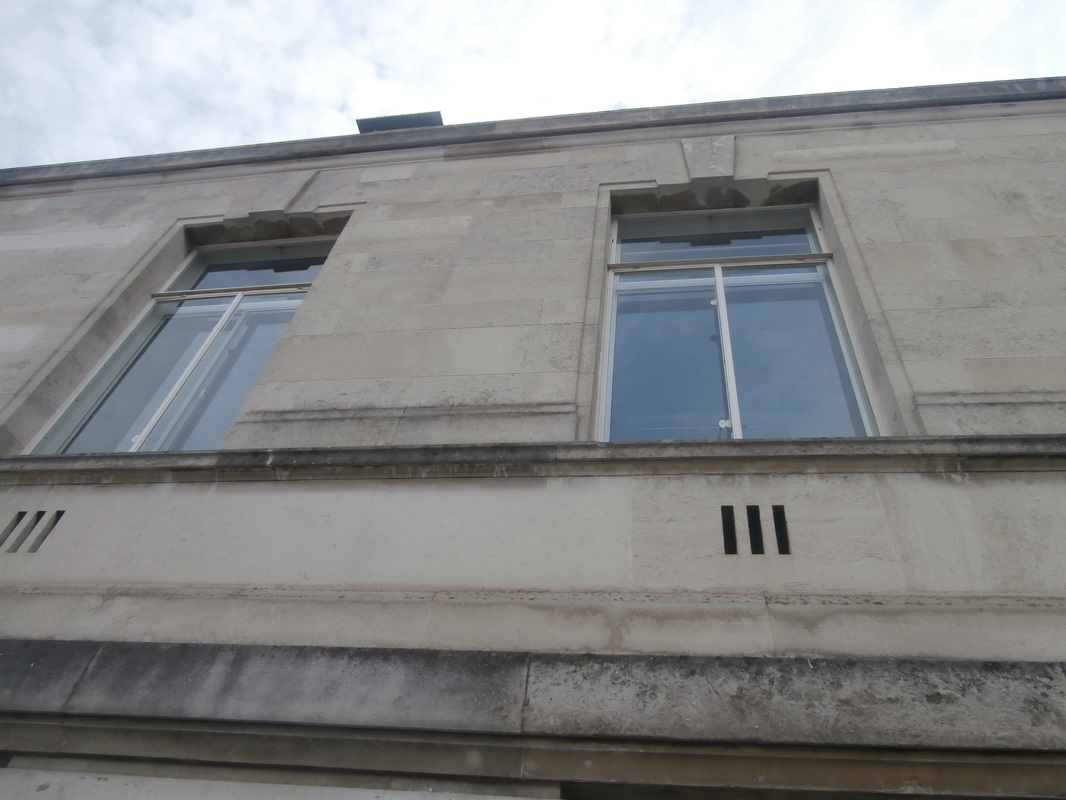
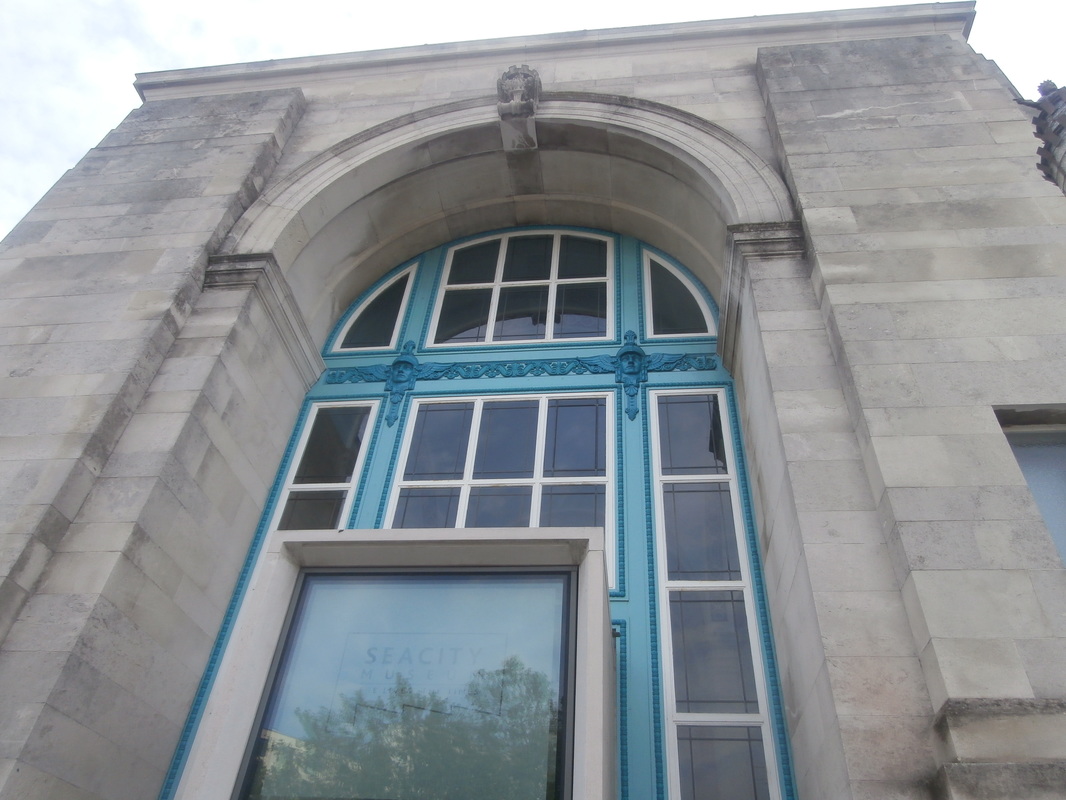
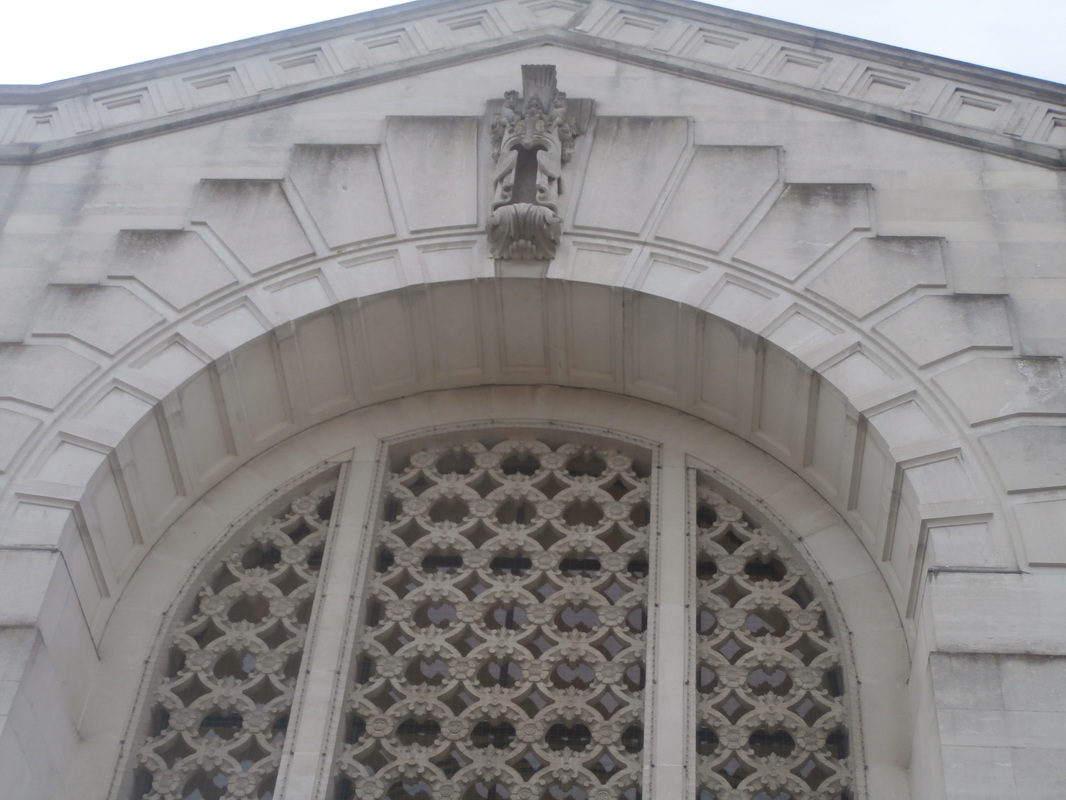
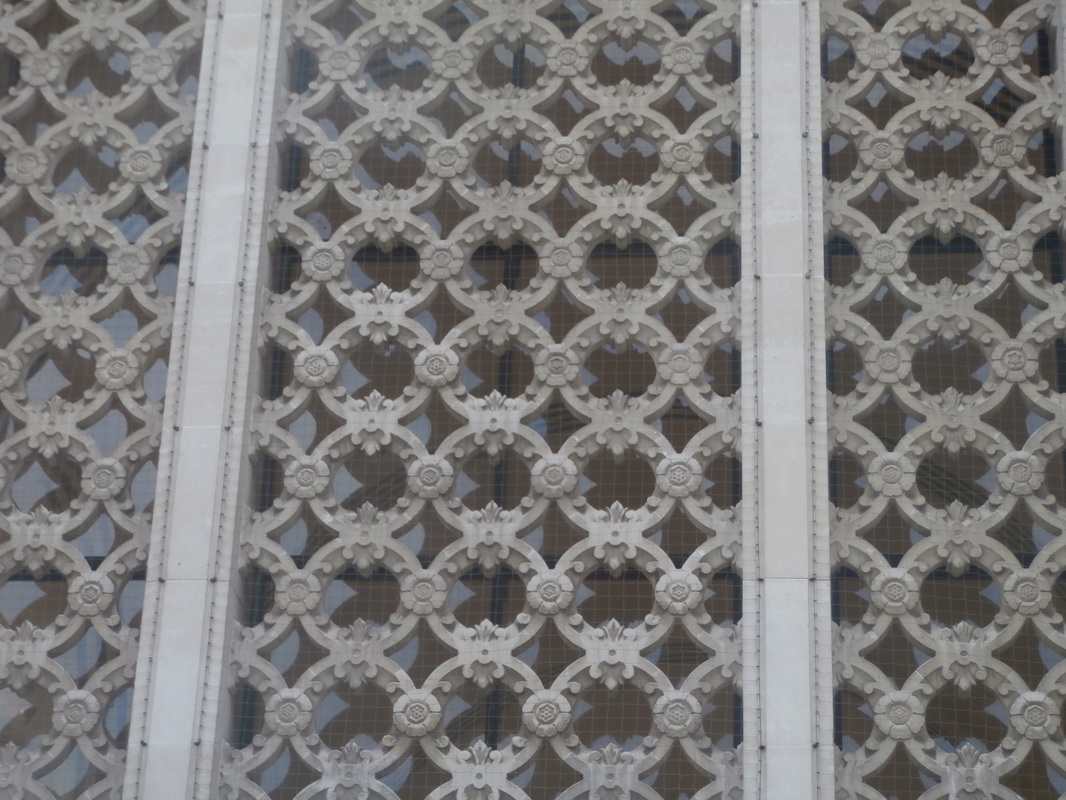
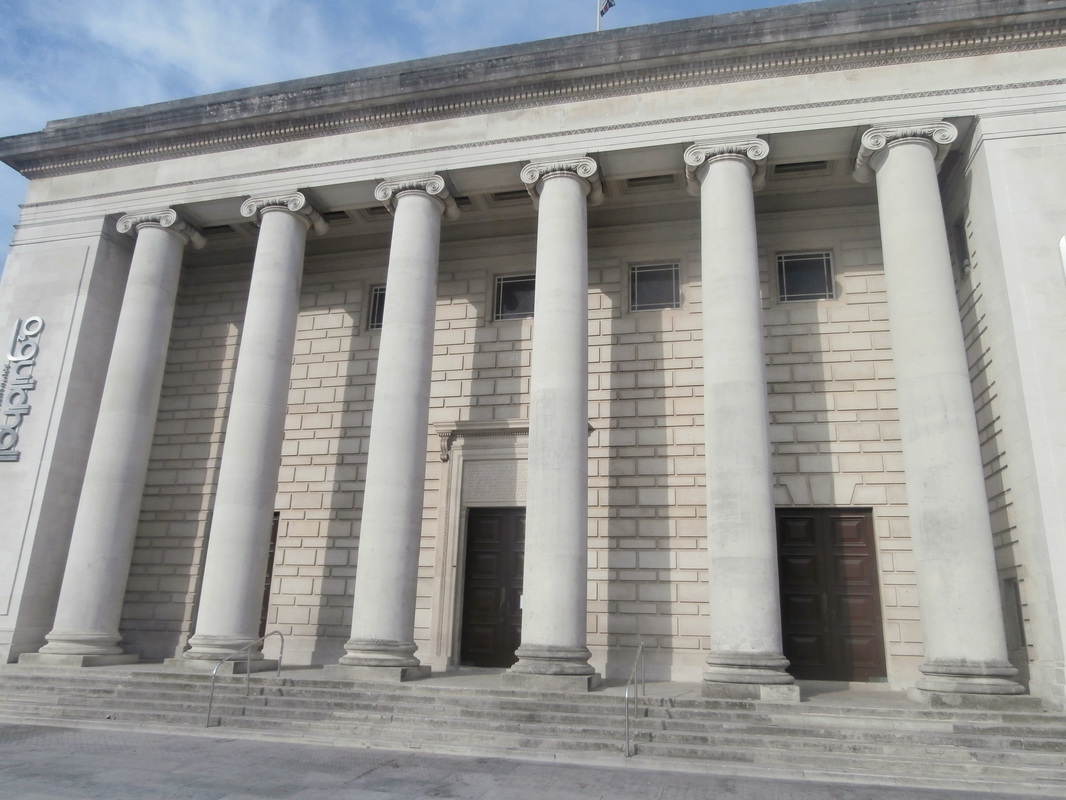
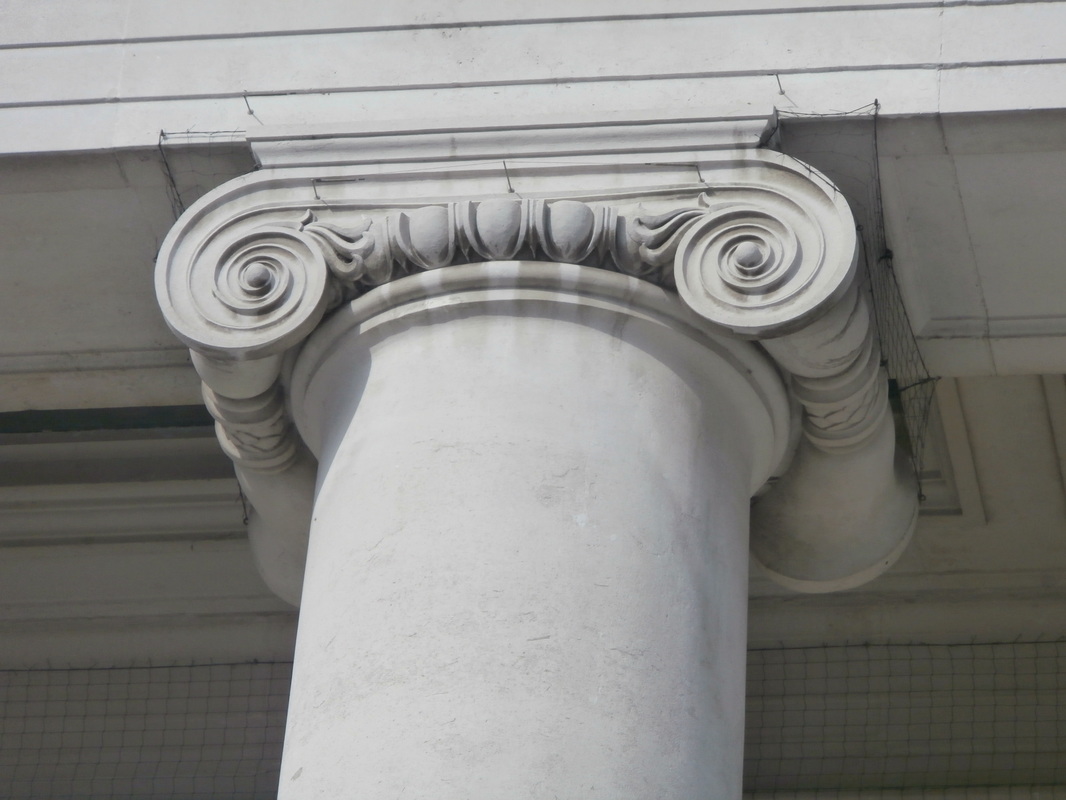
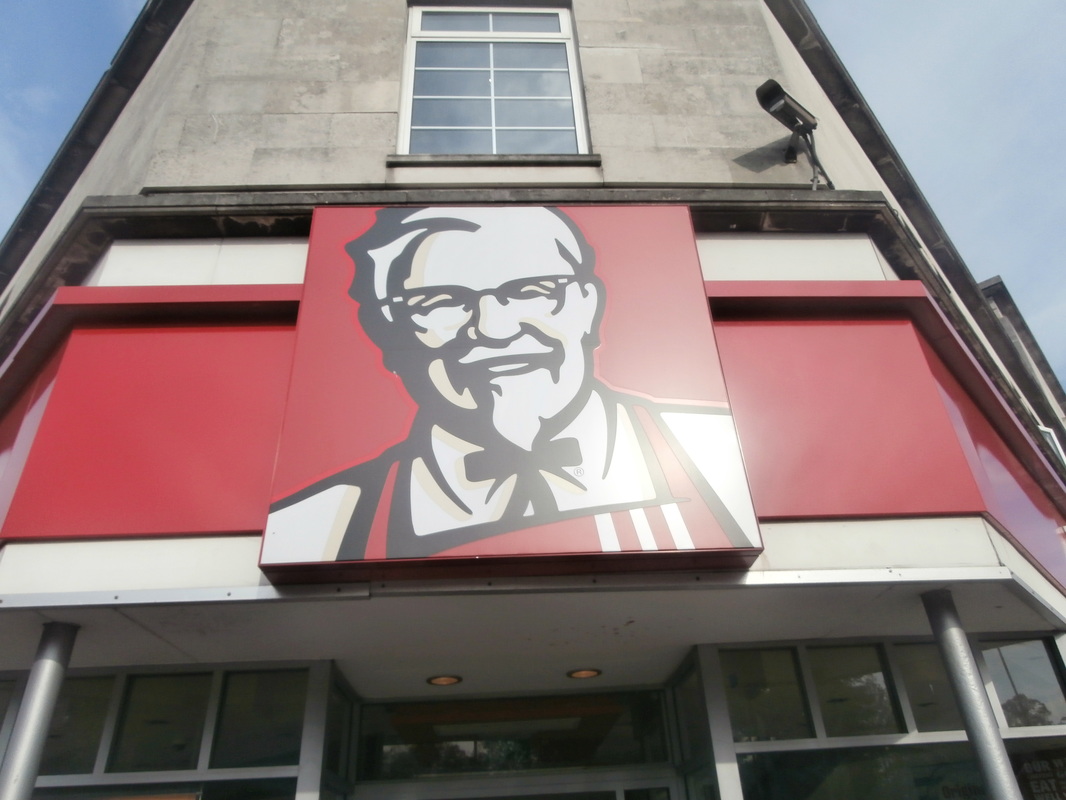
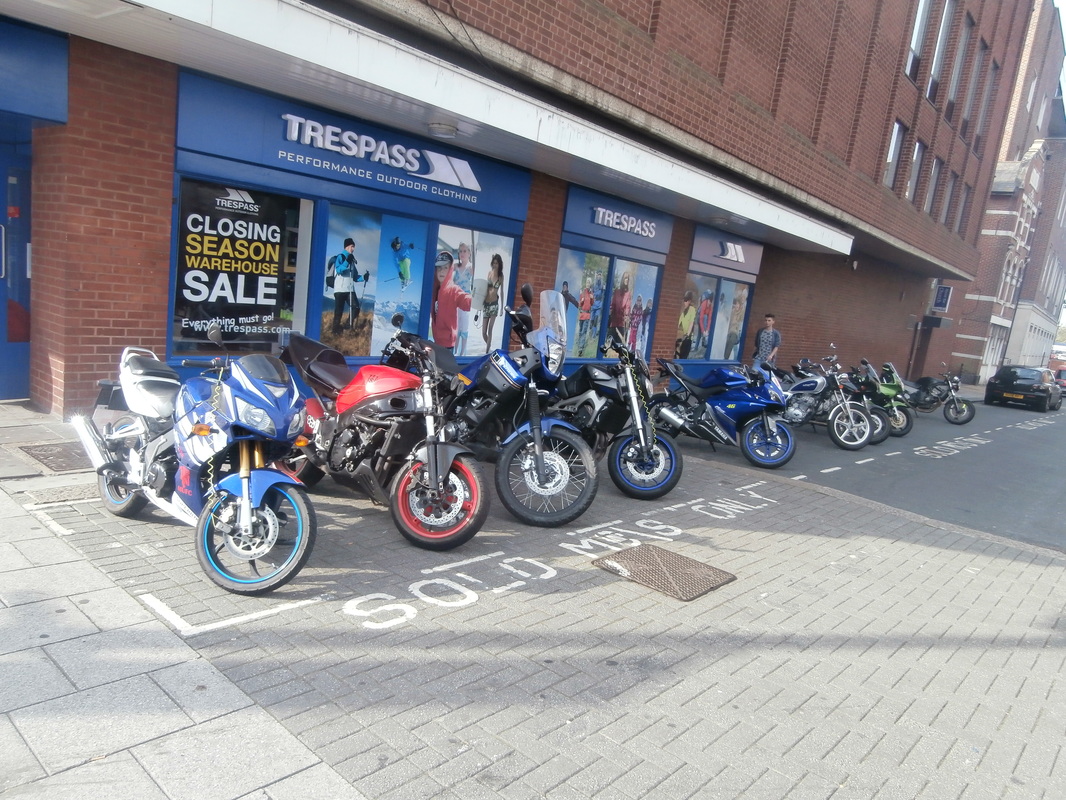


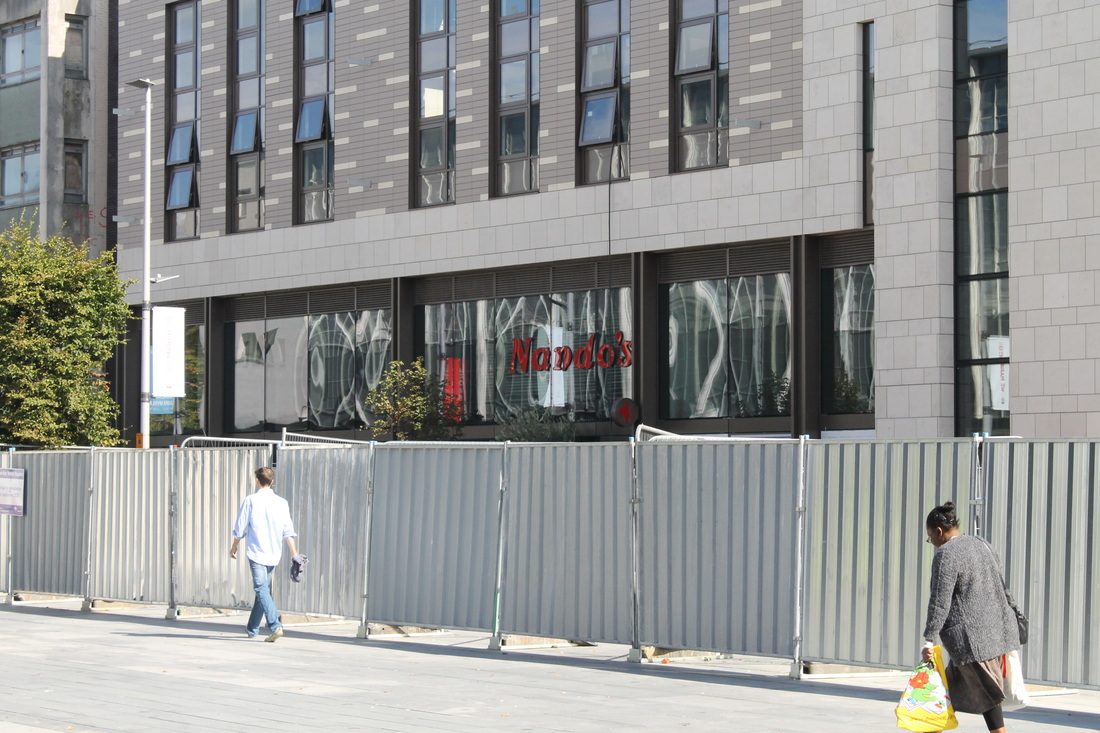


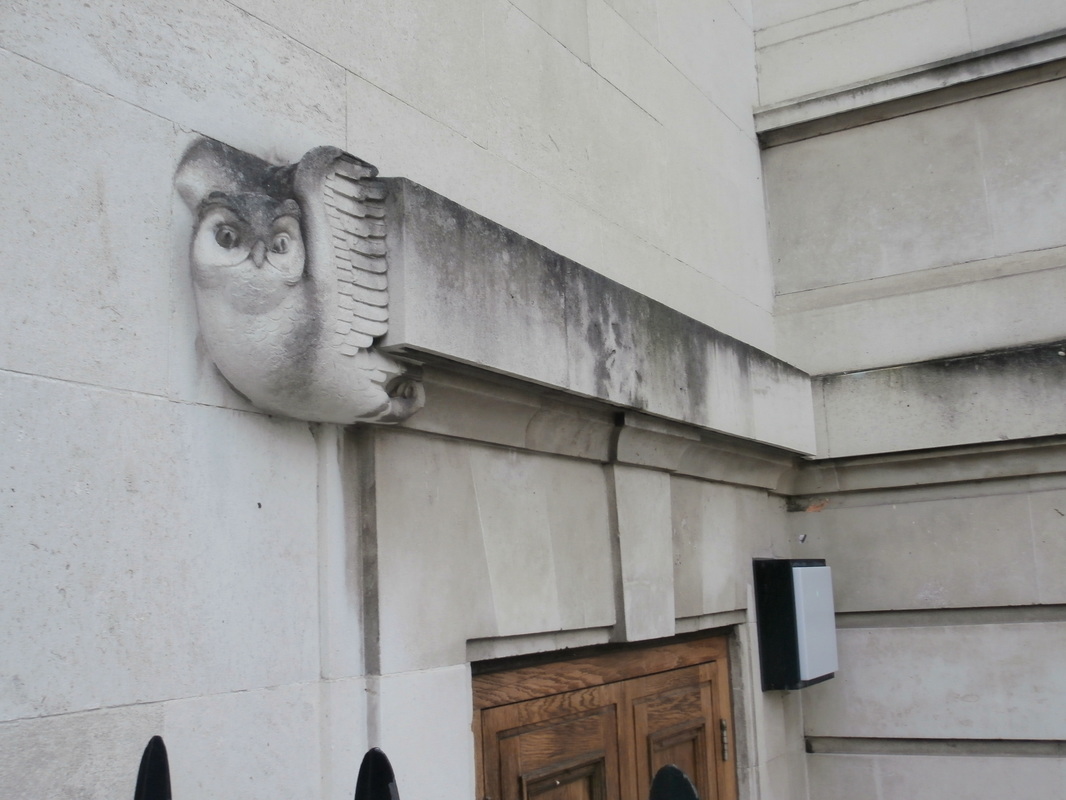
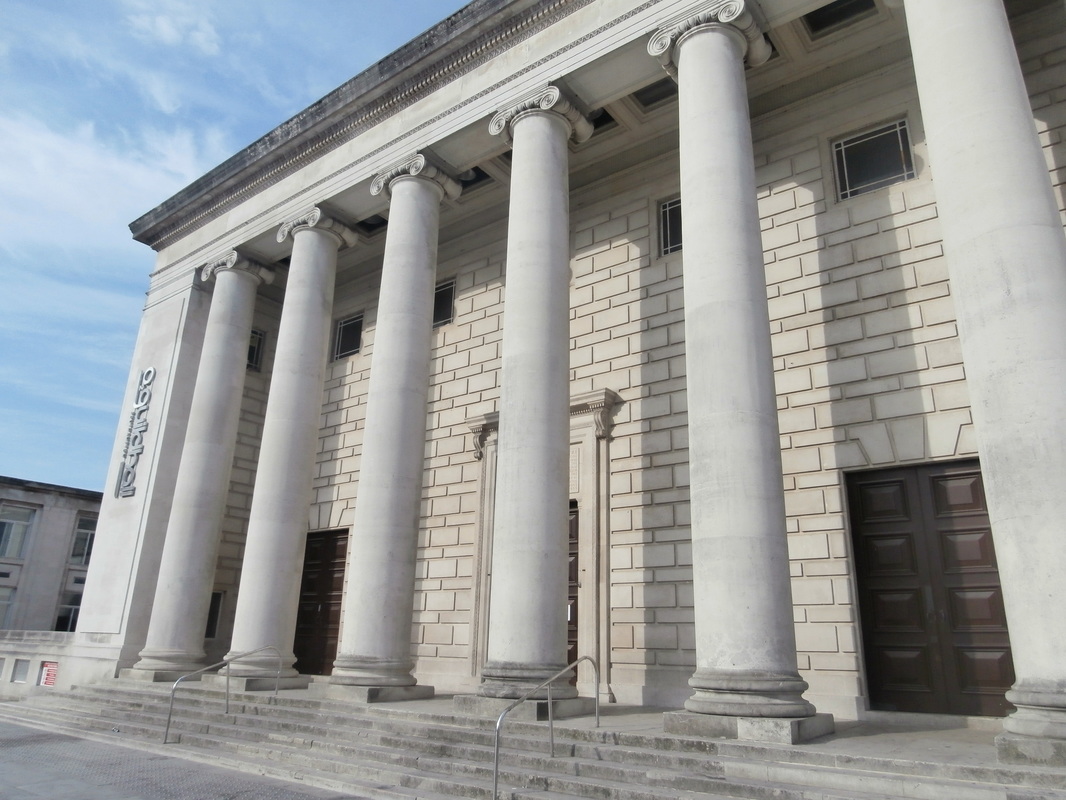
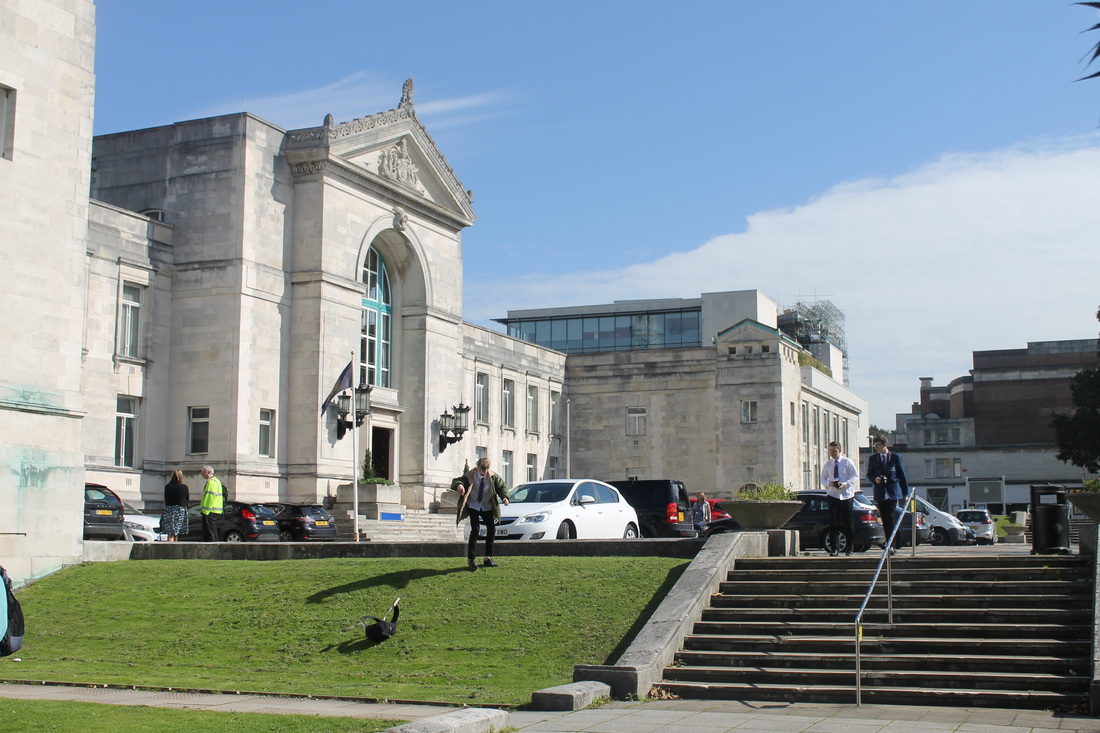
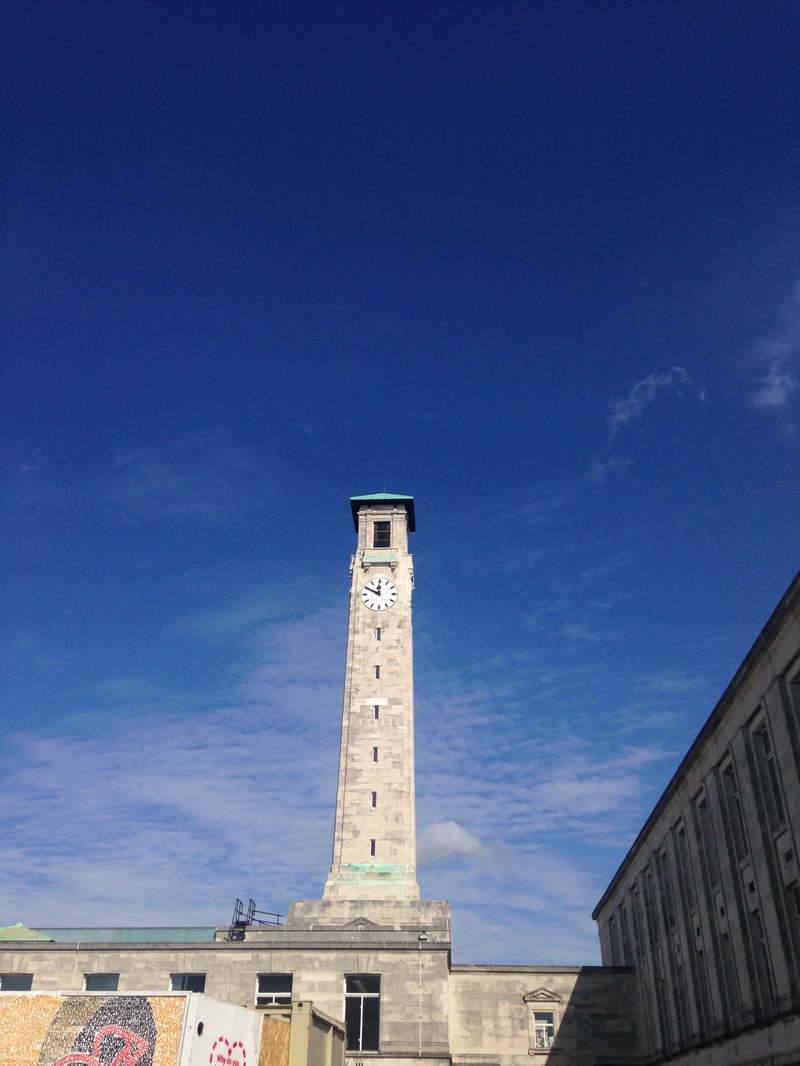
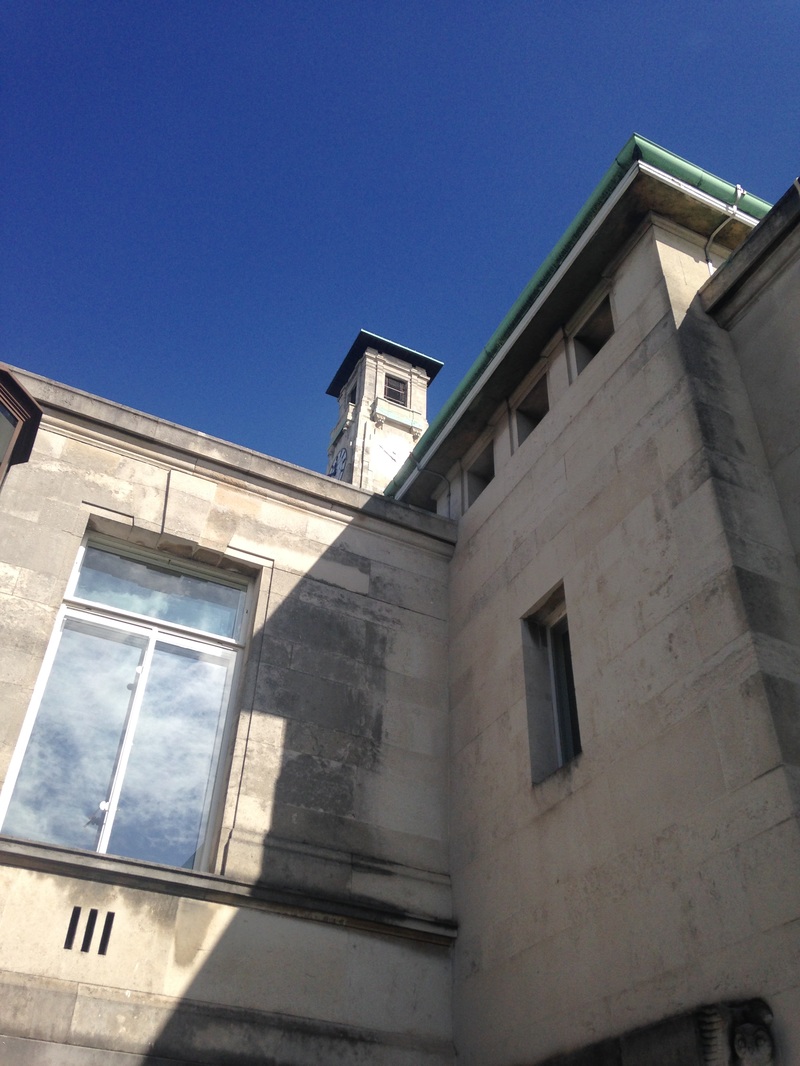
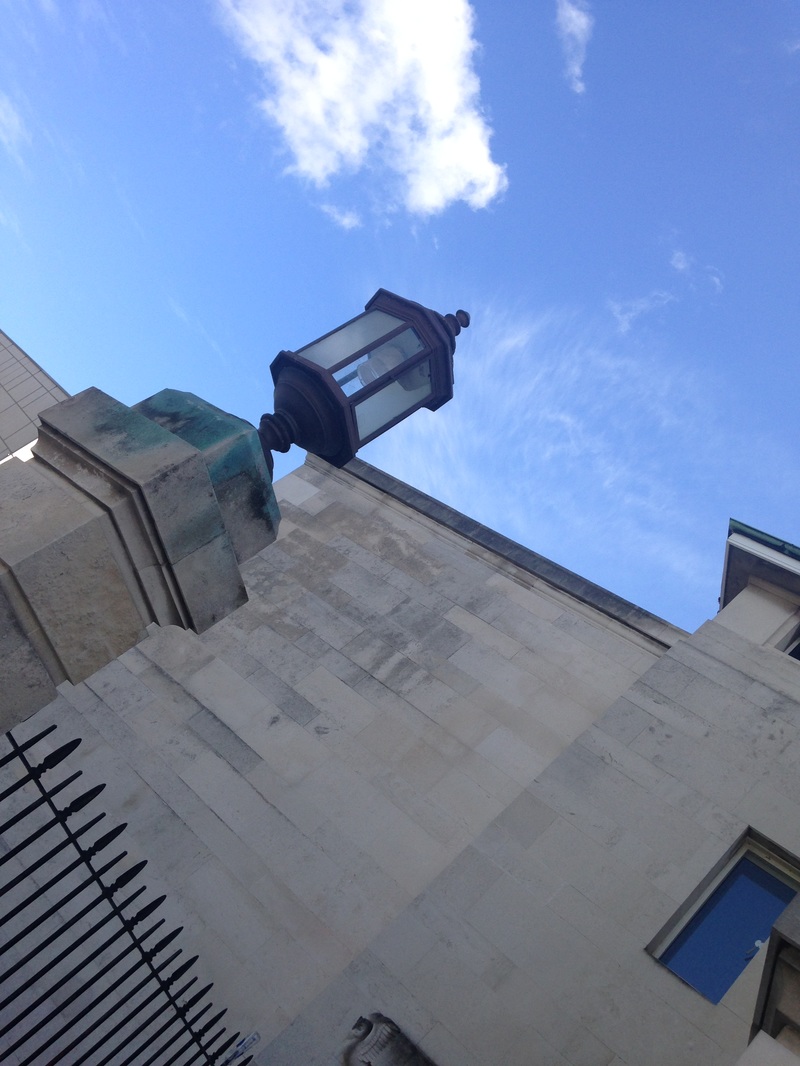
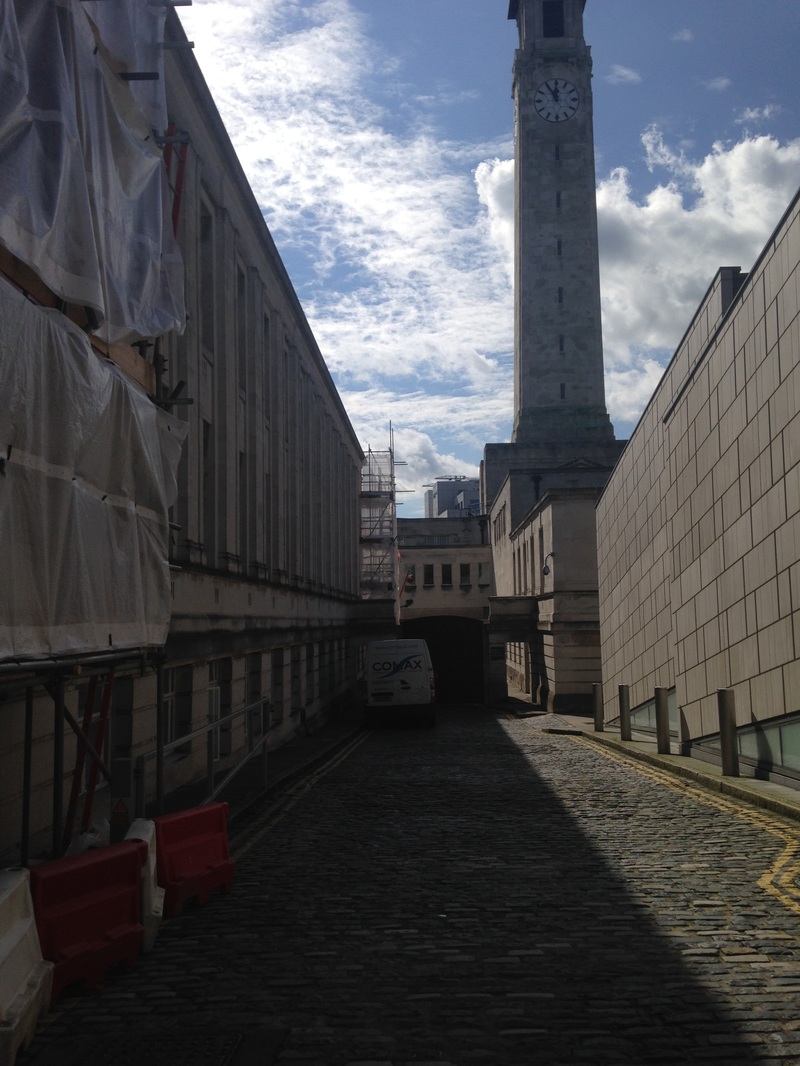

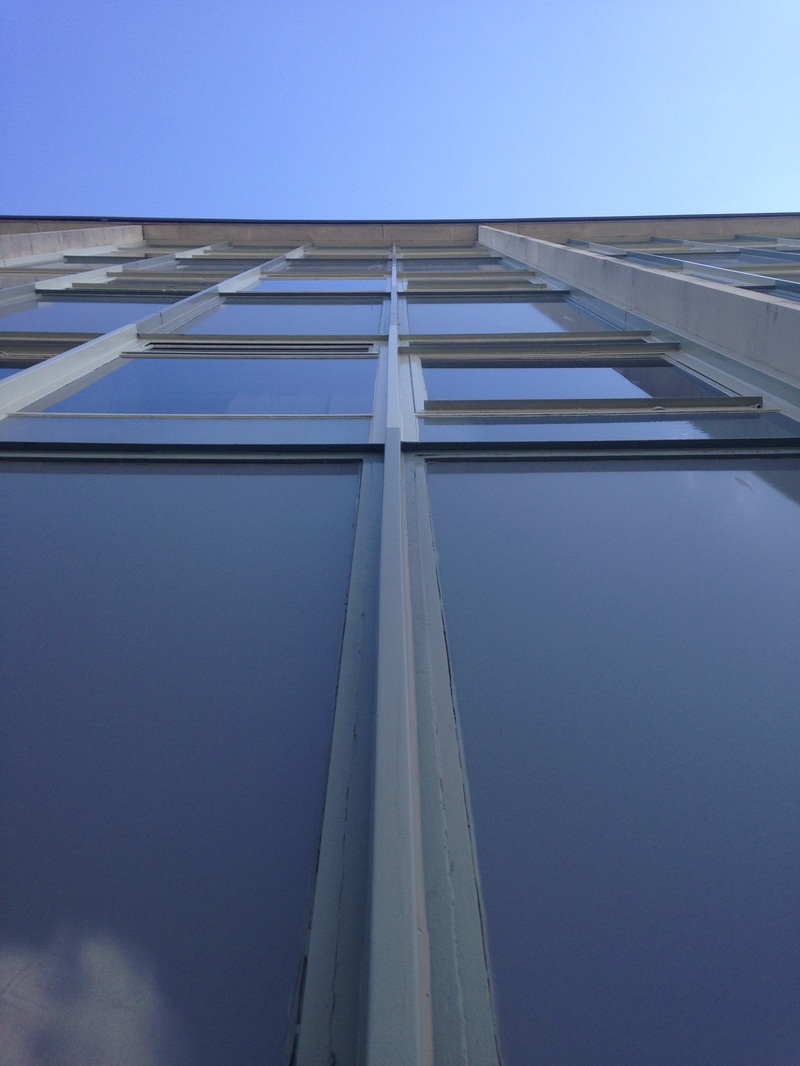
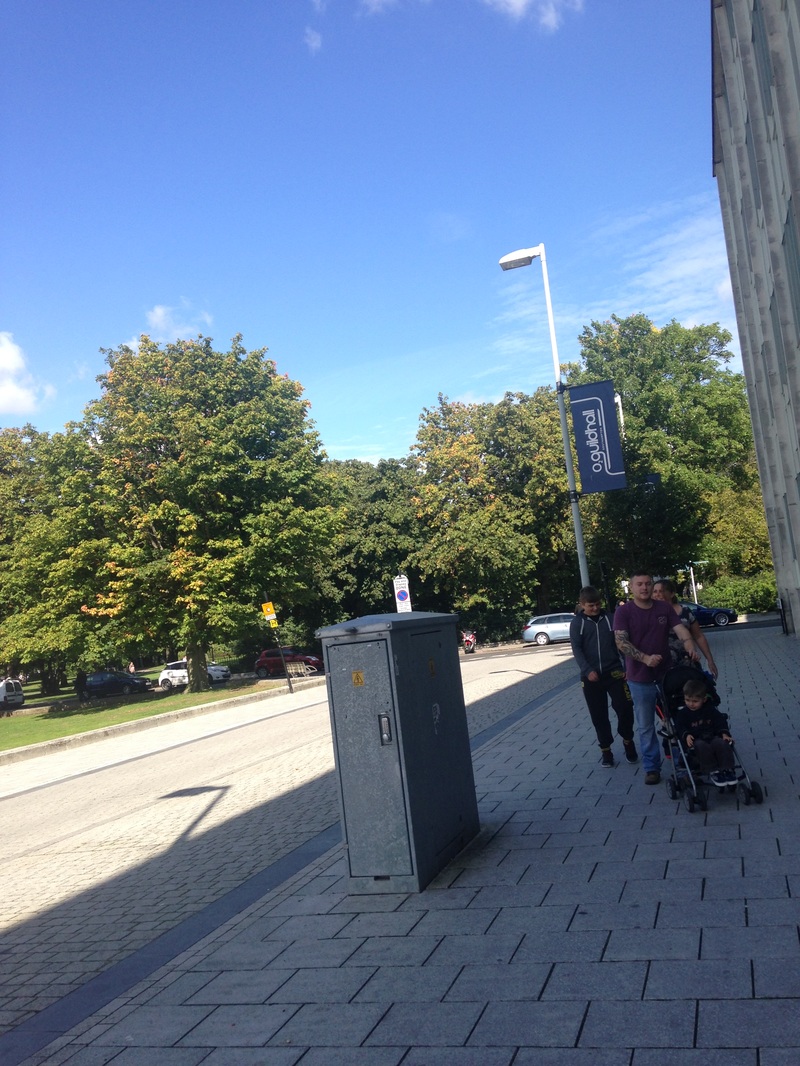
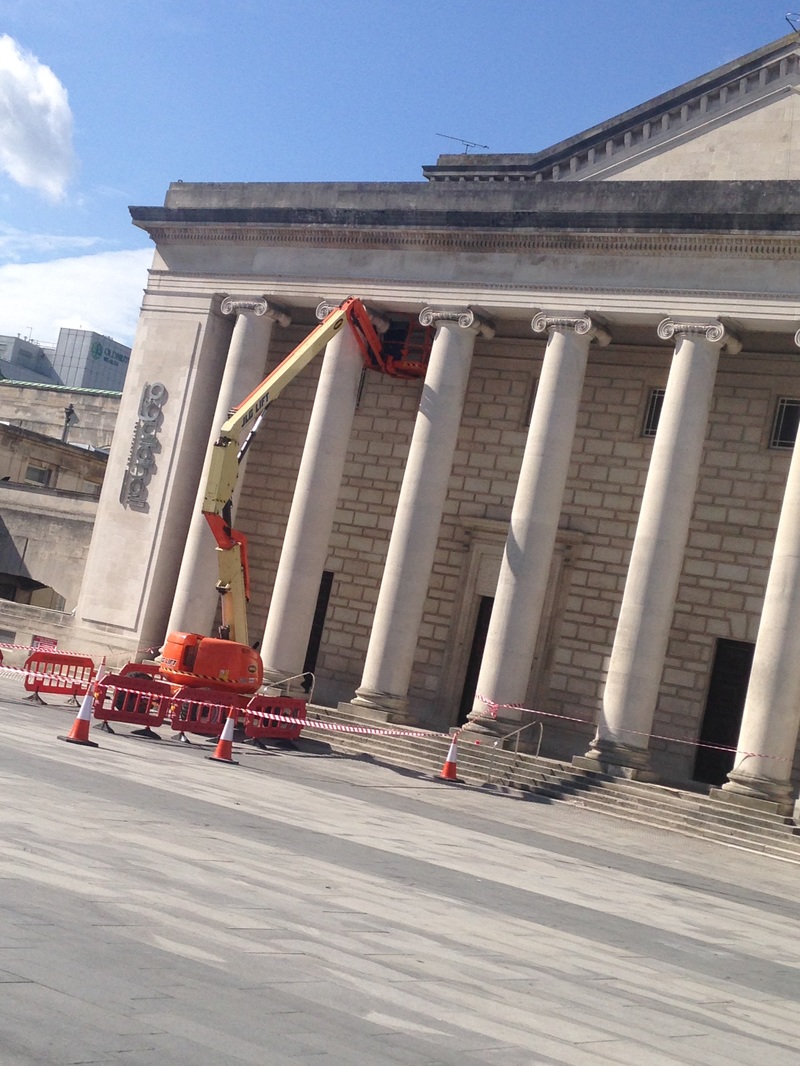

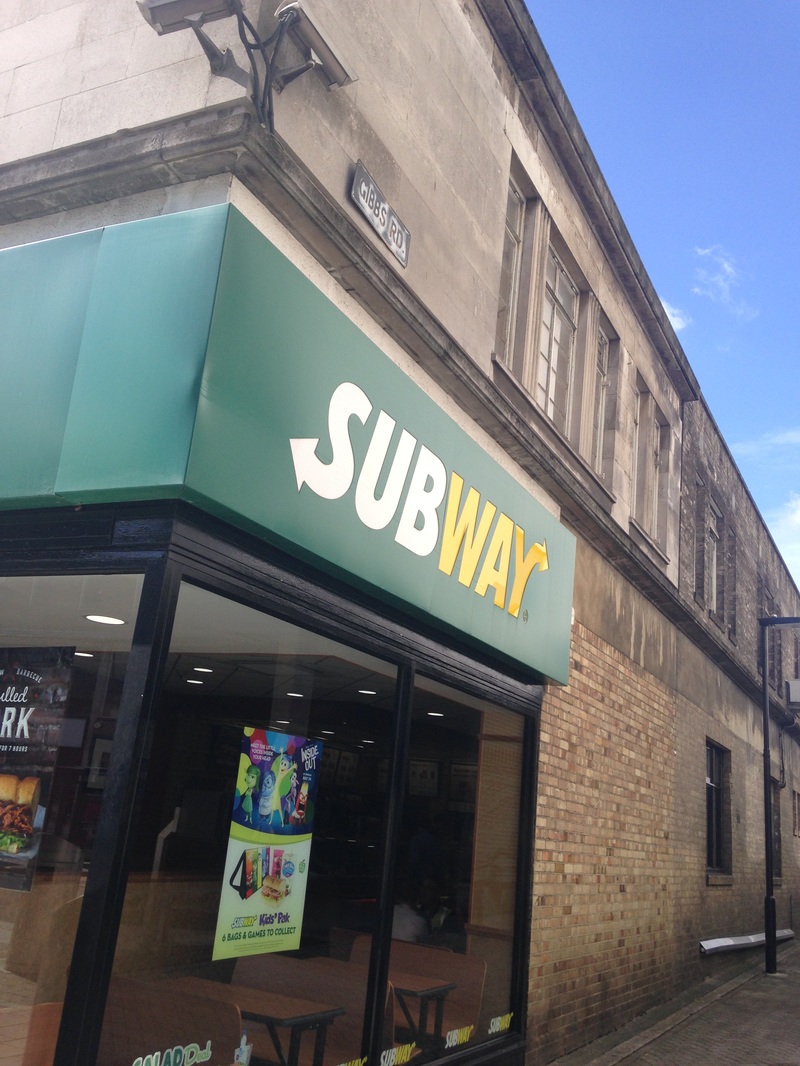
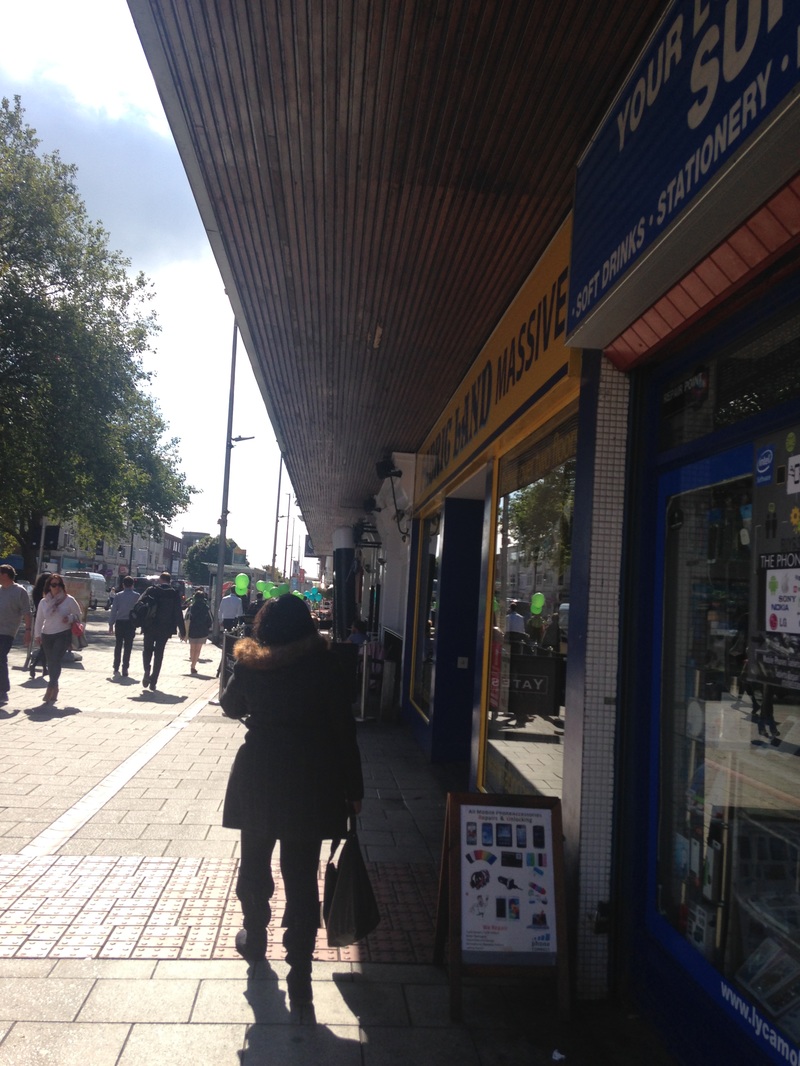

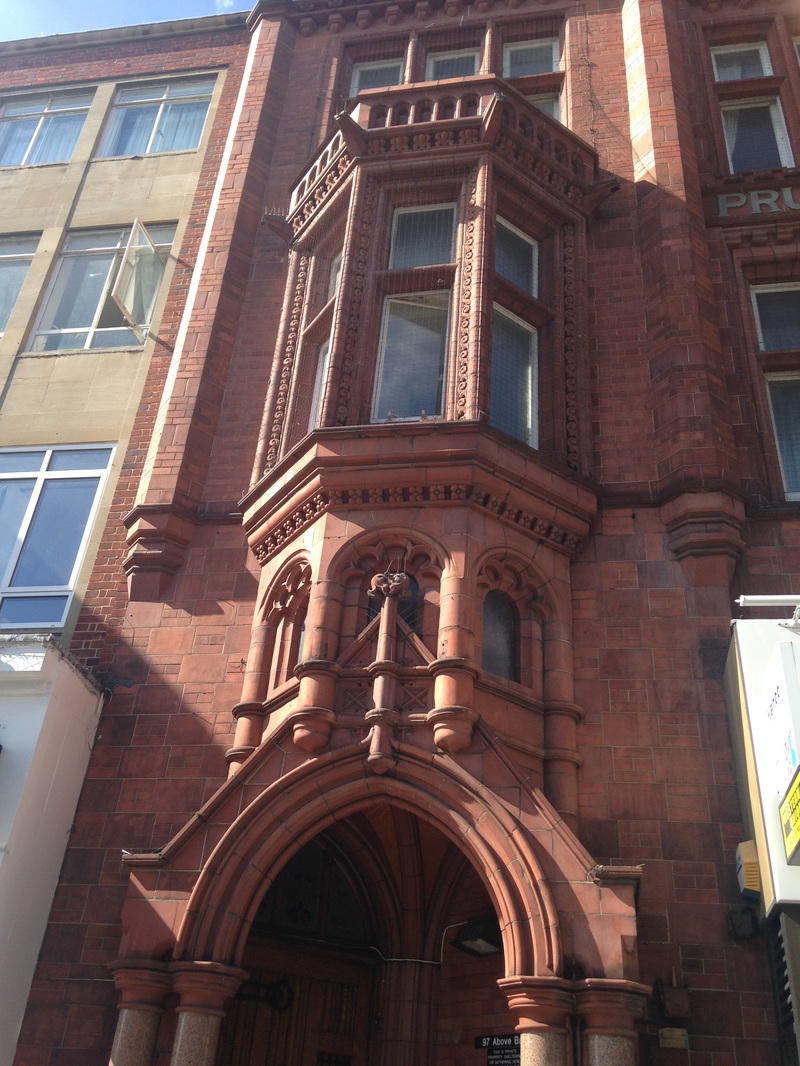
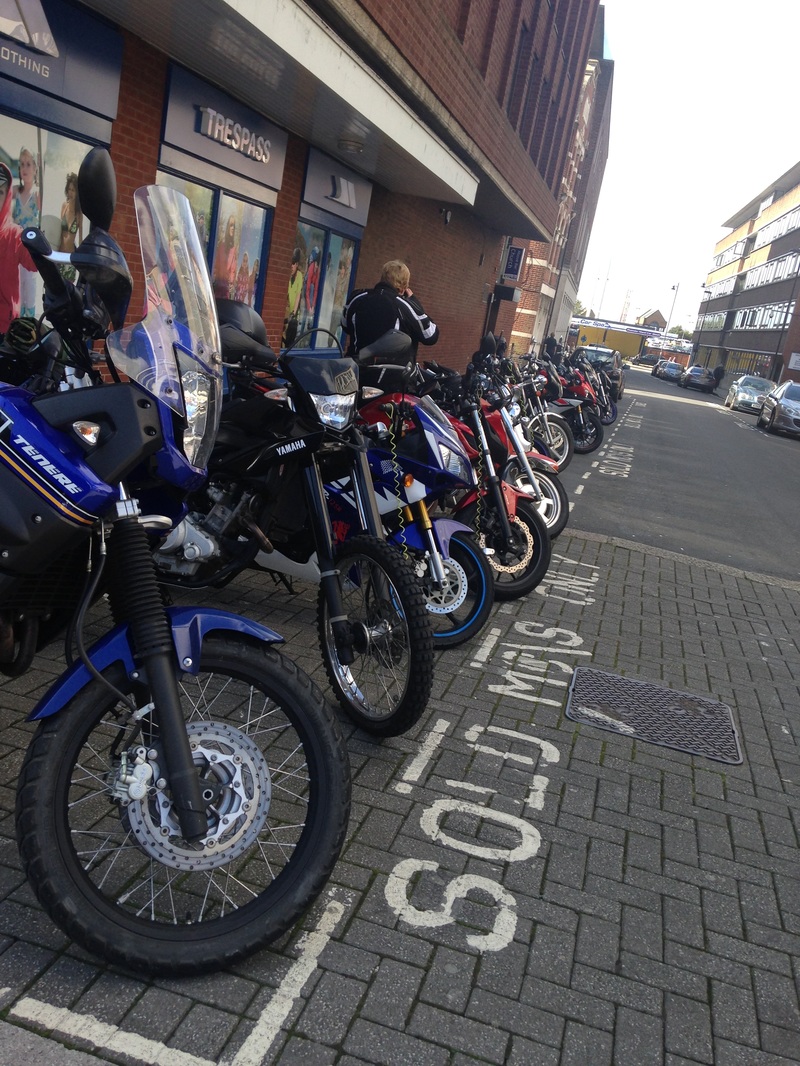
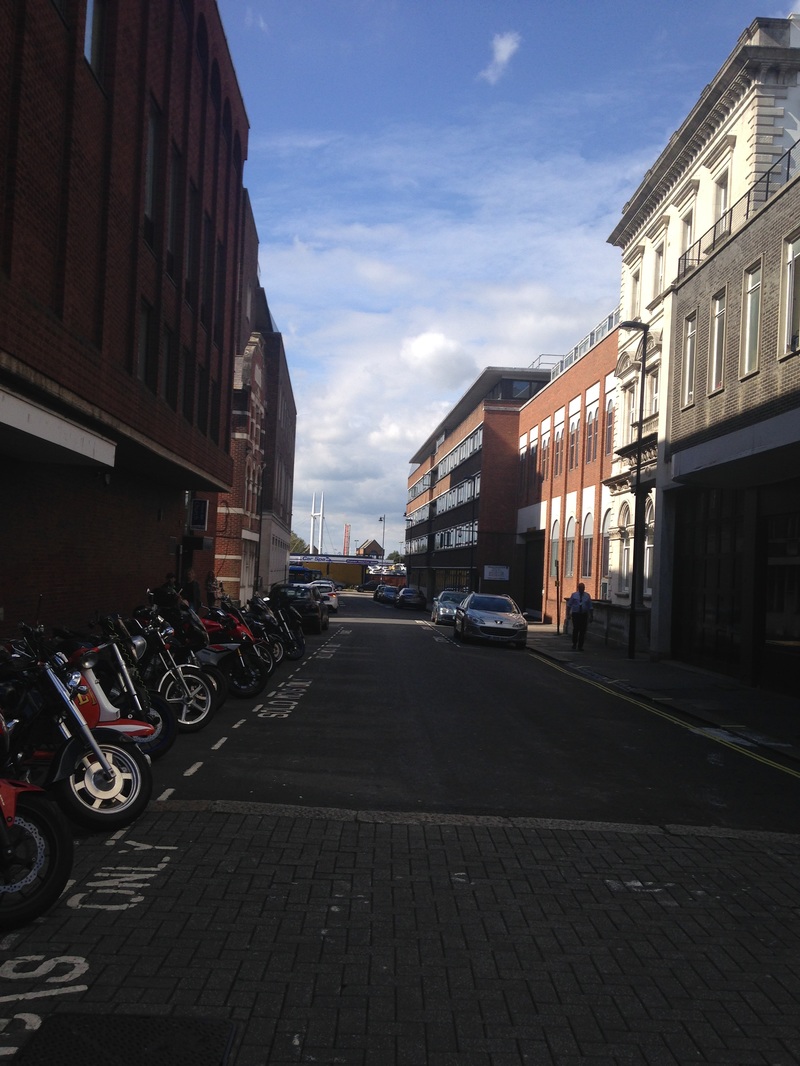
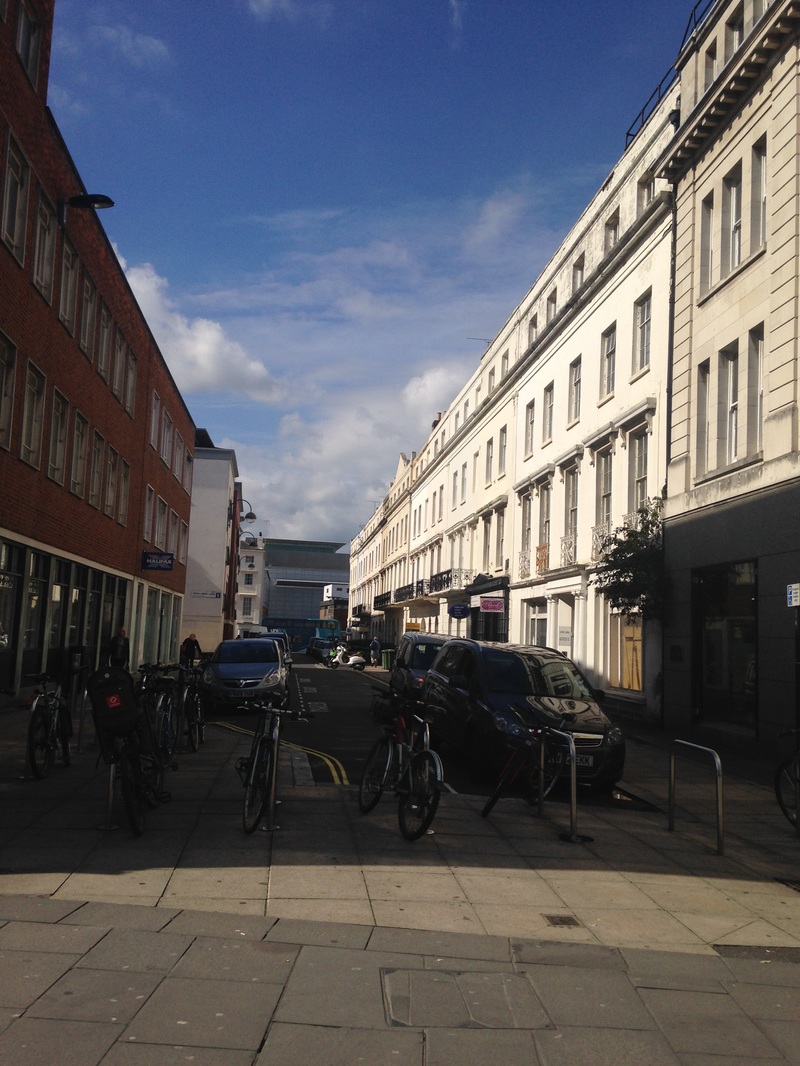
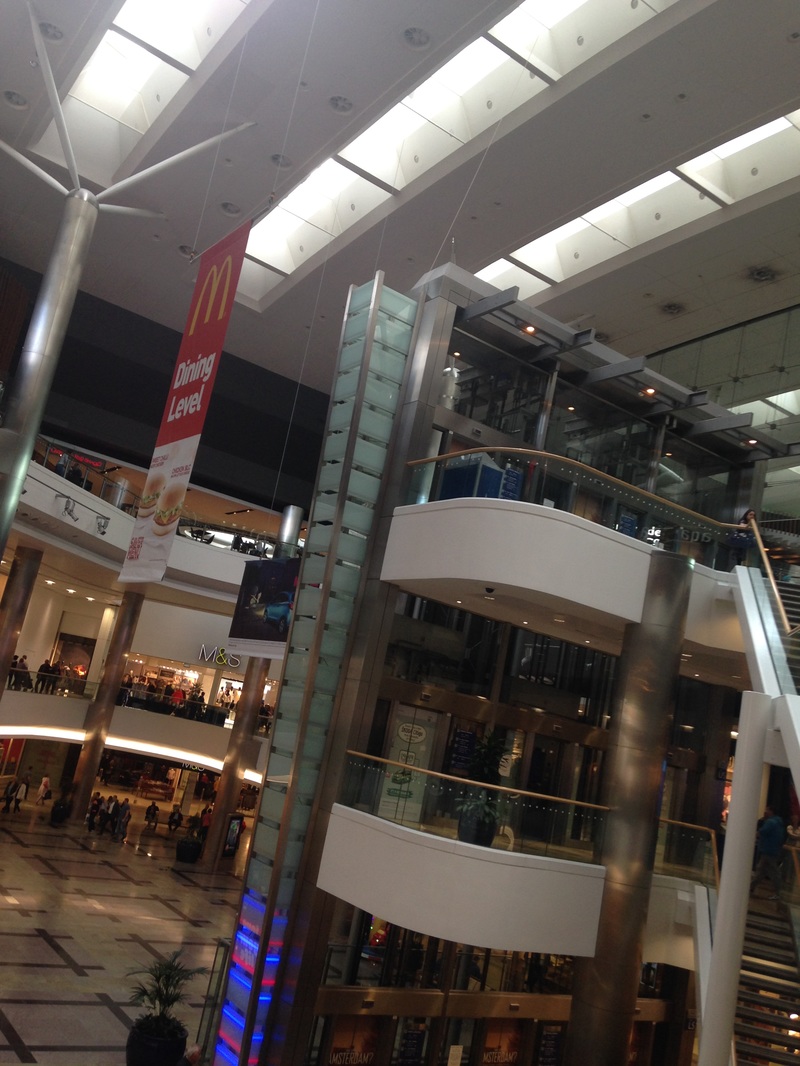
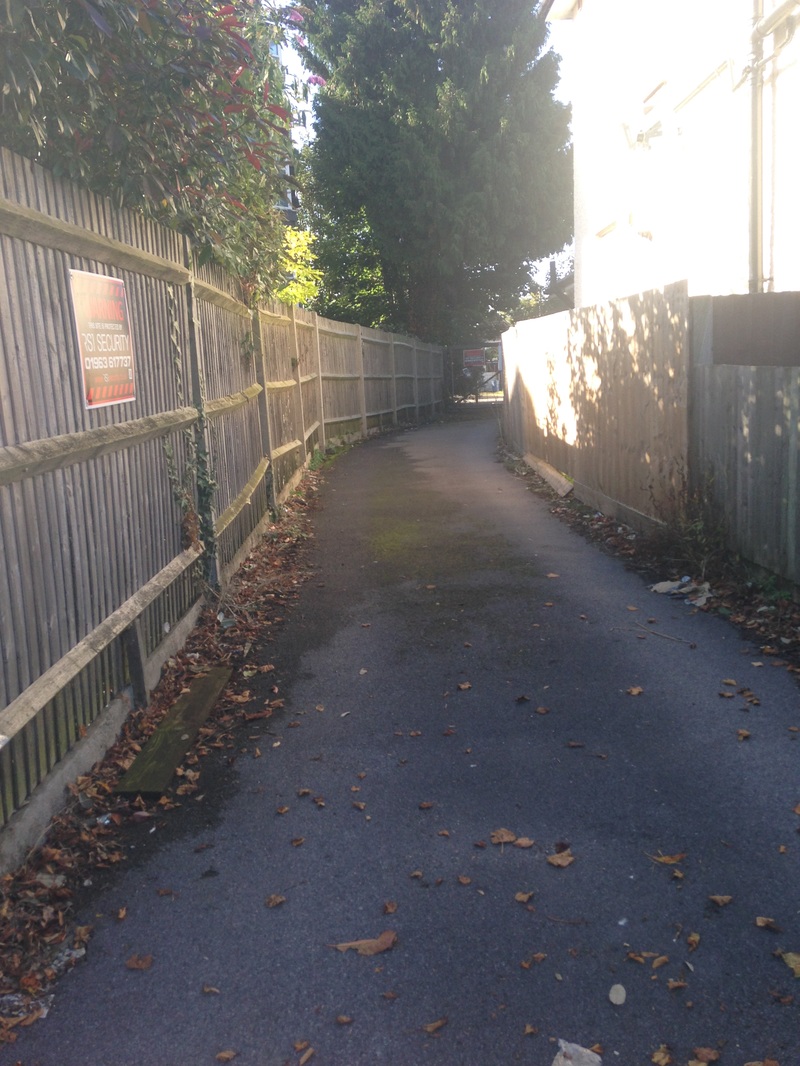
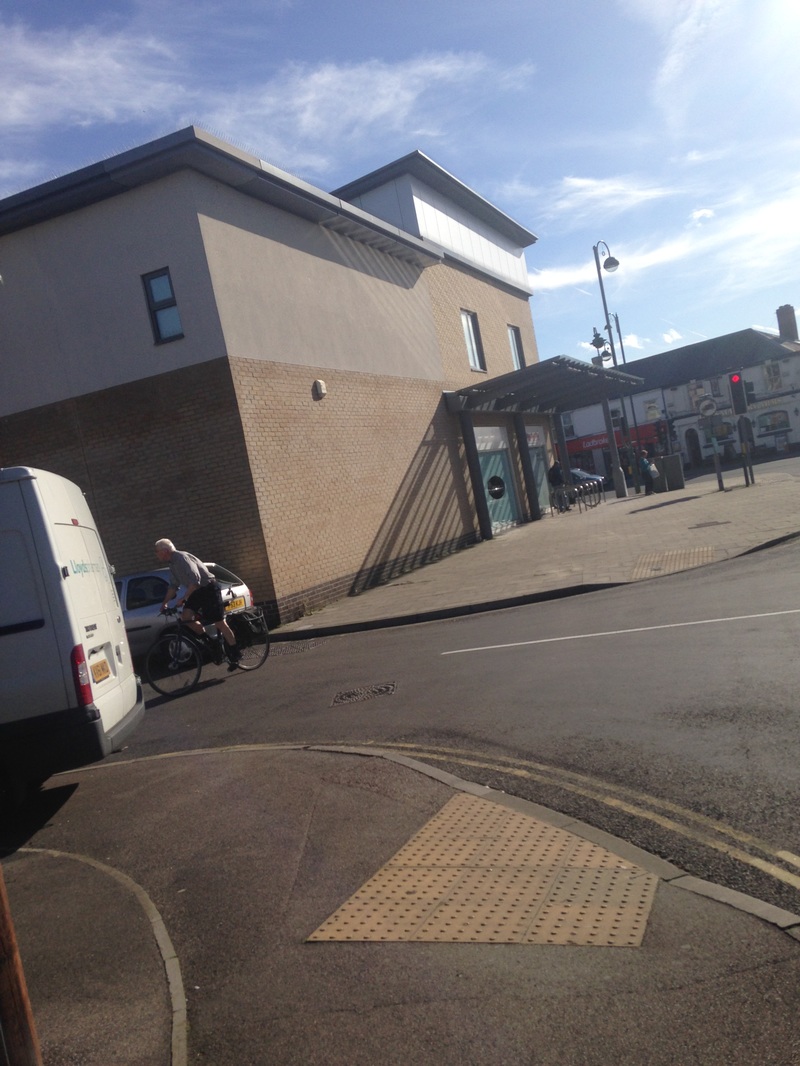
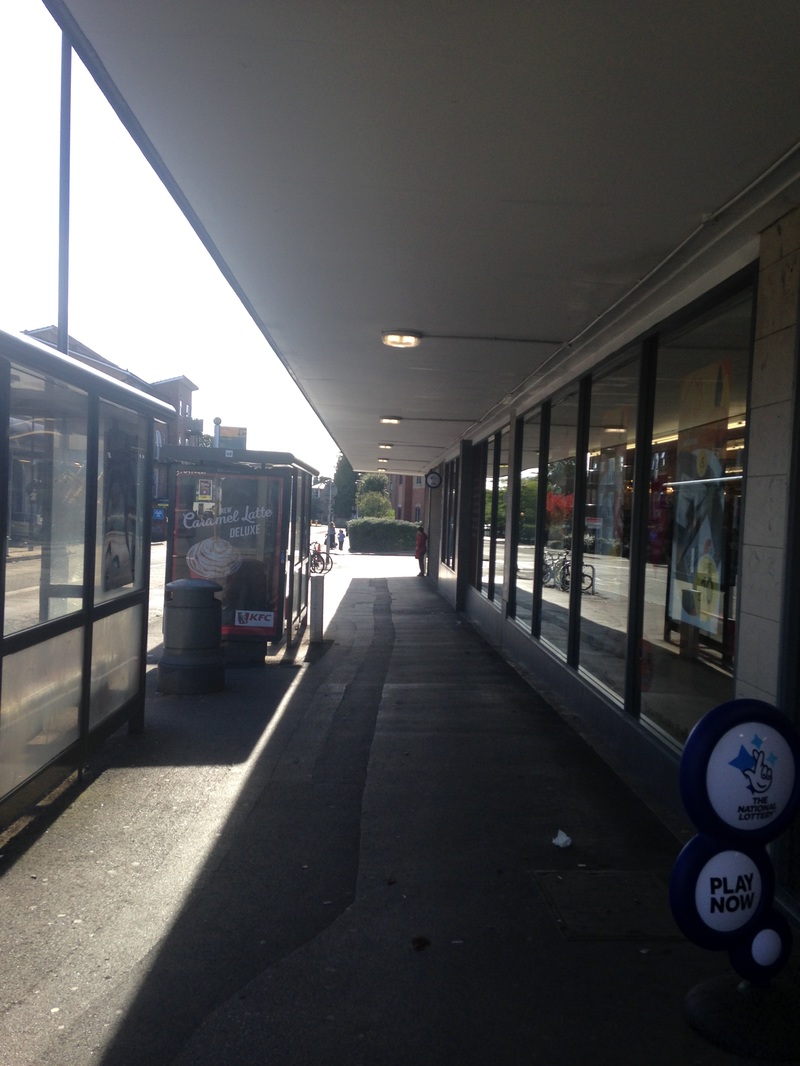
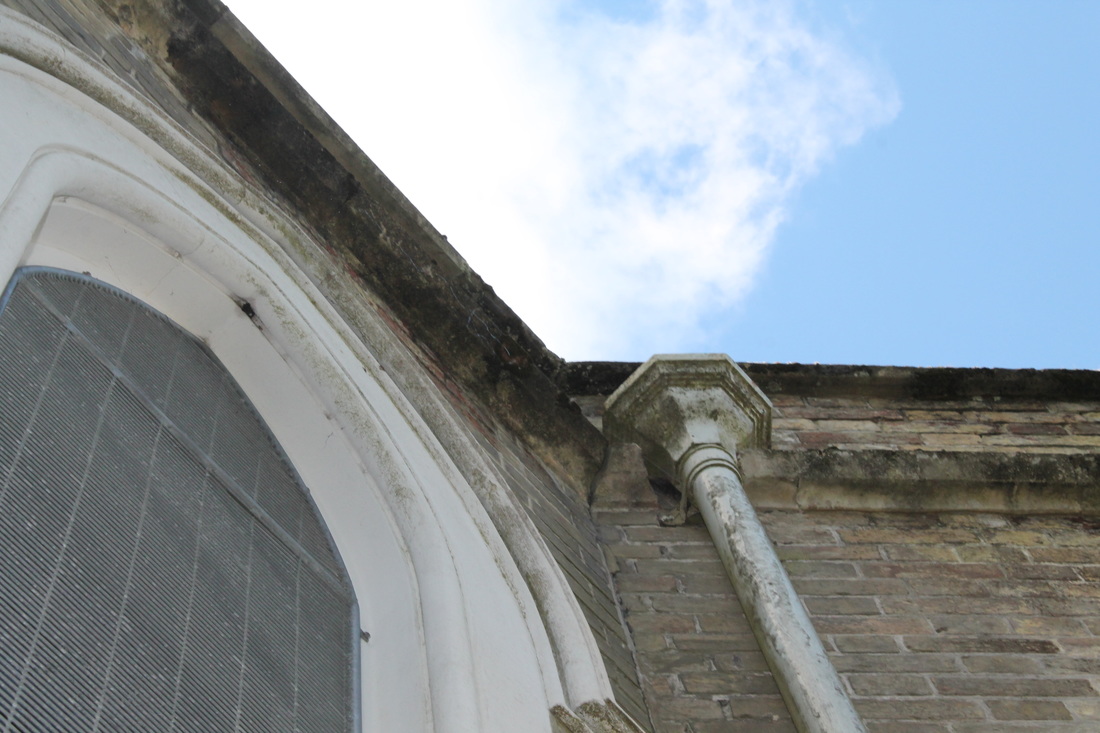
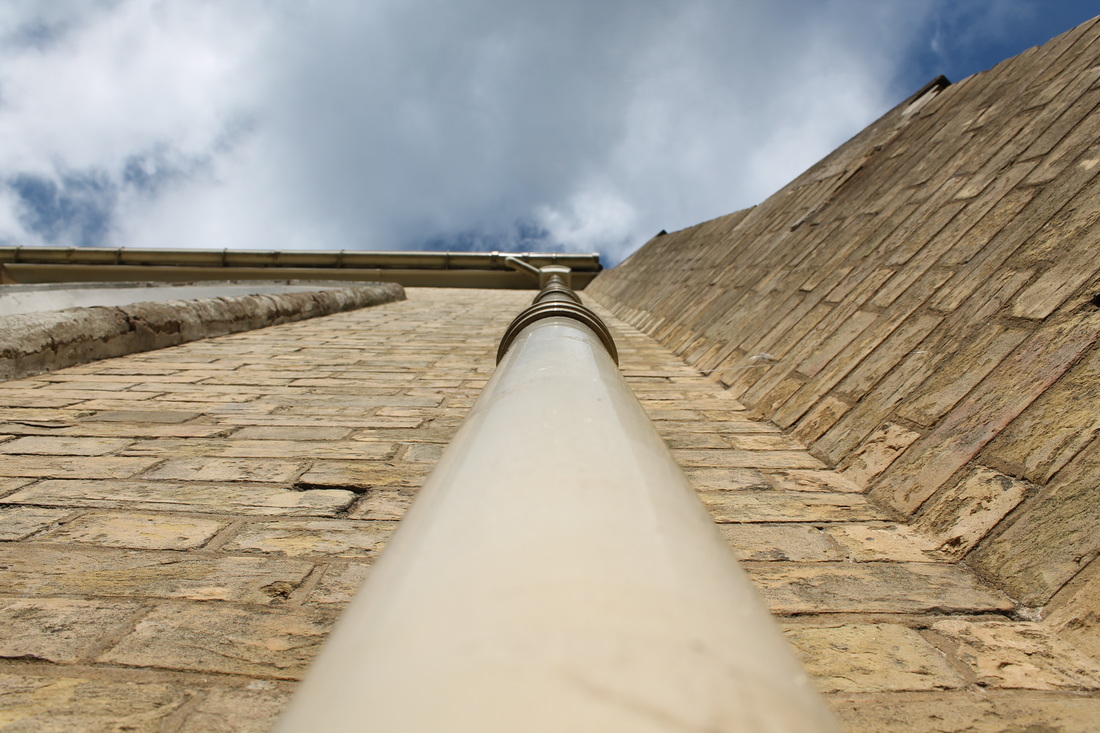
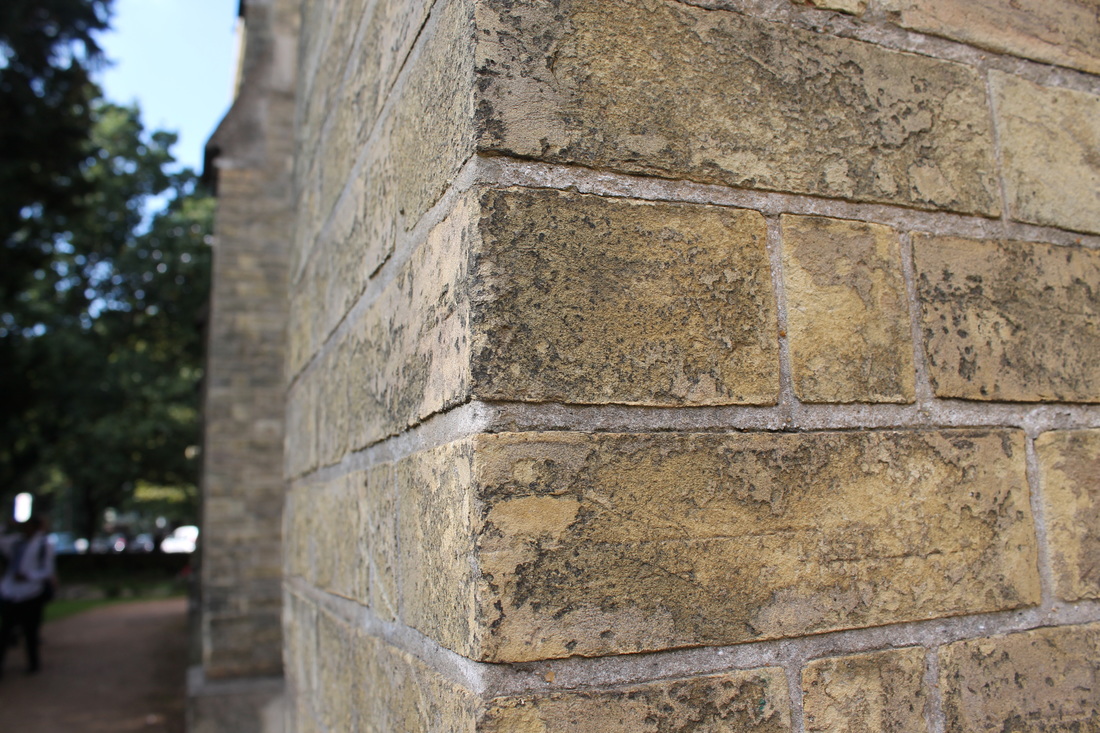
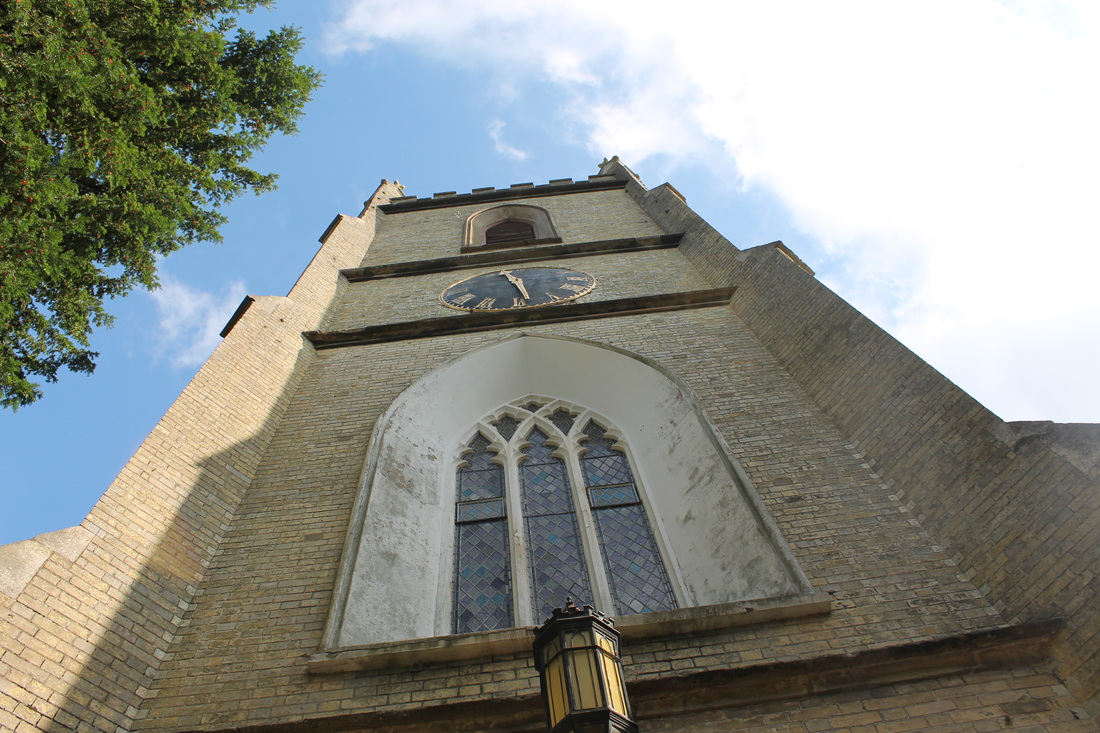
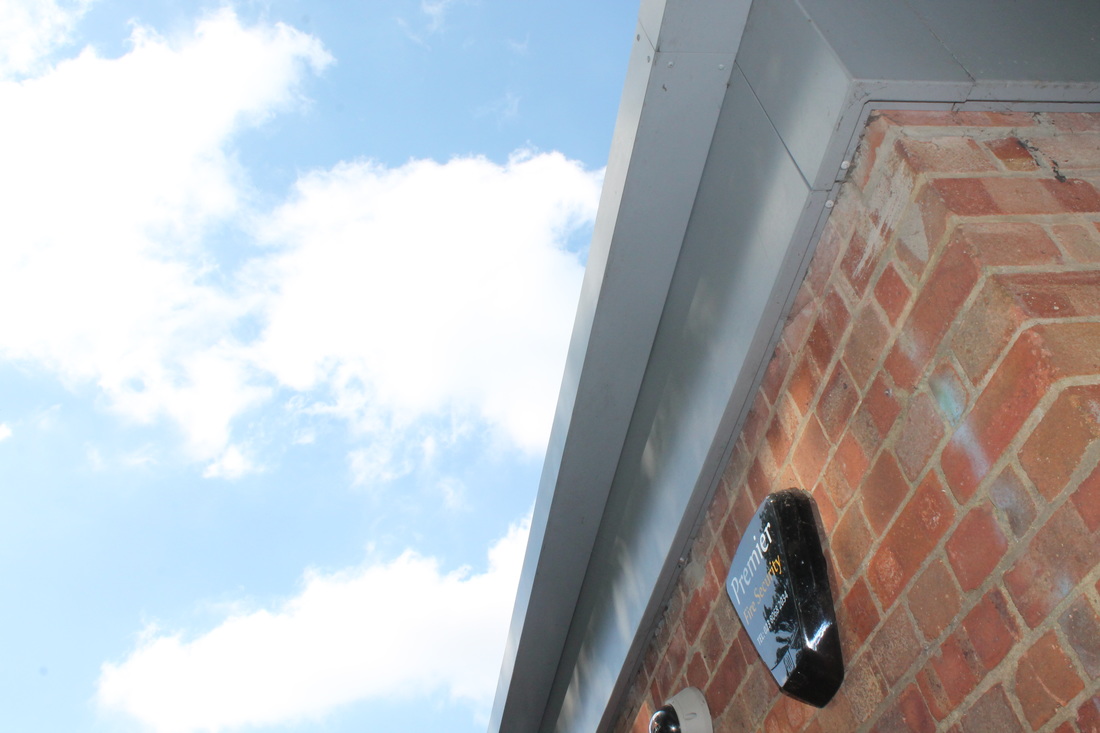
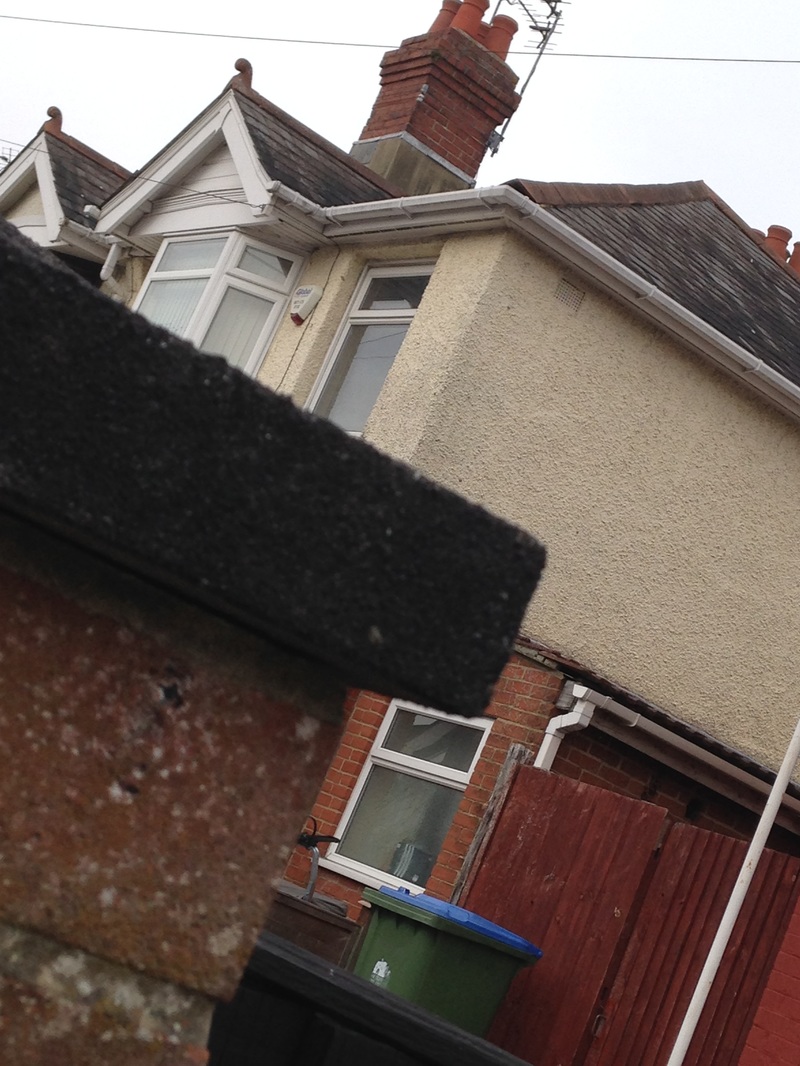
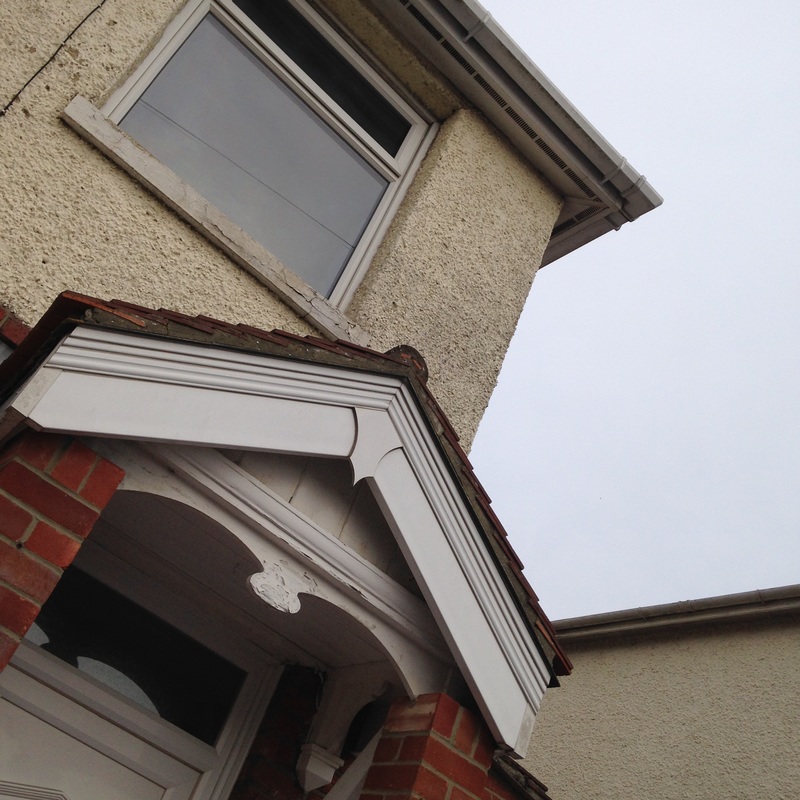
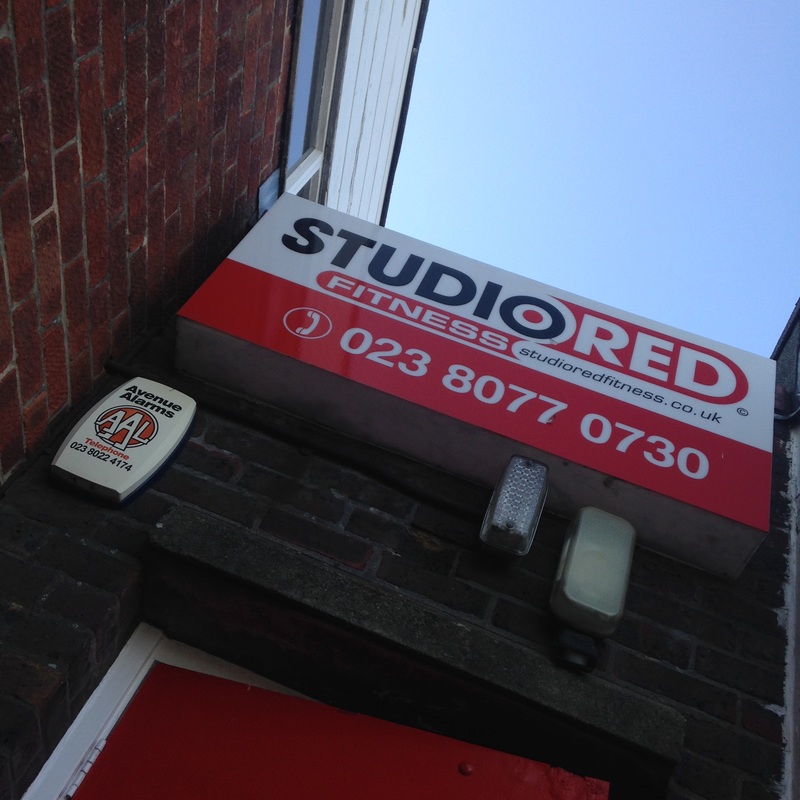
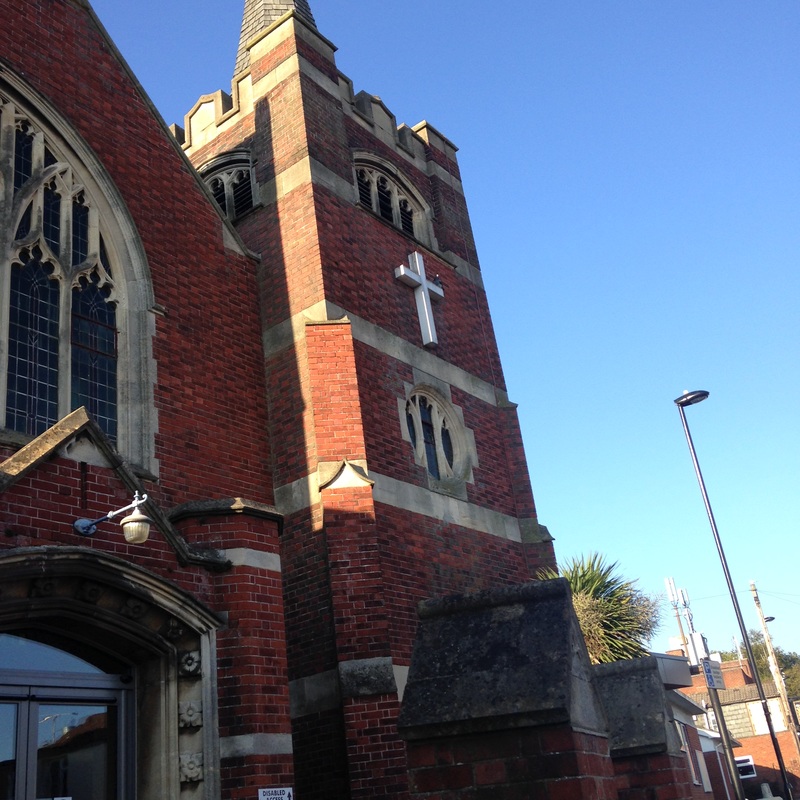
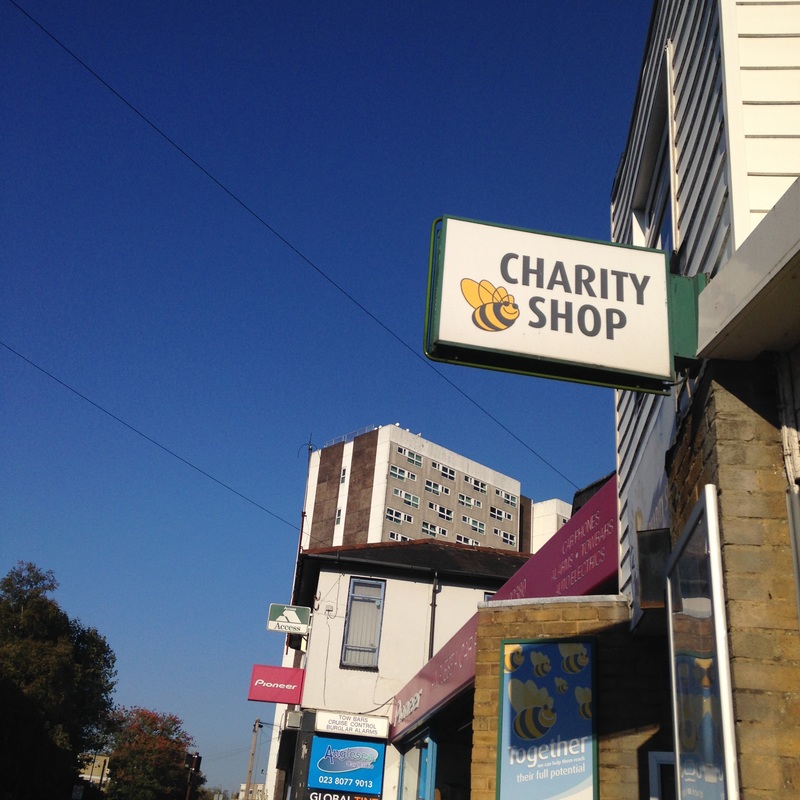
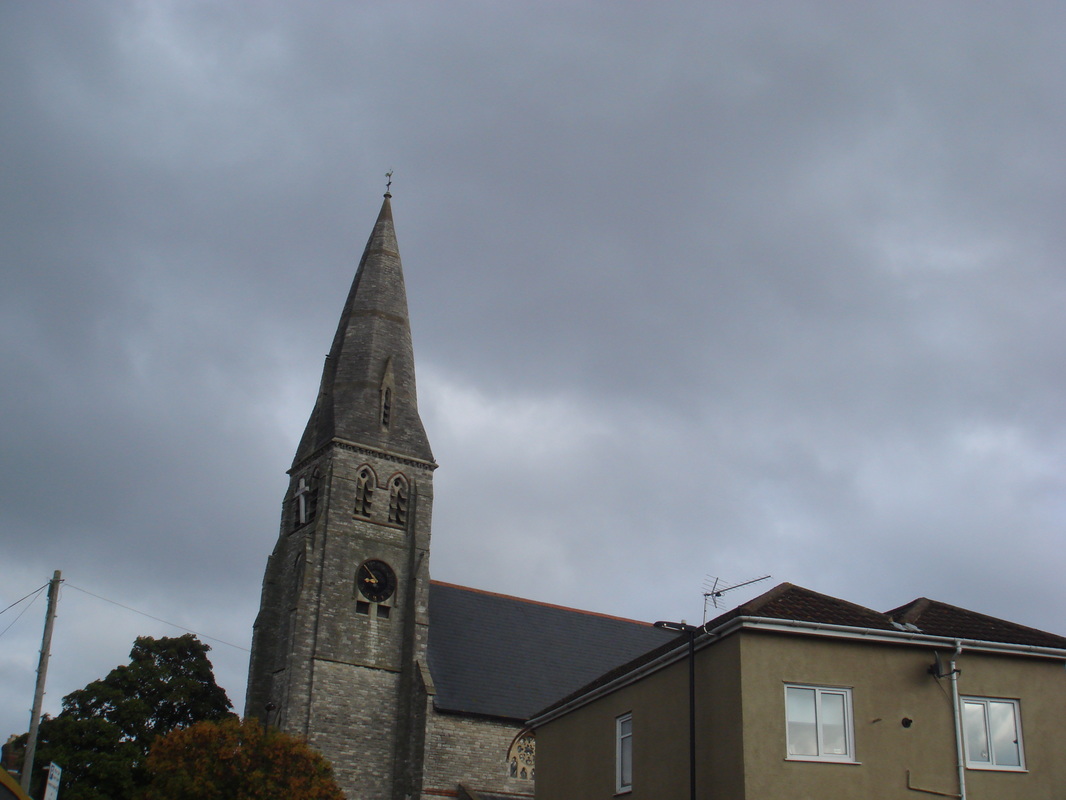
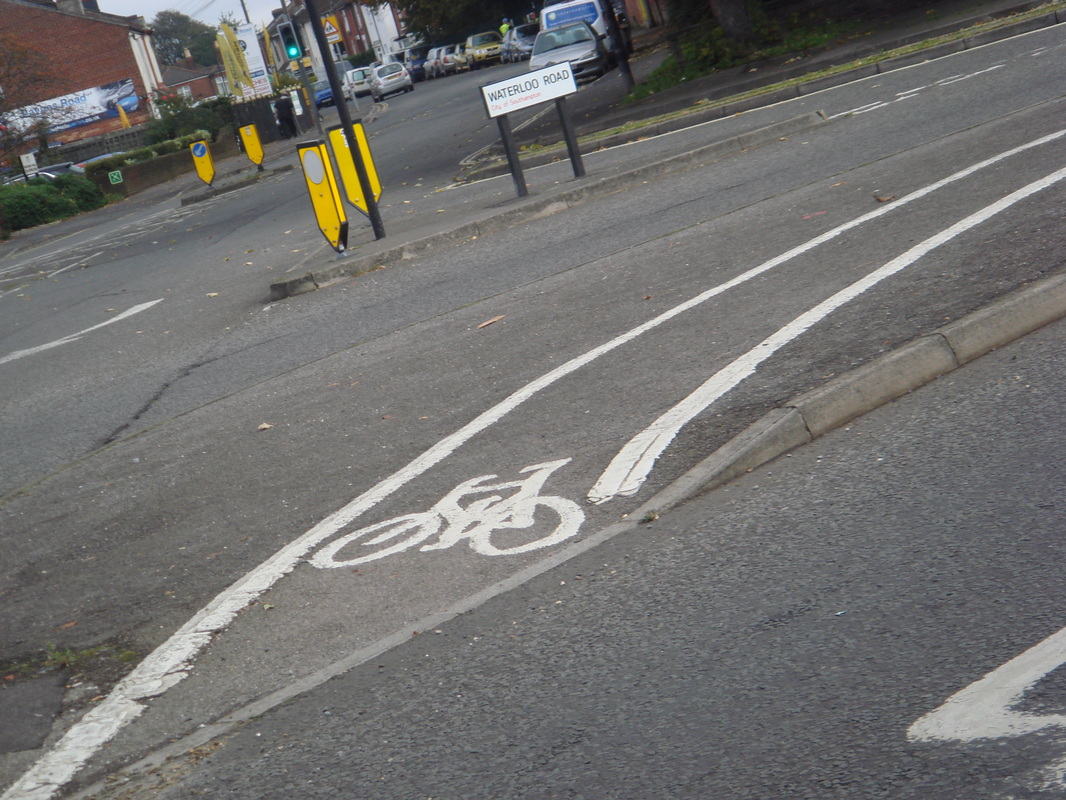
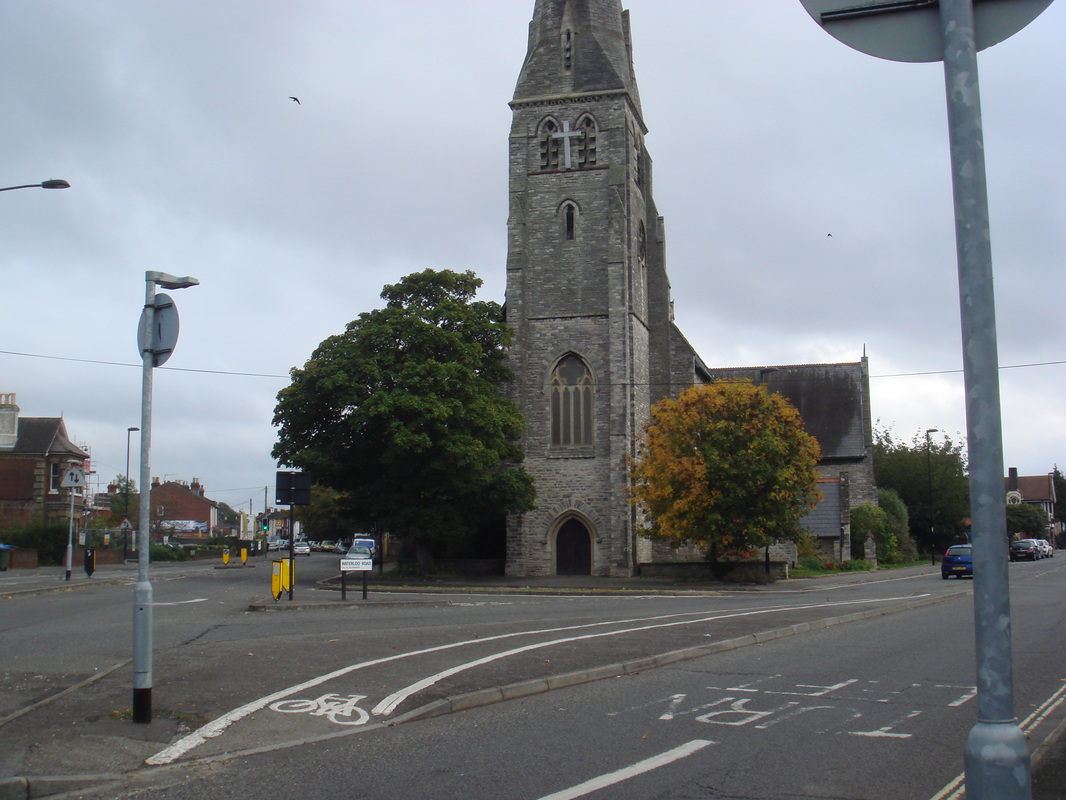
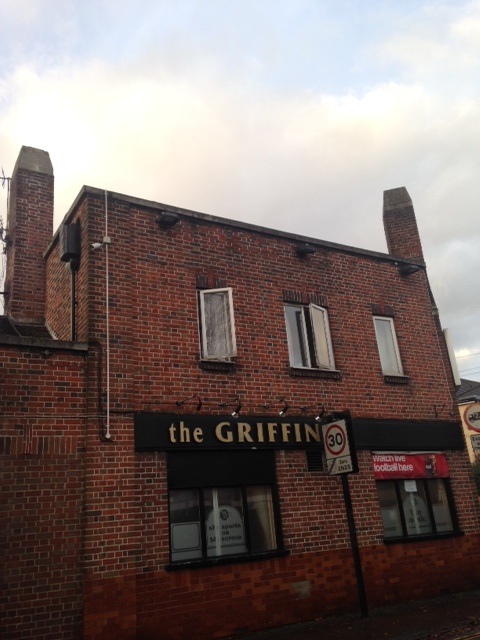
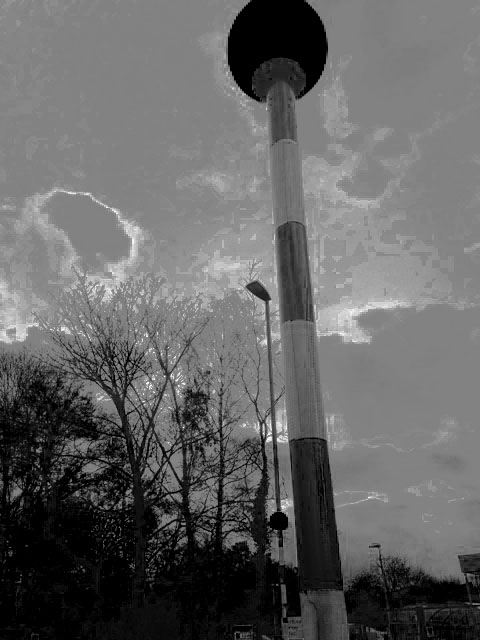
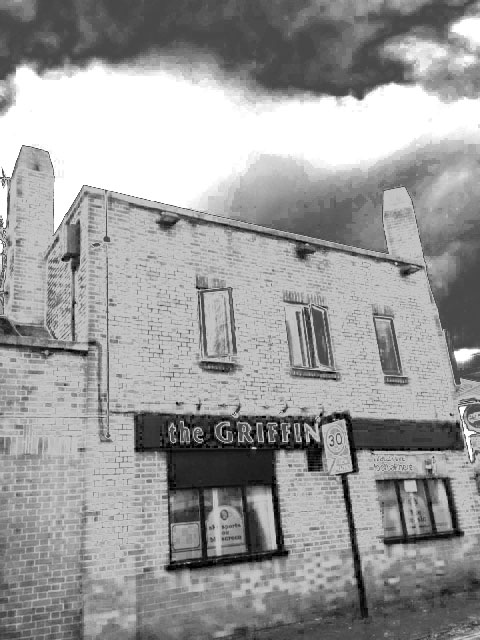
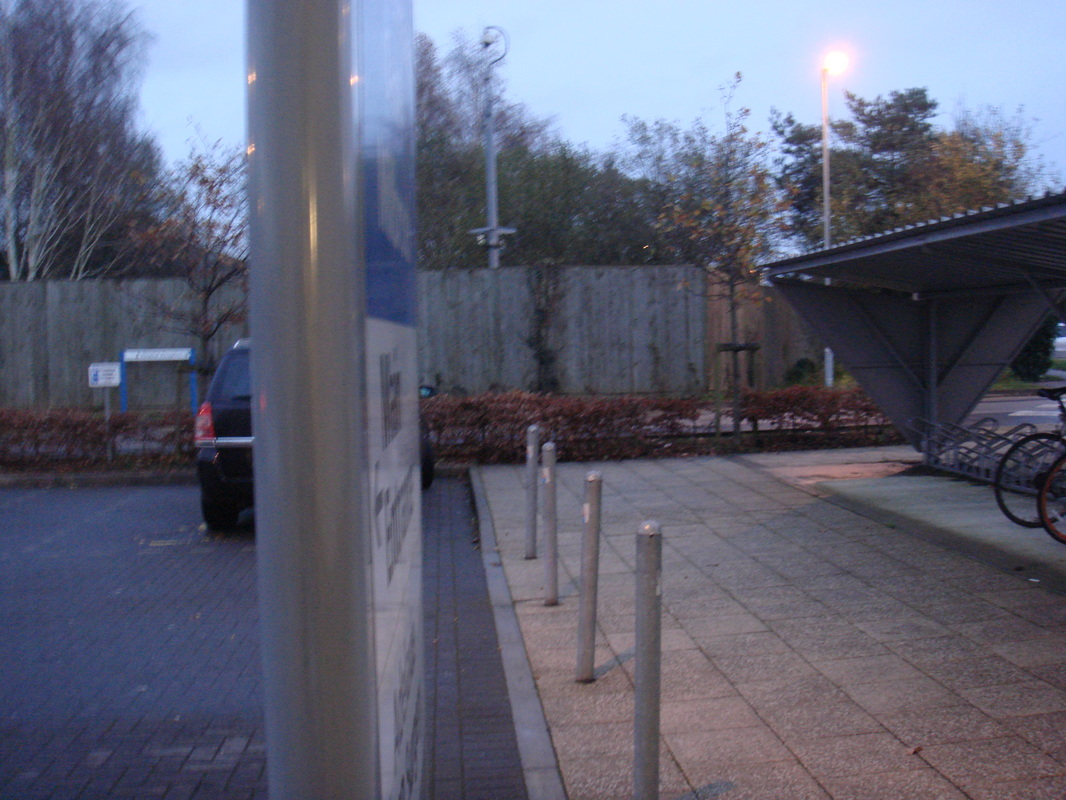
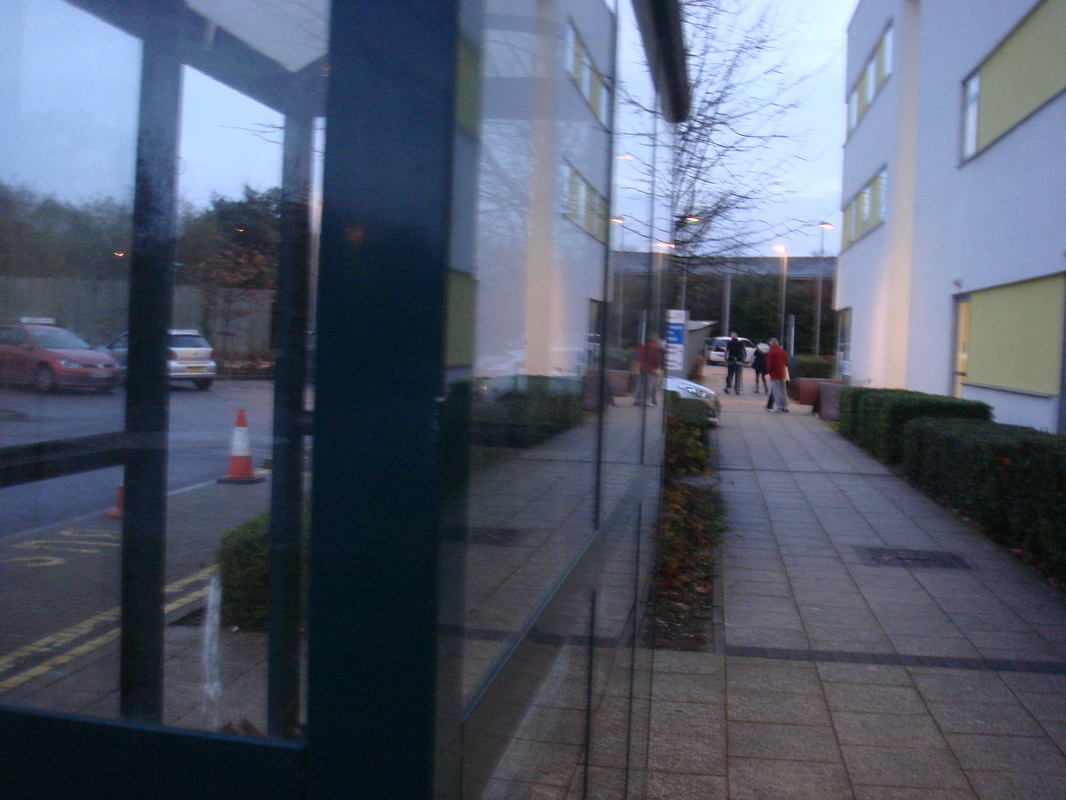
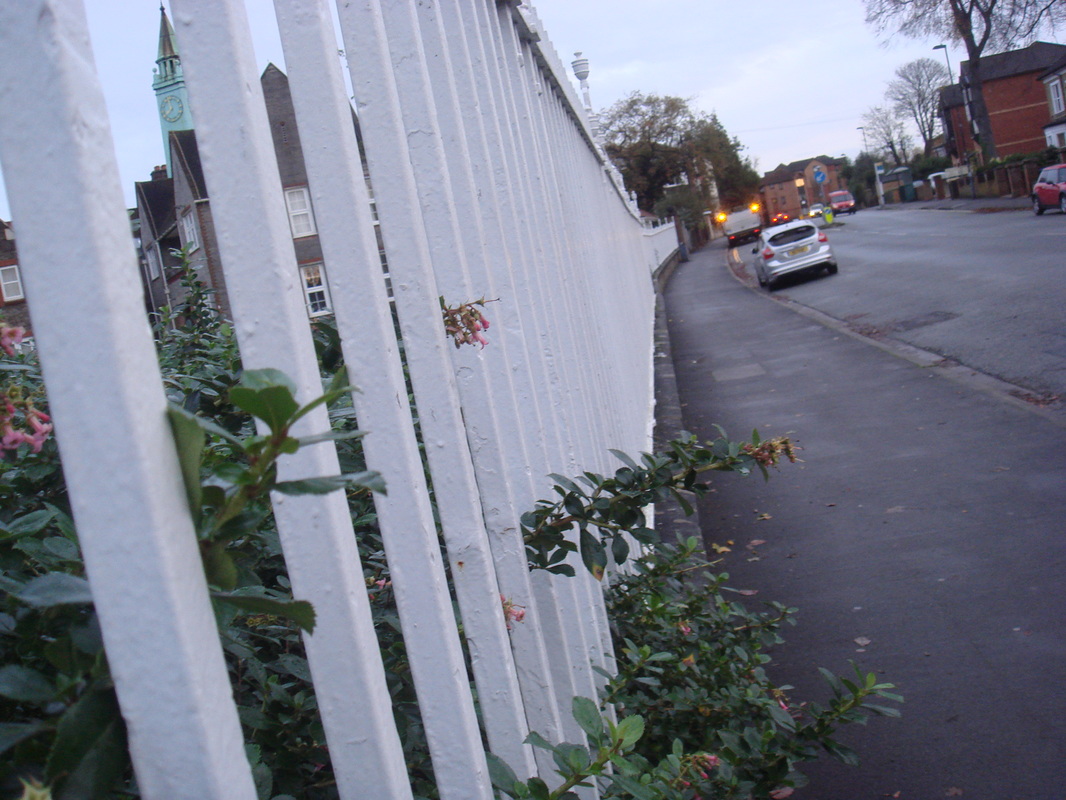
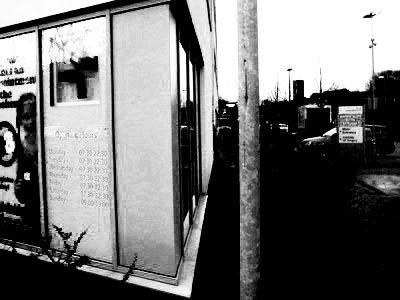
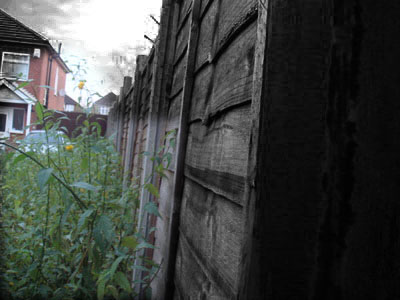
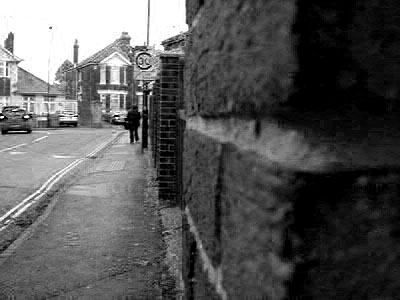
we went out for one lesson taking pictures from different positions and angels and I took pictures of the church. how I do it was that I placed the camera on the wall in a upwards position with a clear background, and I looked at the structure carefully and took pictures that would suit urban. it took me time but I fully concentrated on the project The next lesson we went out to town to take photos and I took 55 to 60 photos. they were all based on street photography and I focused in on the pictures and made it a good and class photo.
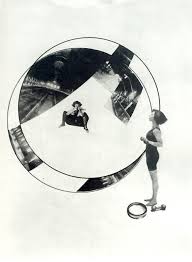
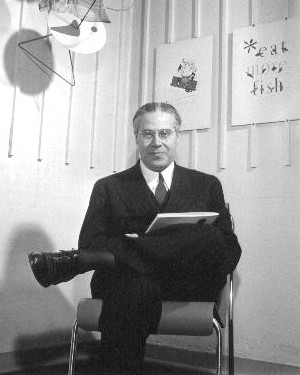
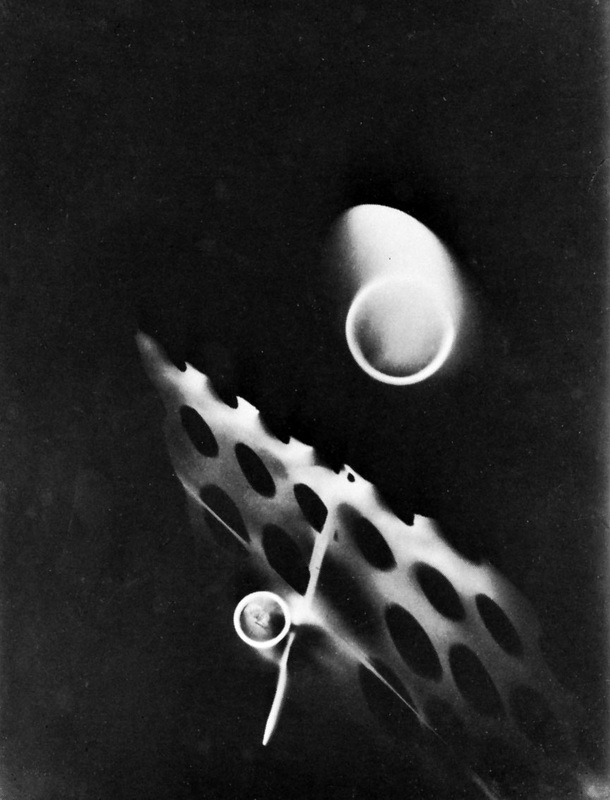
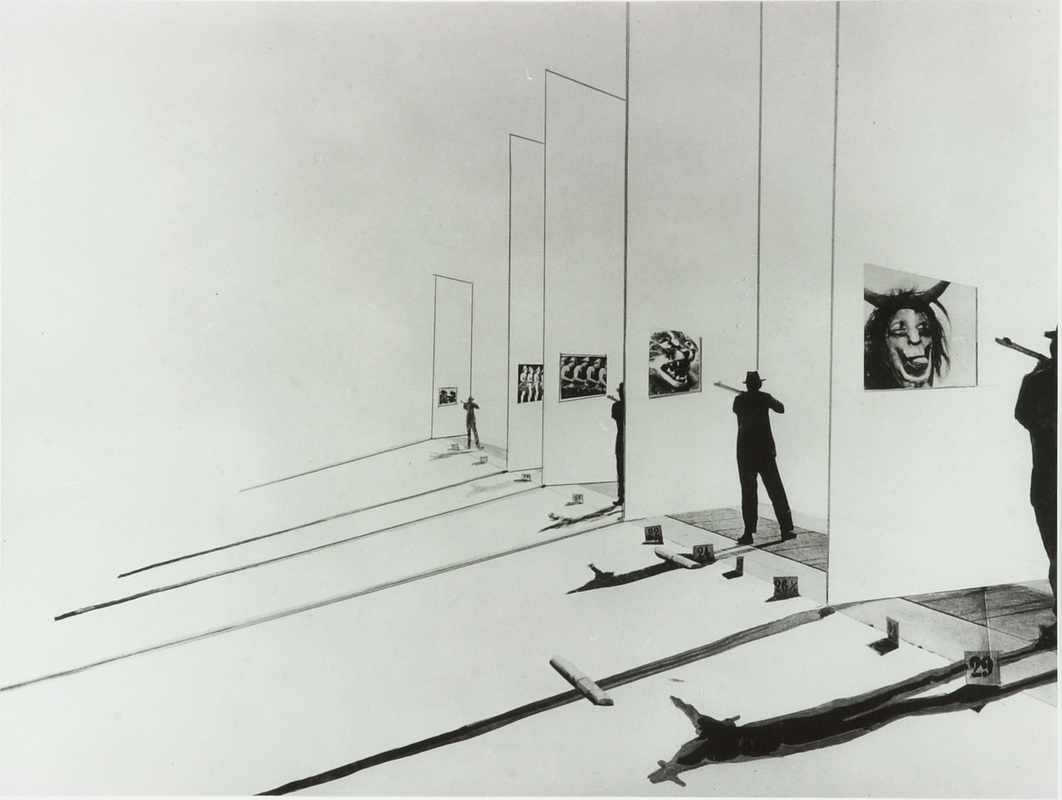
Moholy-Nagy's
His work is highly amazing, he takes pictures from different angles. But there not just ordinary photos, there images which were worked hard on. some pictures are random but there really creative. There is a lot of editing like taking other pictures or creating them himself from somewhere else and putting them together to make a random image which is talented. I inspire this because it gets me motivated and gets me to take more pictures and to improve.
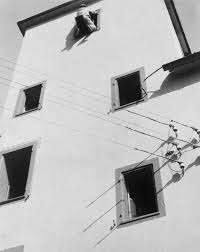
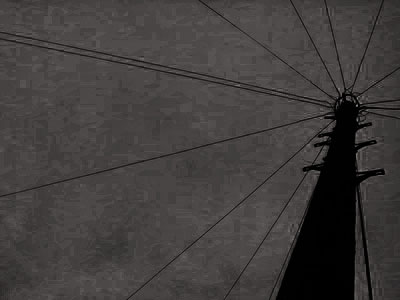
In response to Moholy-Nagy's
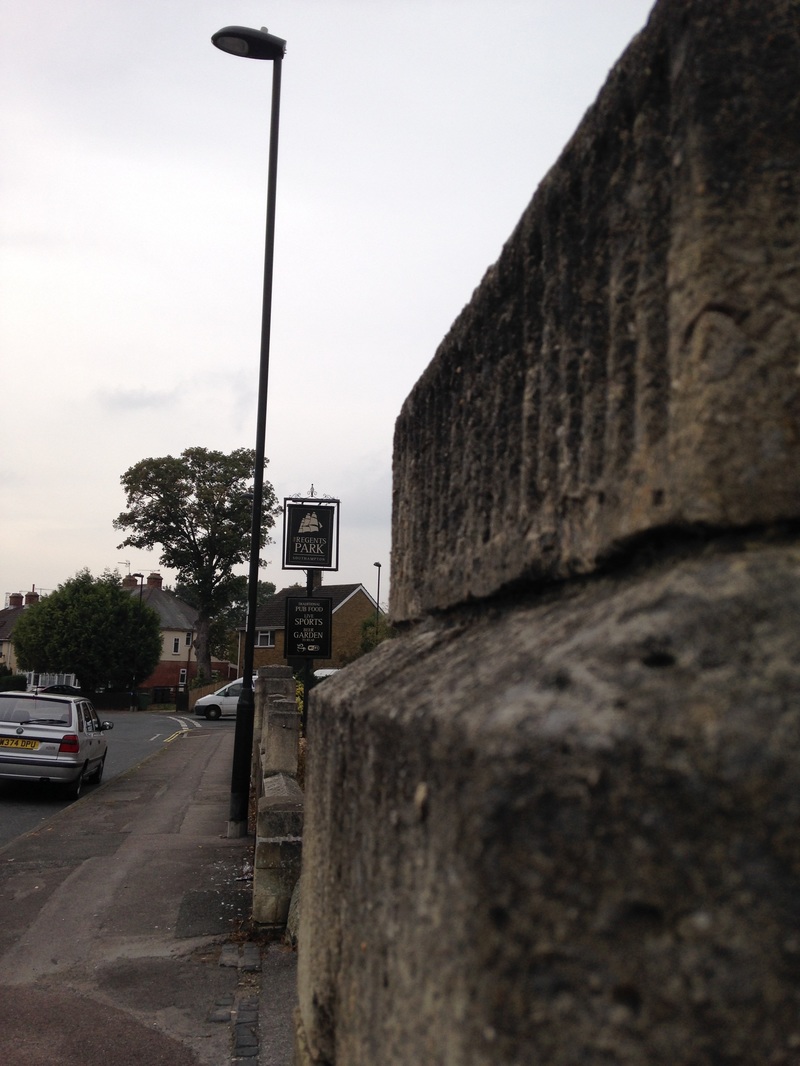
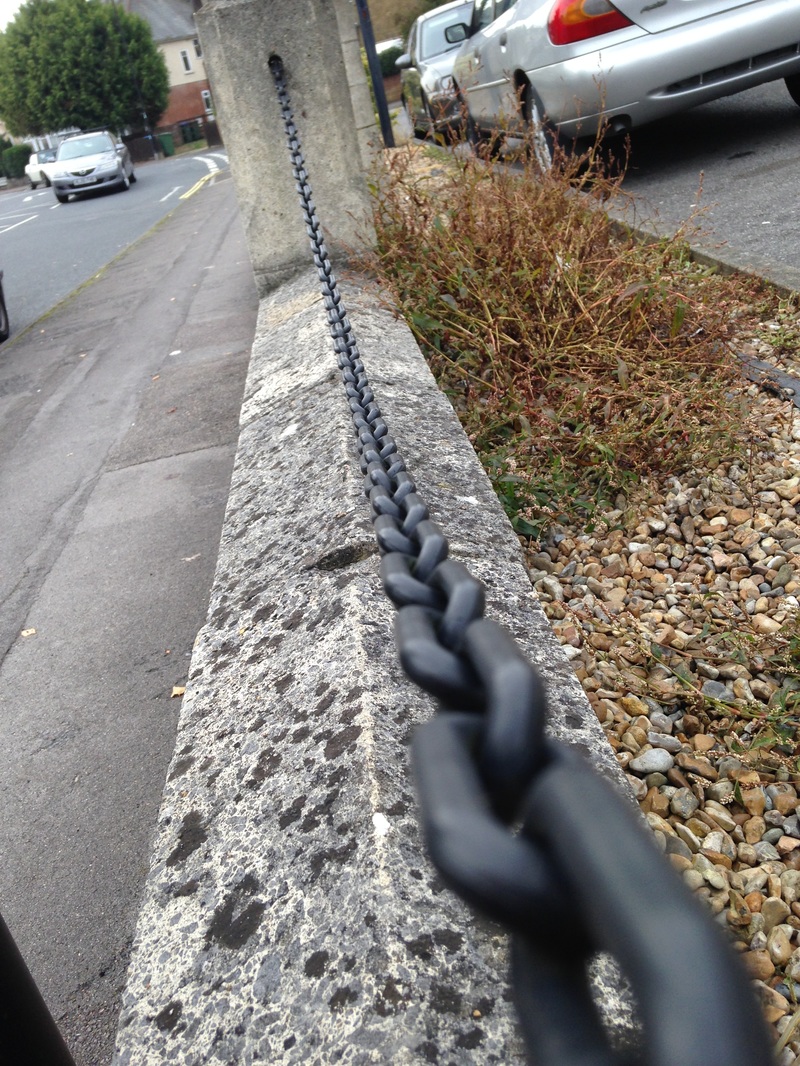

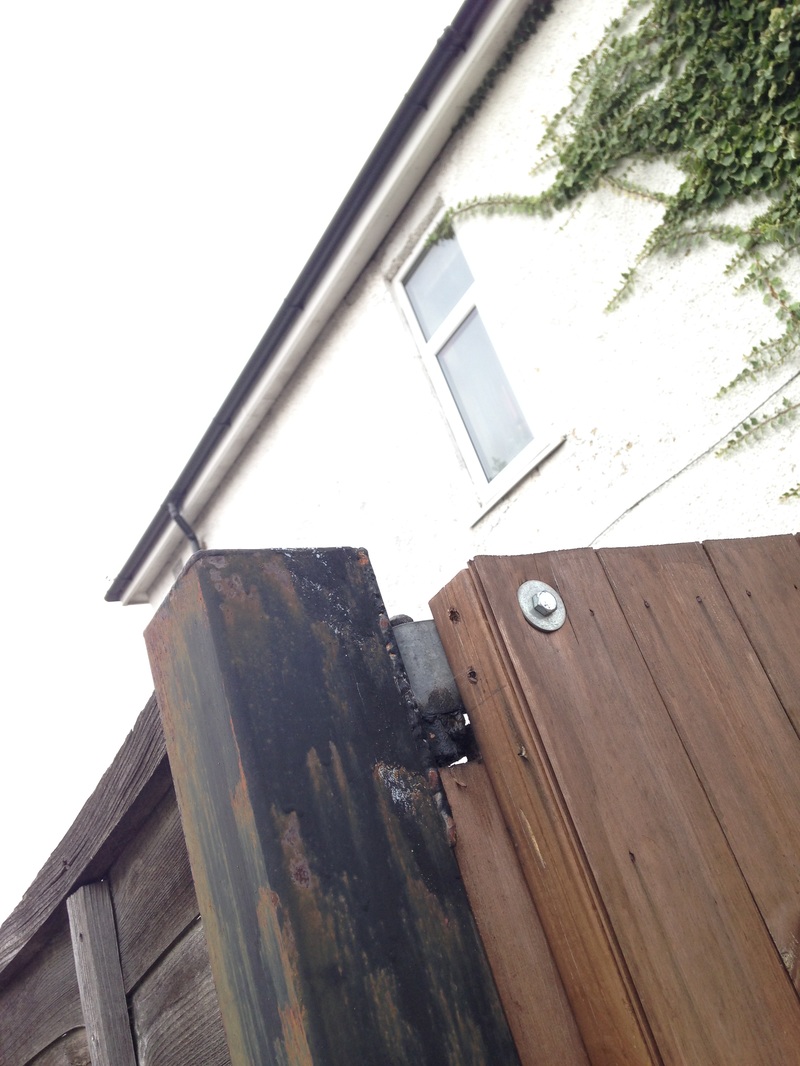
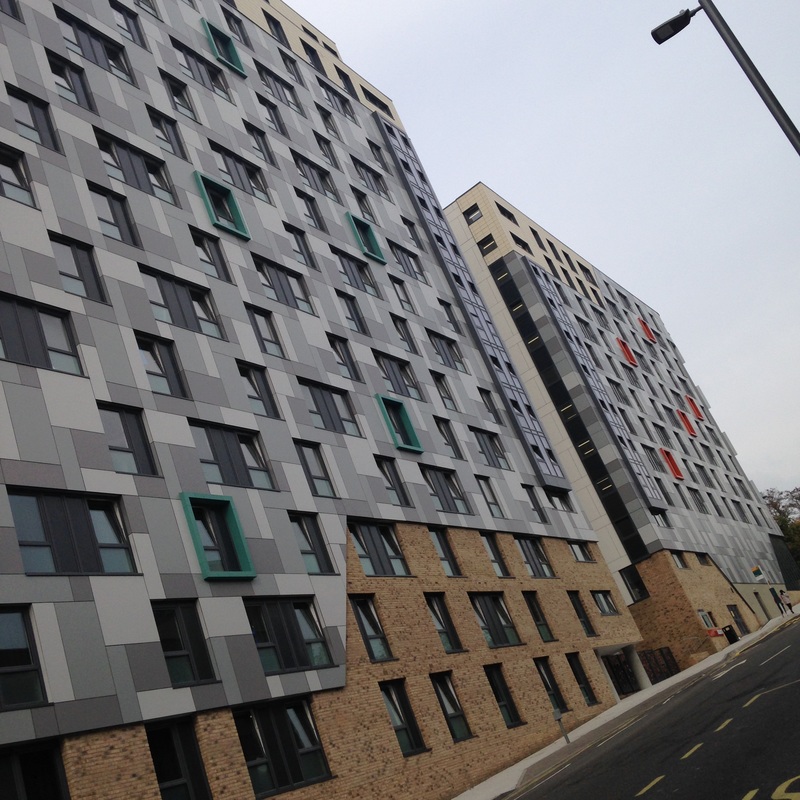

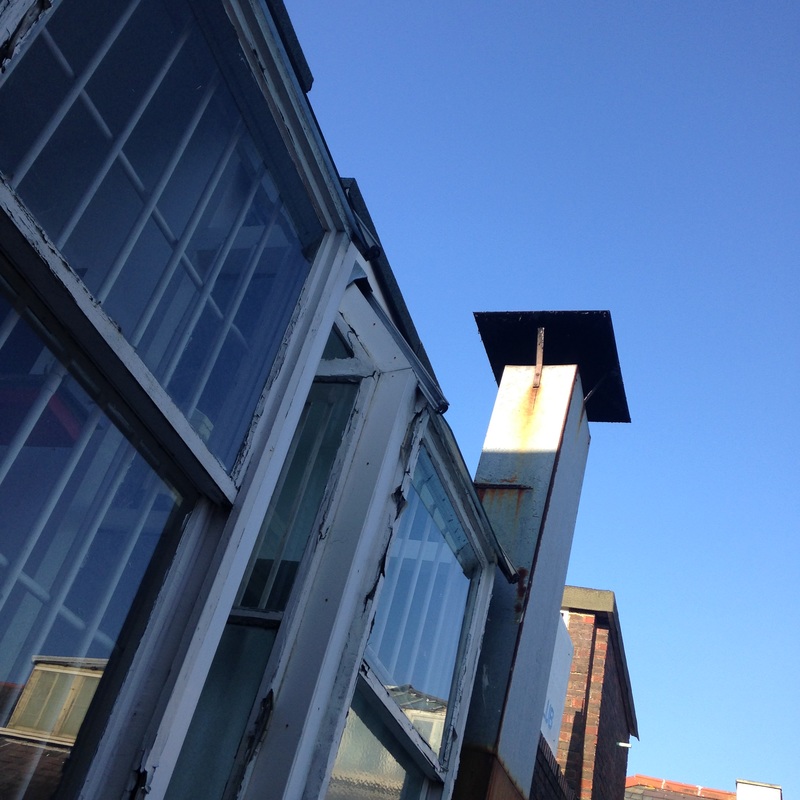

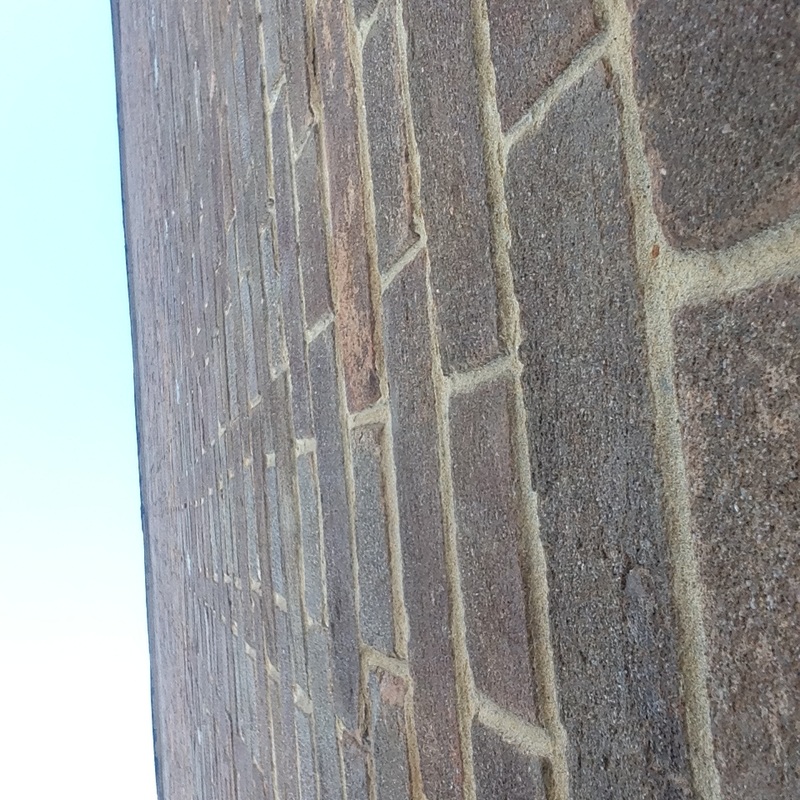


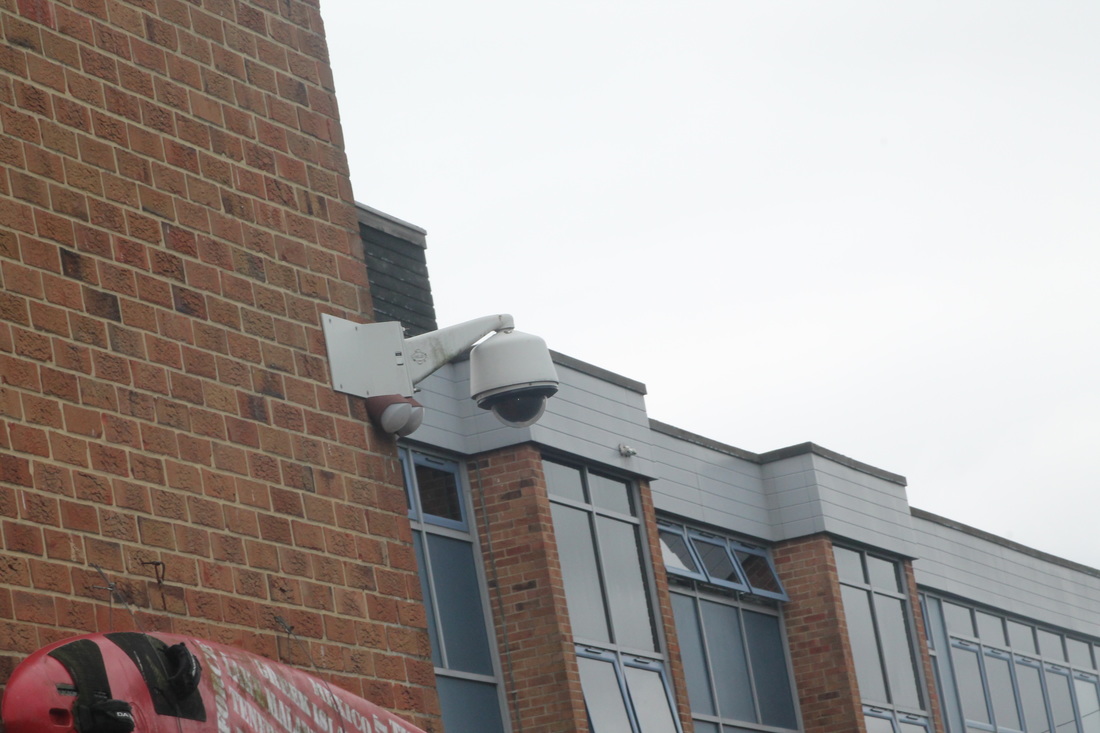
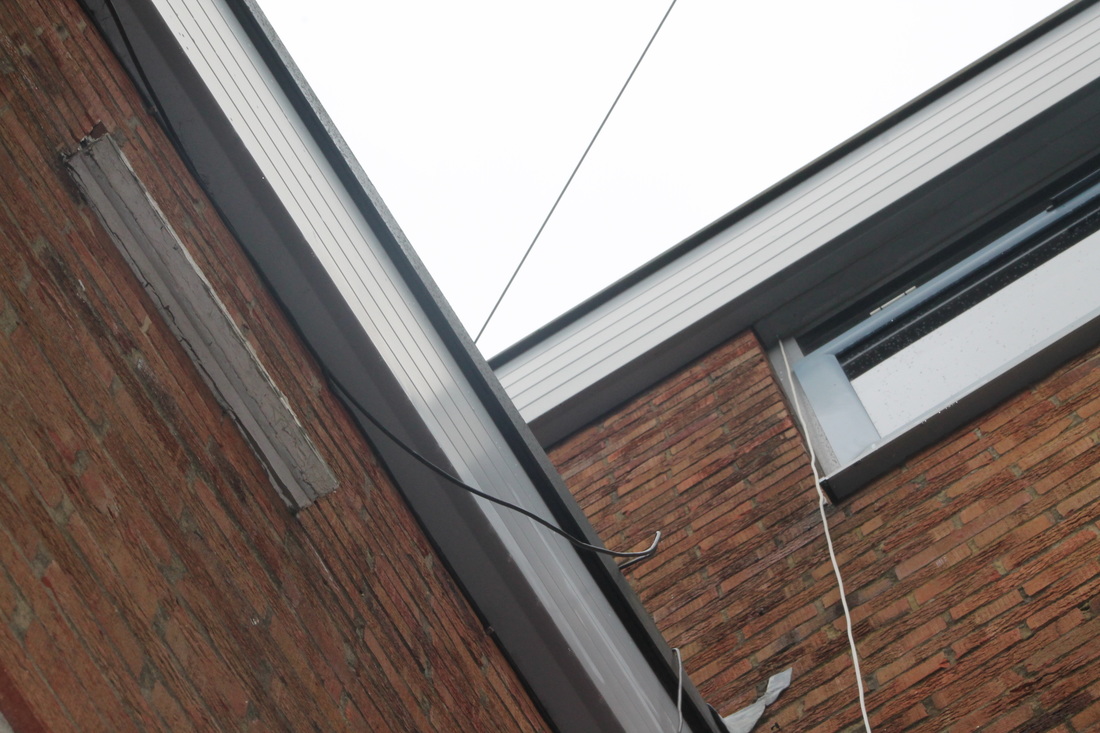
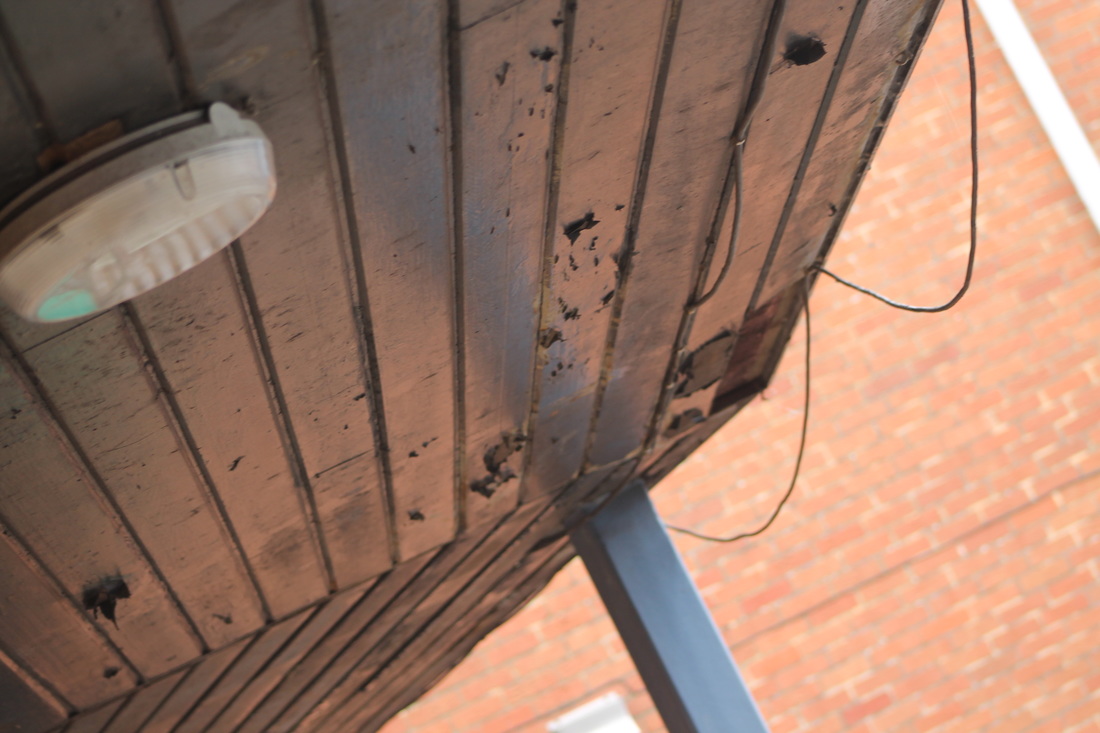
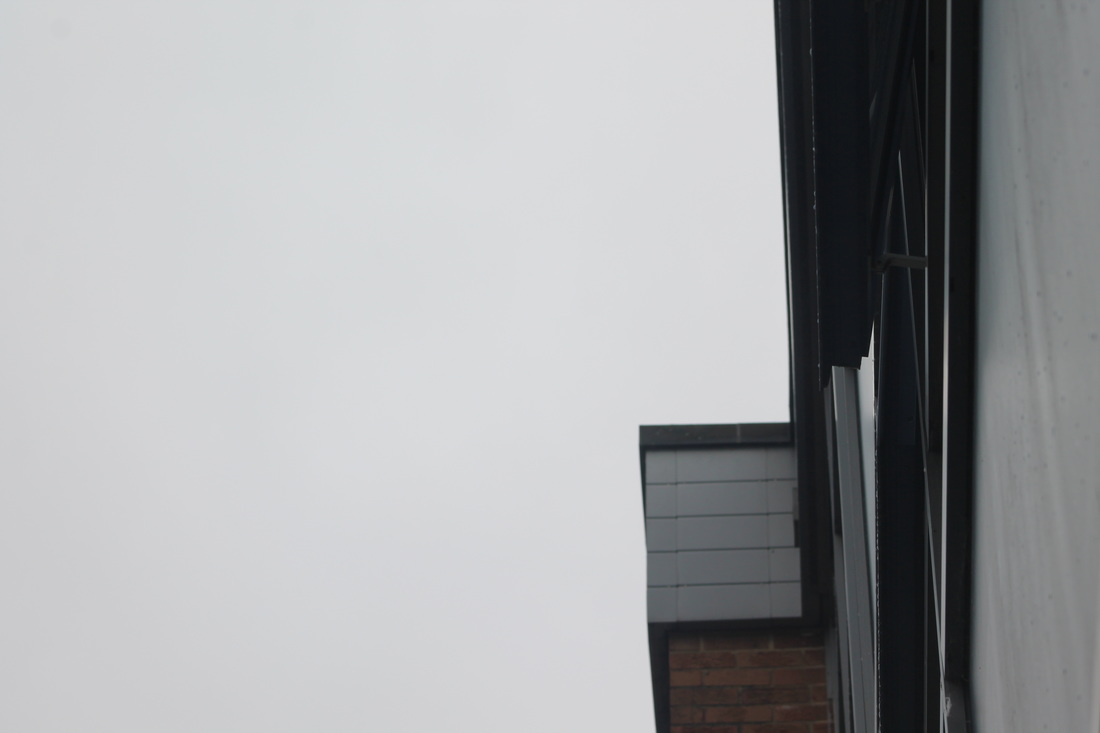
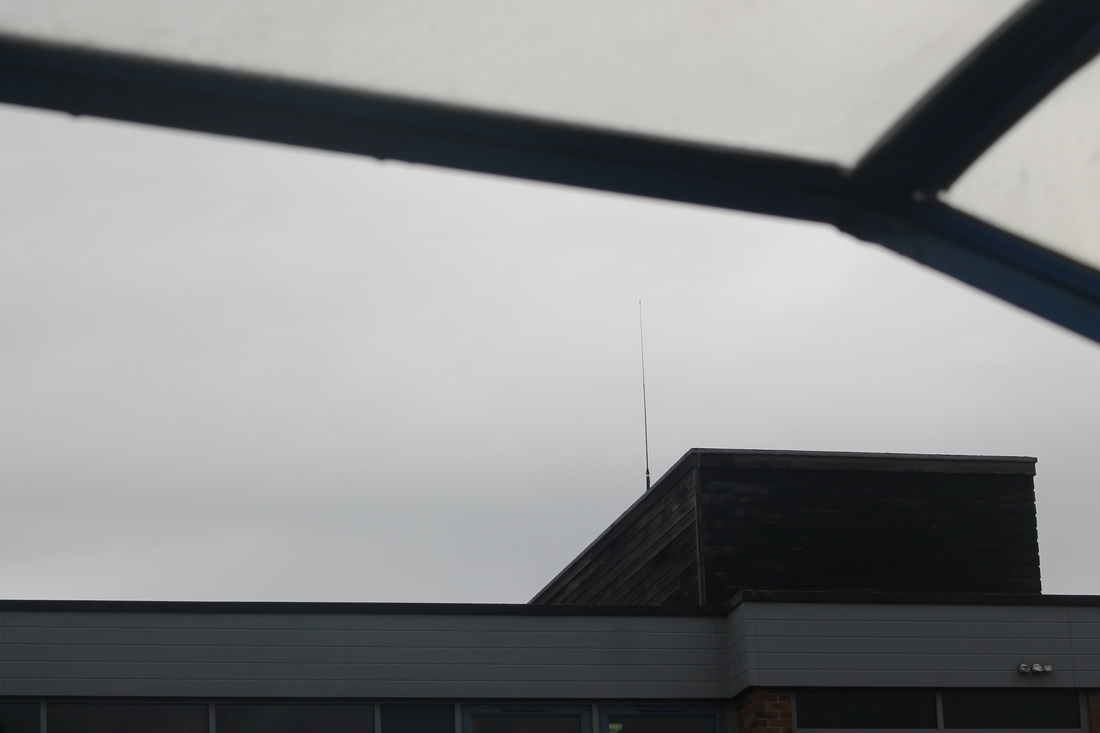
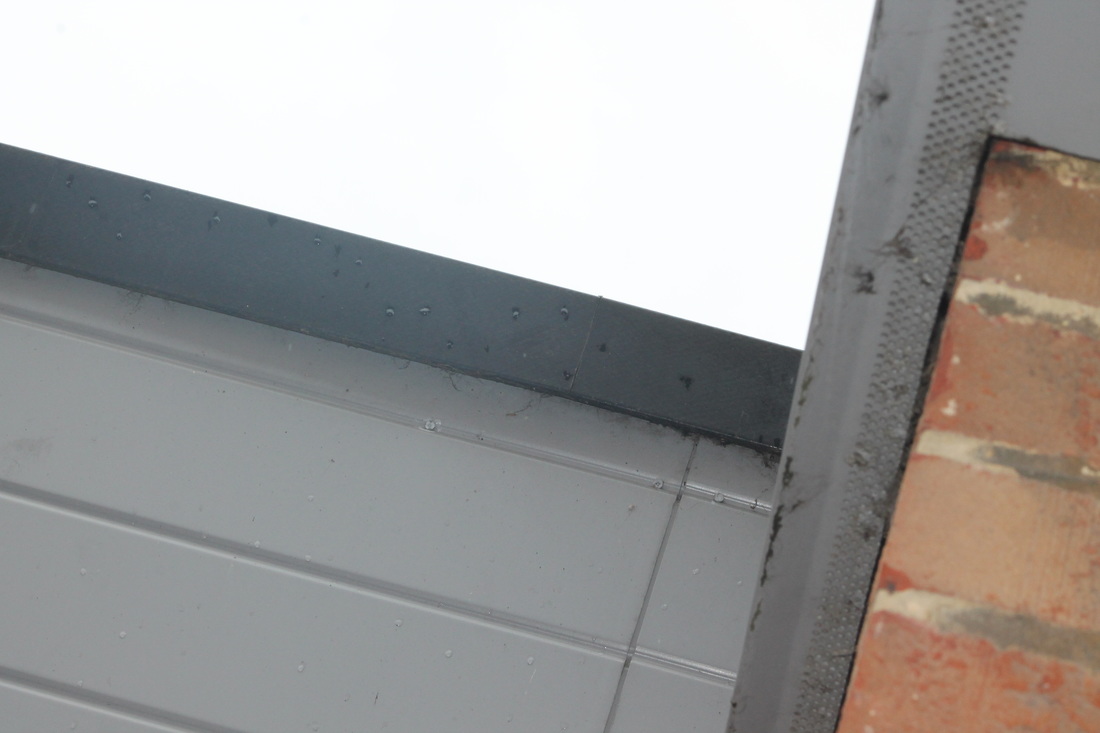
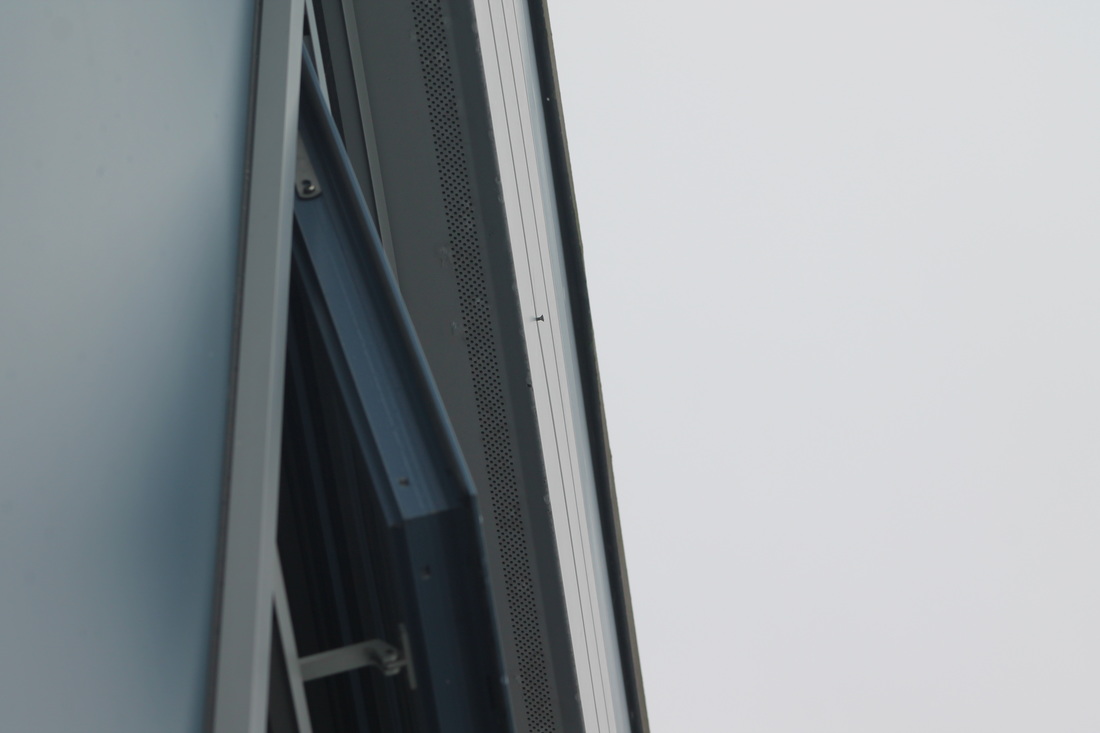
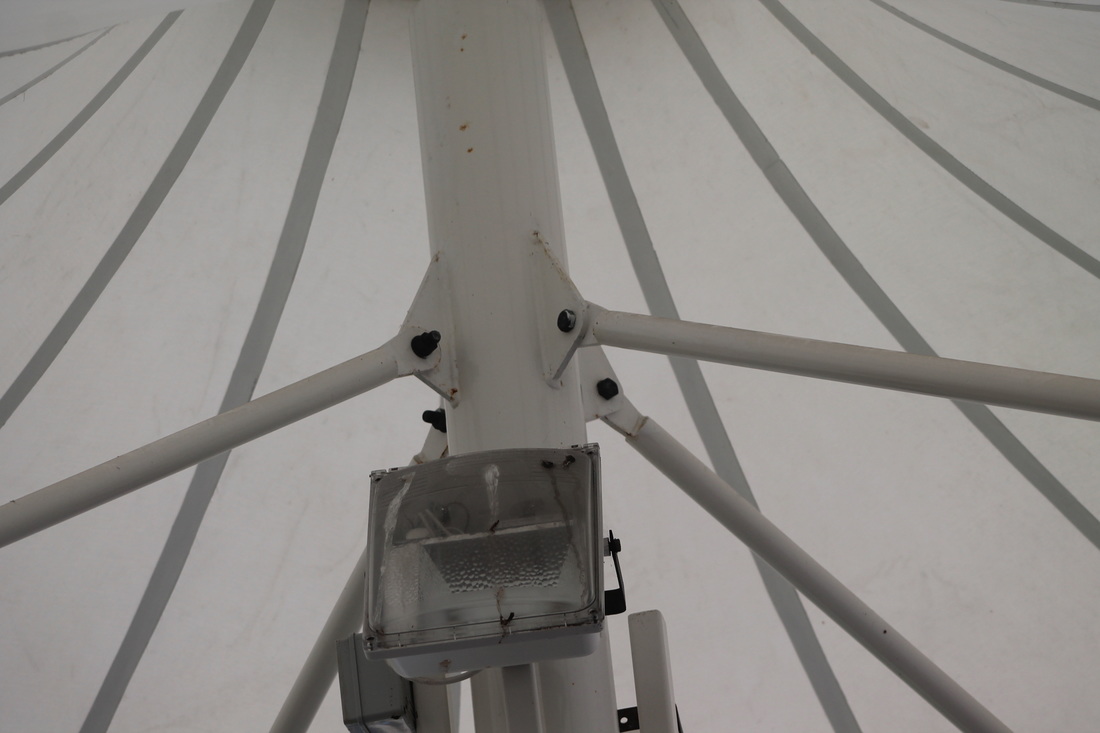
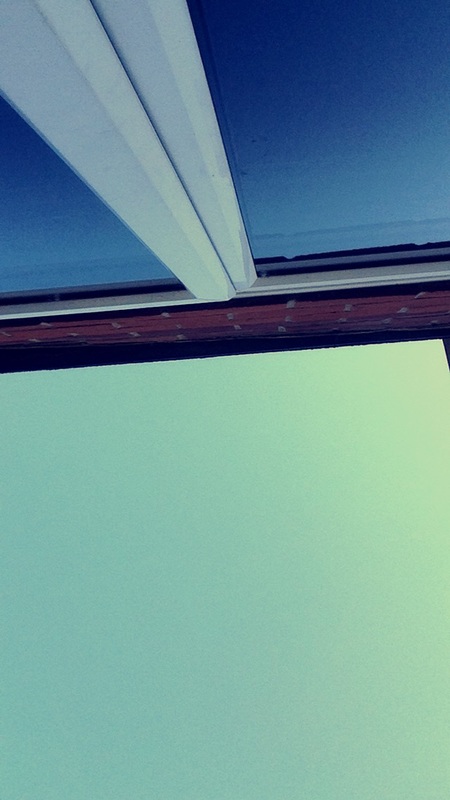
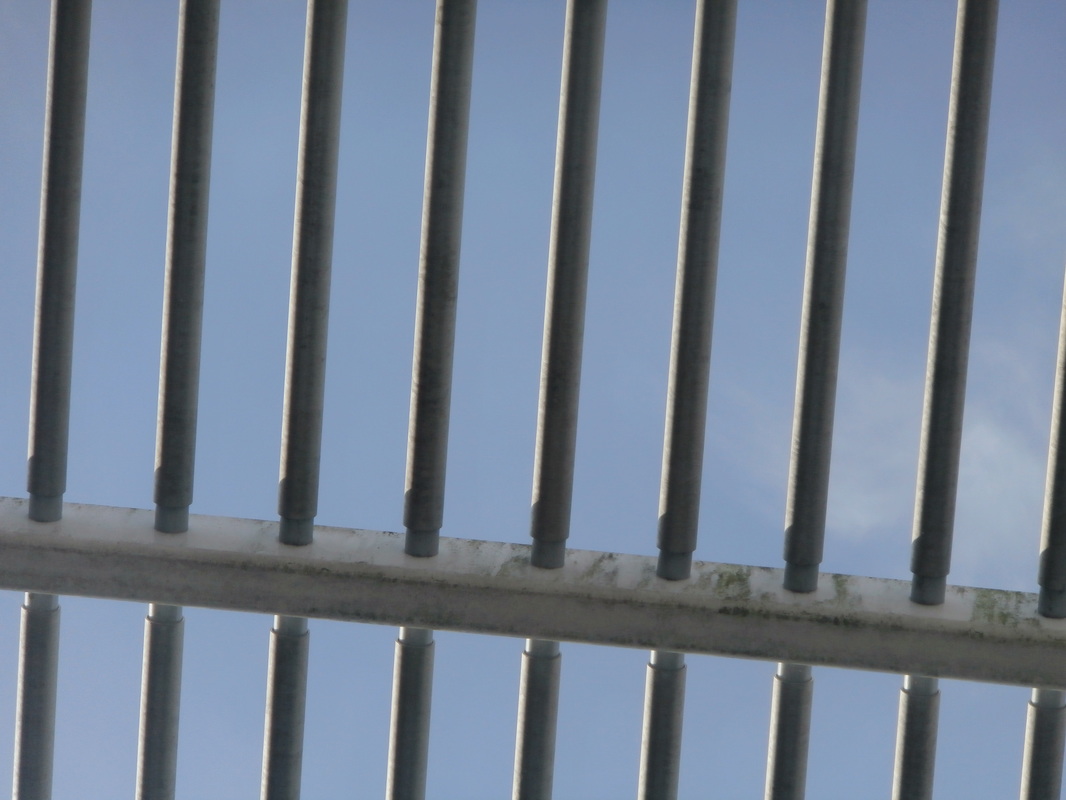
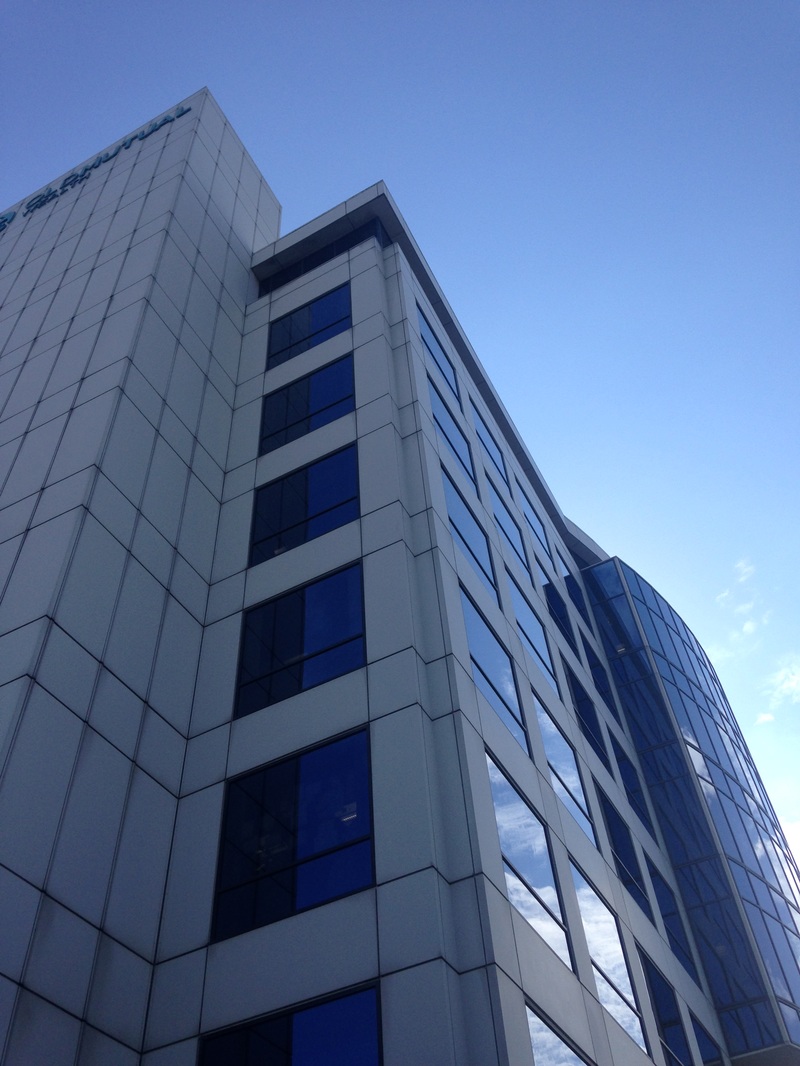
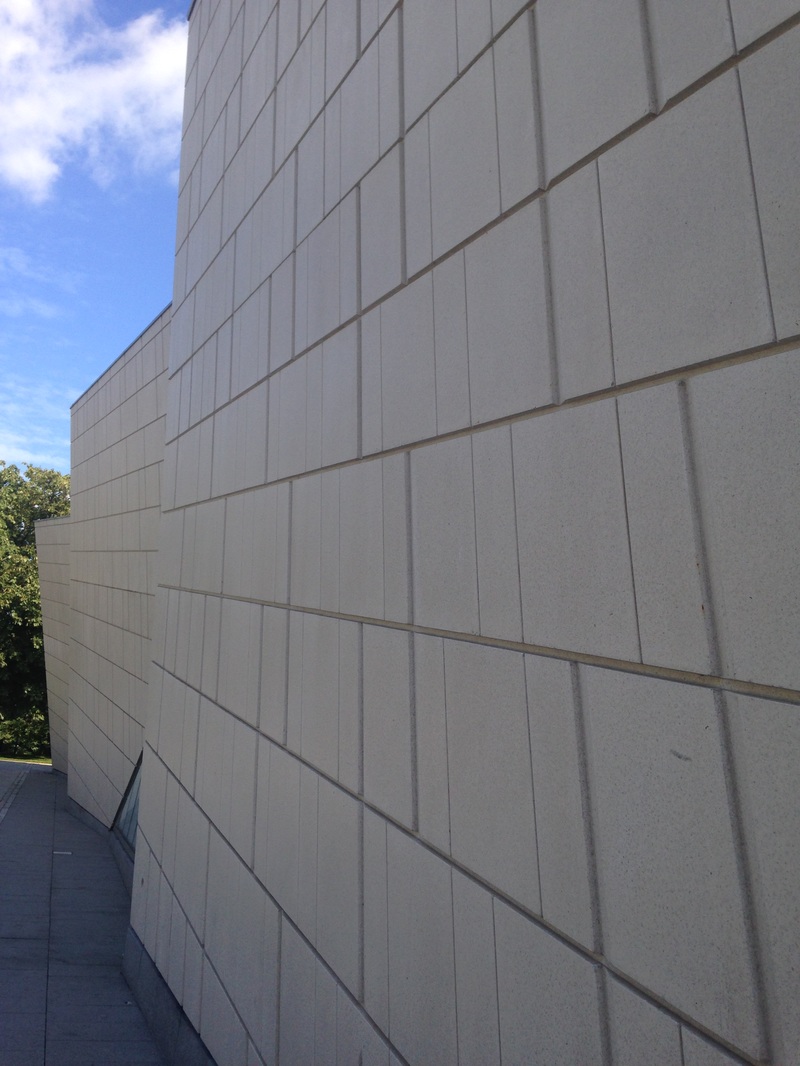
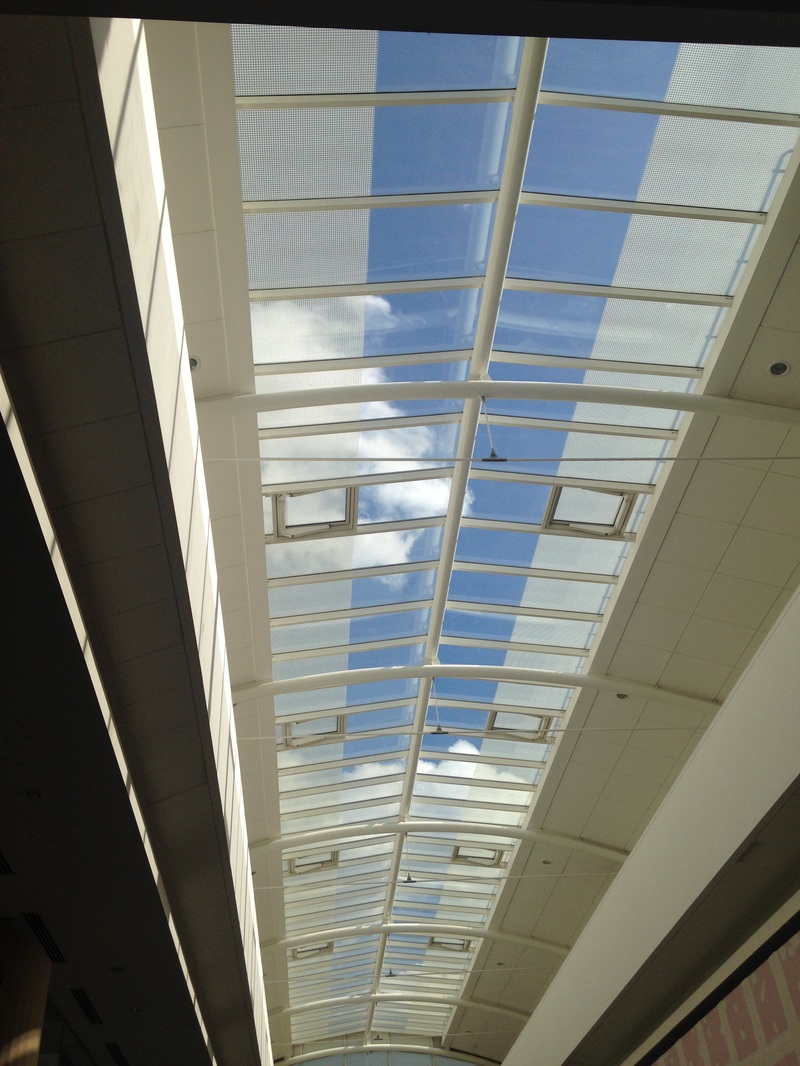
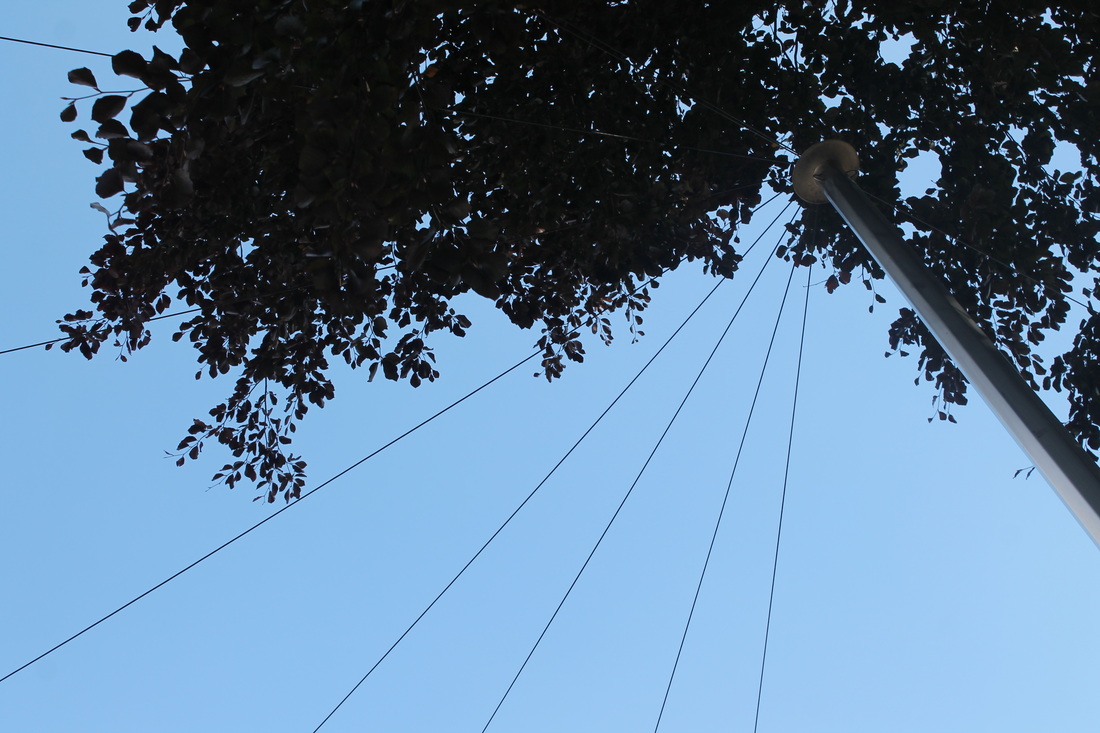
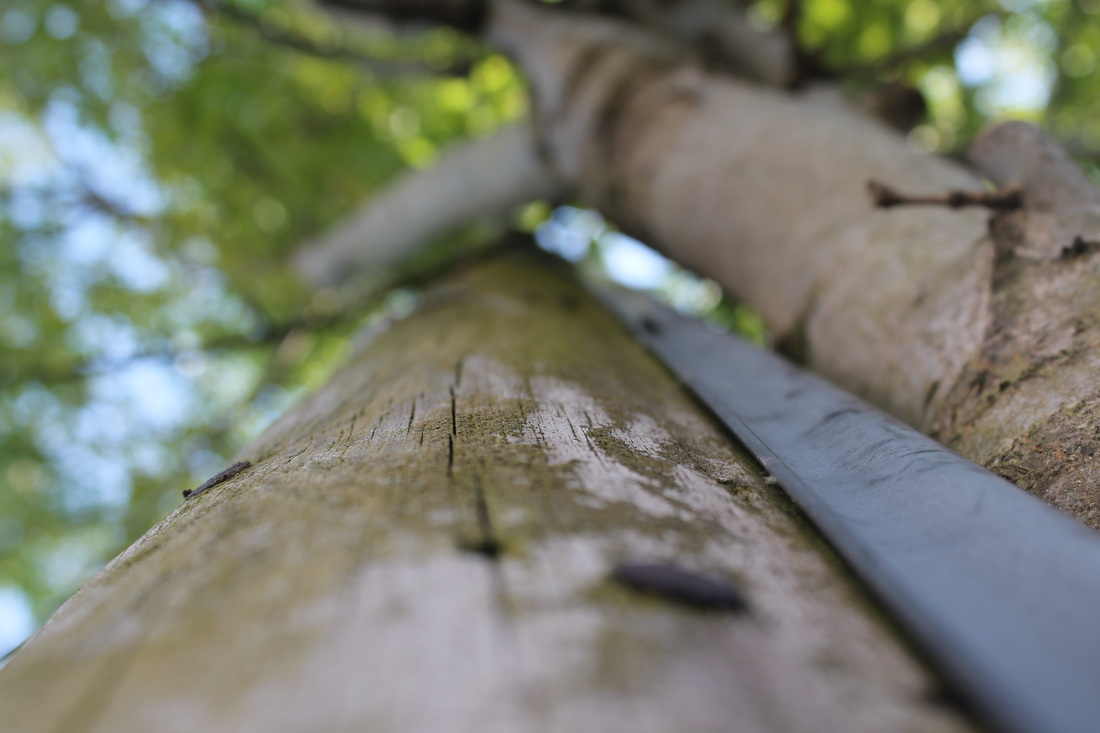
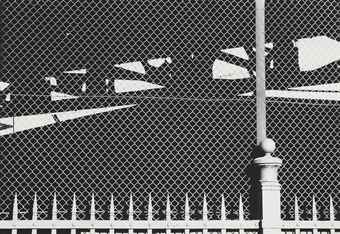
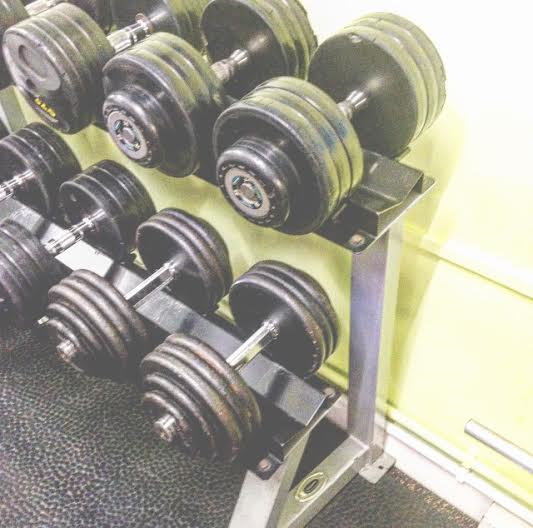
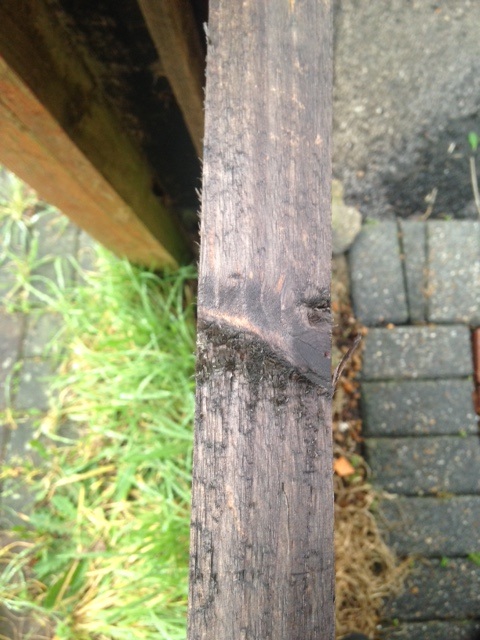
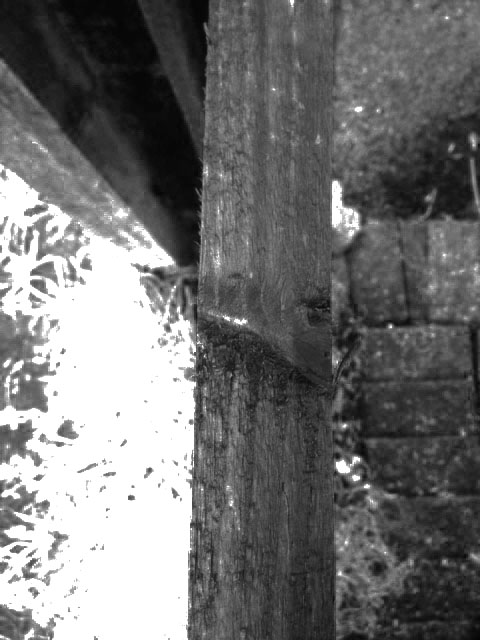
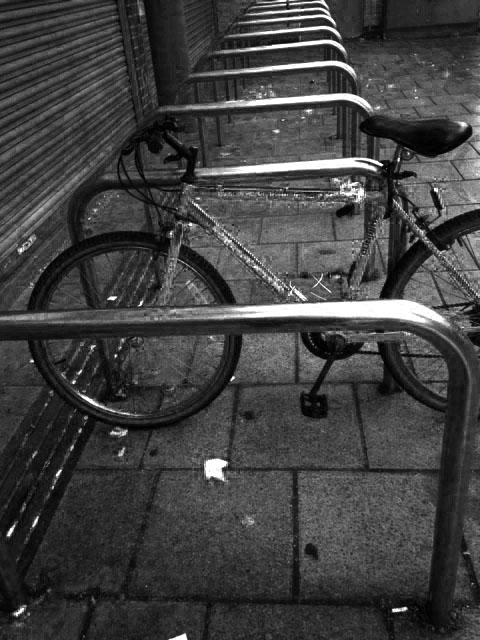
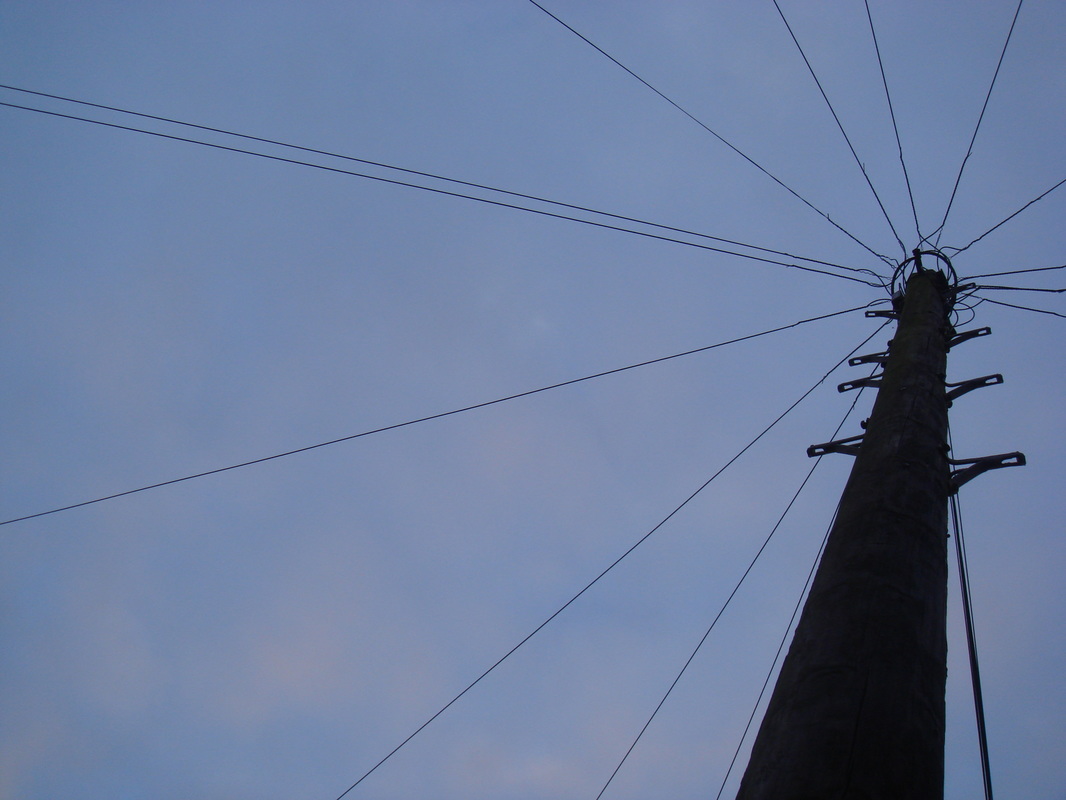
I knew that his work had wiring in it, so I thought about what part of photography skills I should do, I picked wires so I took a picture focusing in on a chain which is metal similar to a piece of wire and blended the background but other pictures was pictures of buildings and they looked like shaped which he does for his work and I used a bit of lines in it.
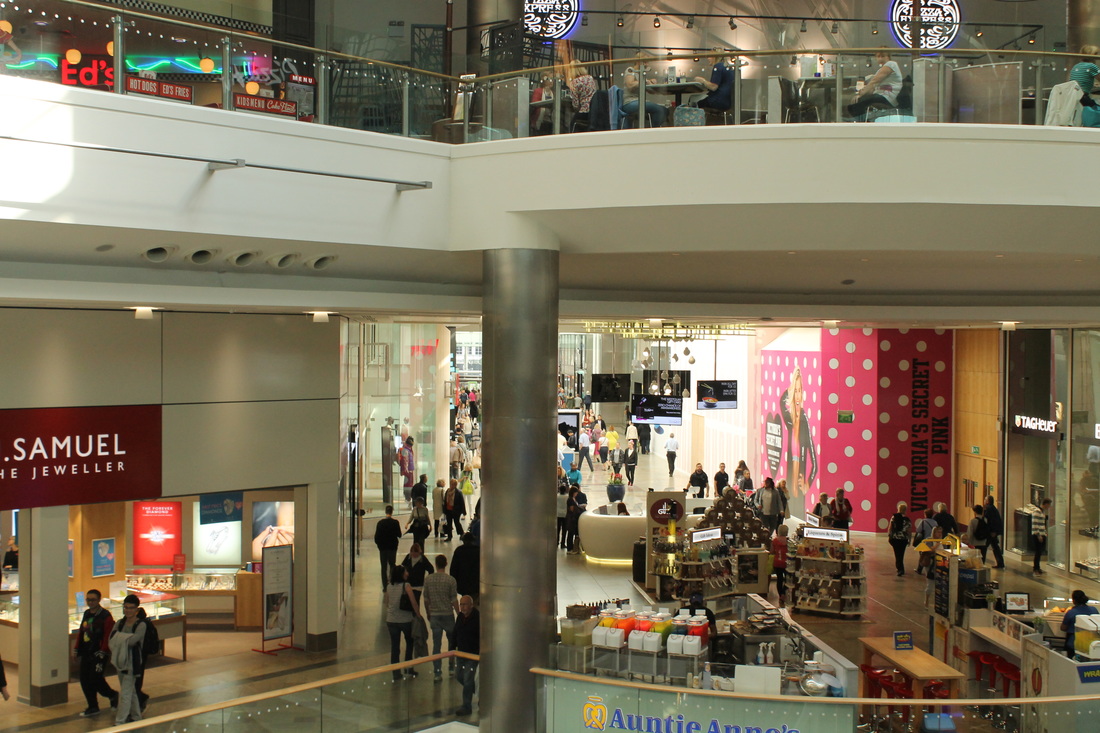
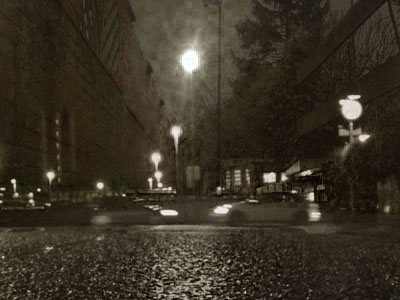
PAUL GONELLA
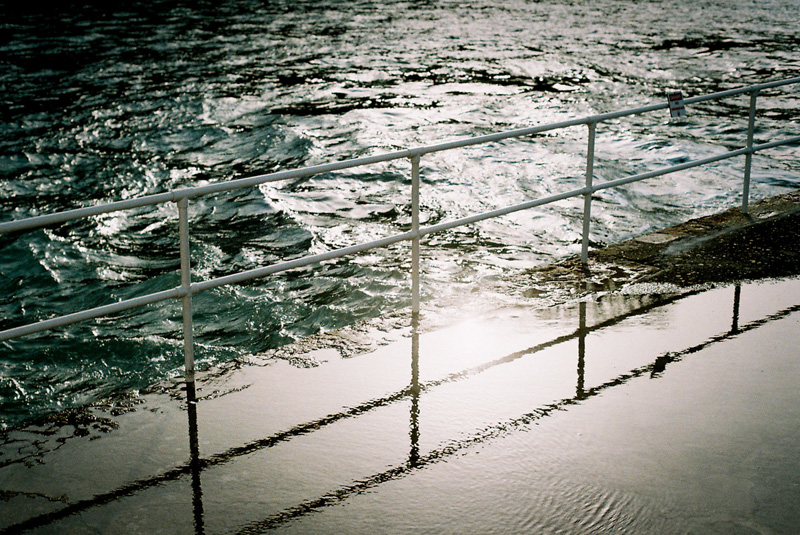
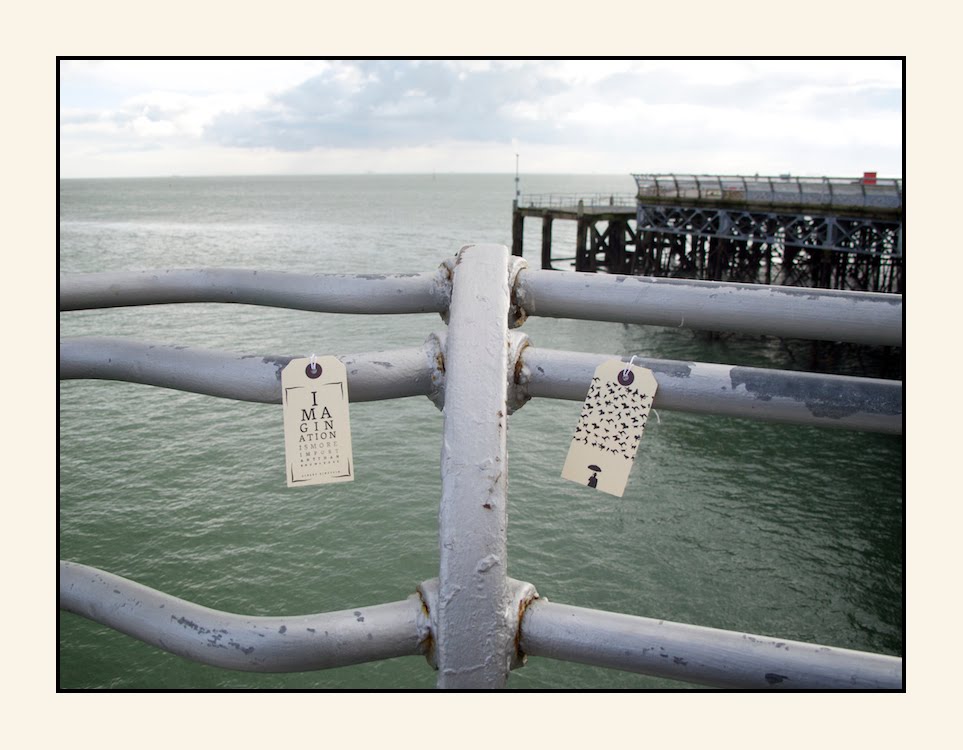
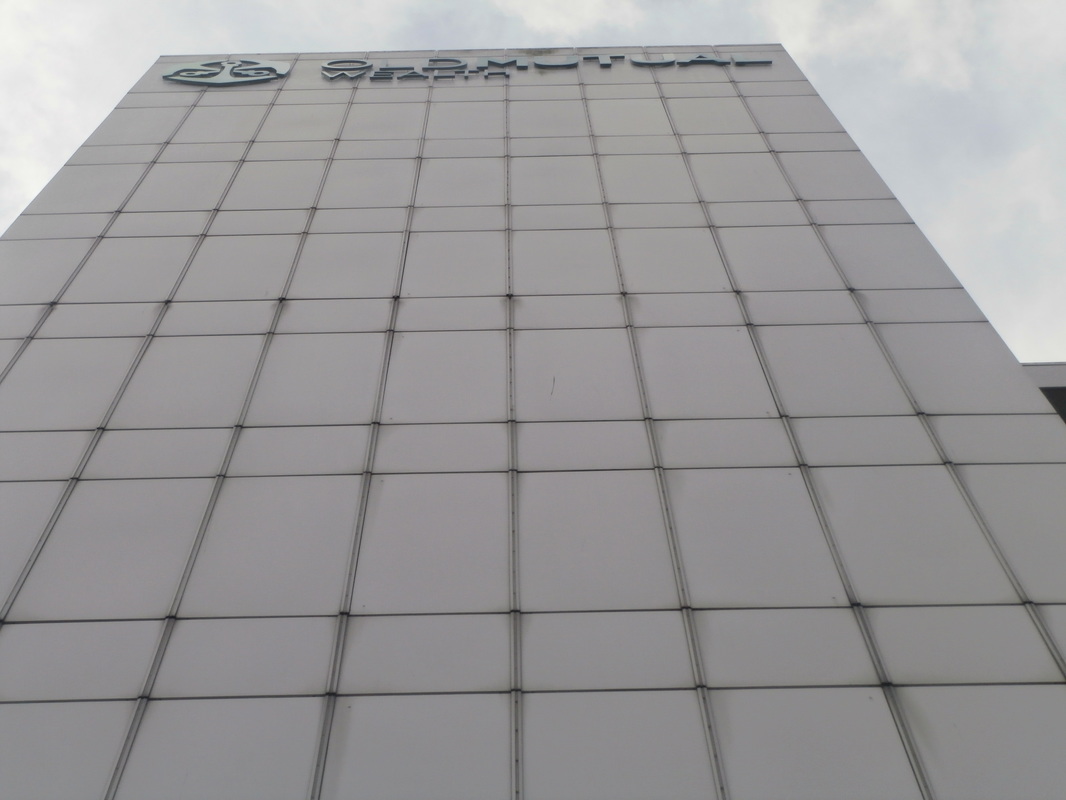
Paul Gonella is an photographer from Portsmouth and his work is really creative, he takes pictures of lines and building and his focus Is amazing. he blends in other objects with different things in the same picture and he is very famous for his work.
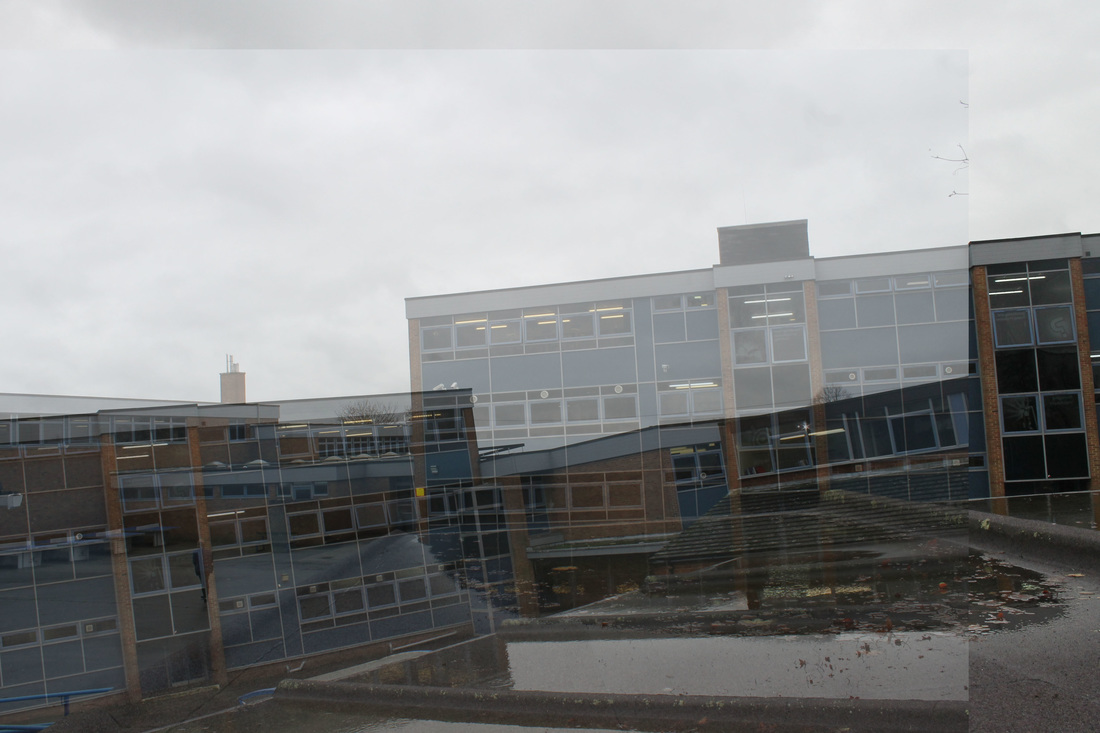
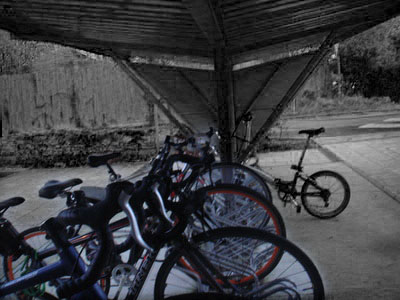
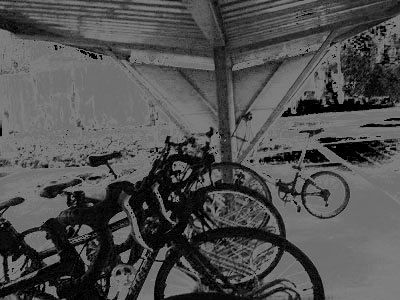
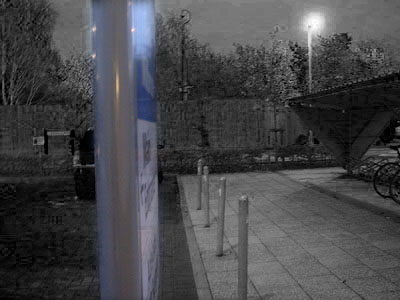
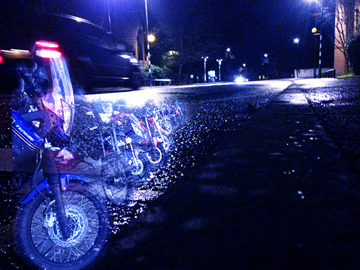
My photos inspired by Paul Gonella's work
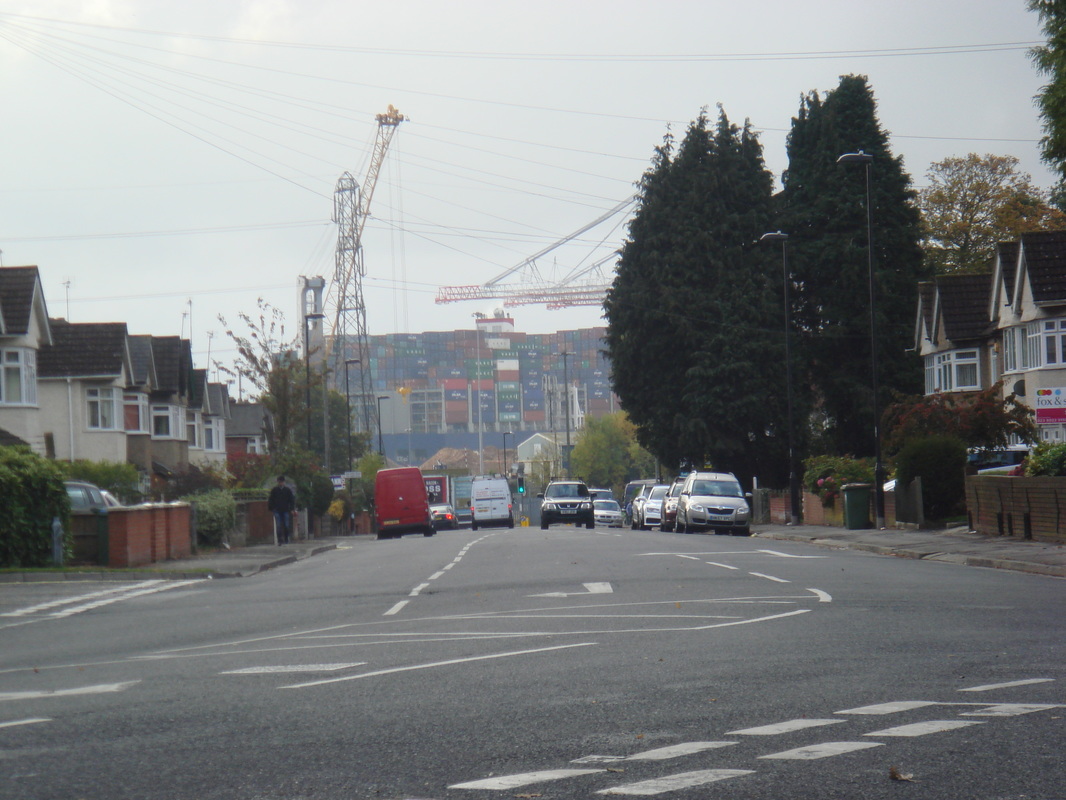
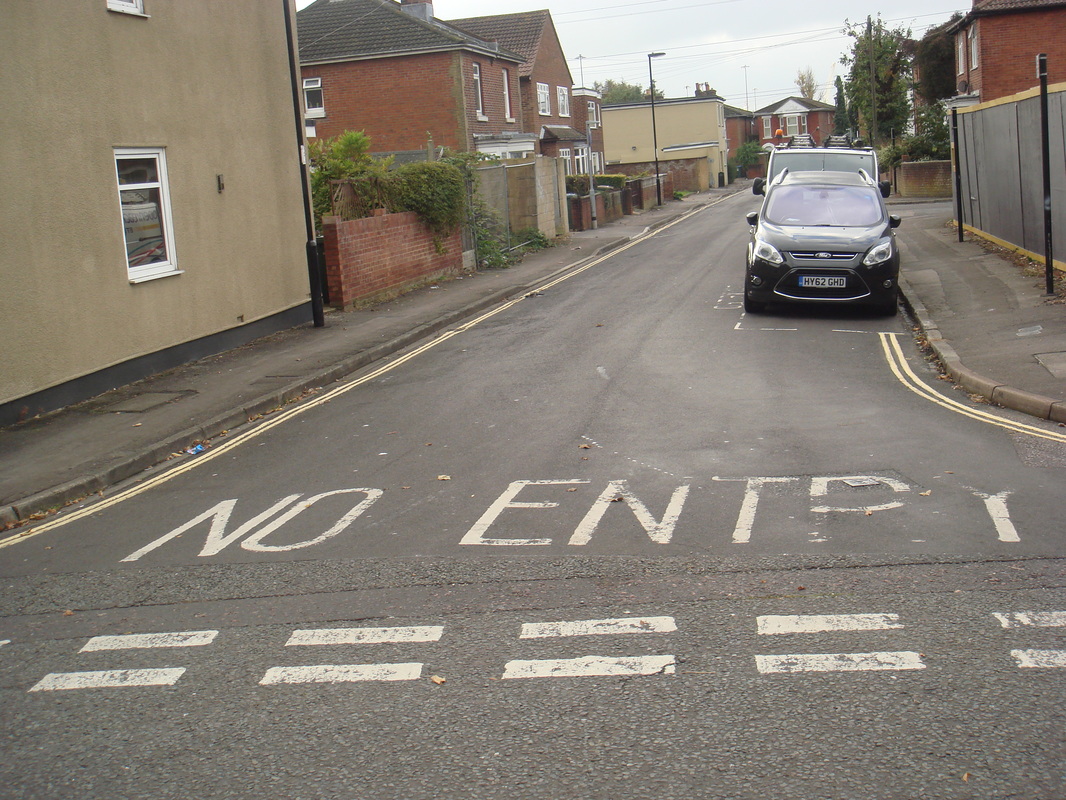
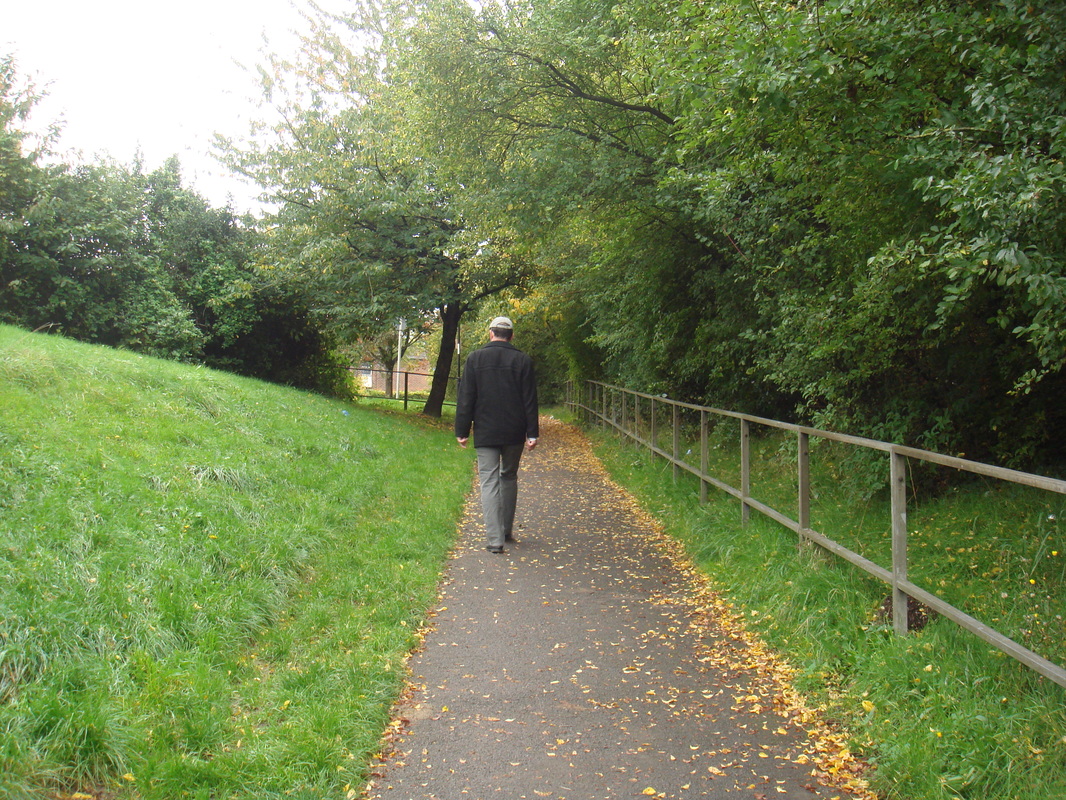
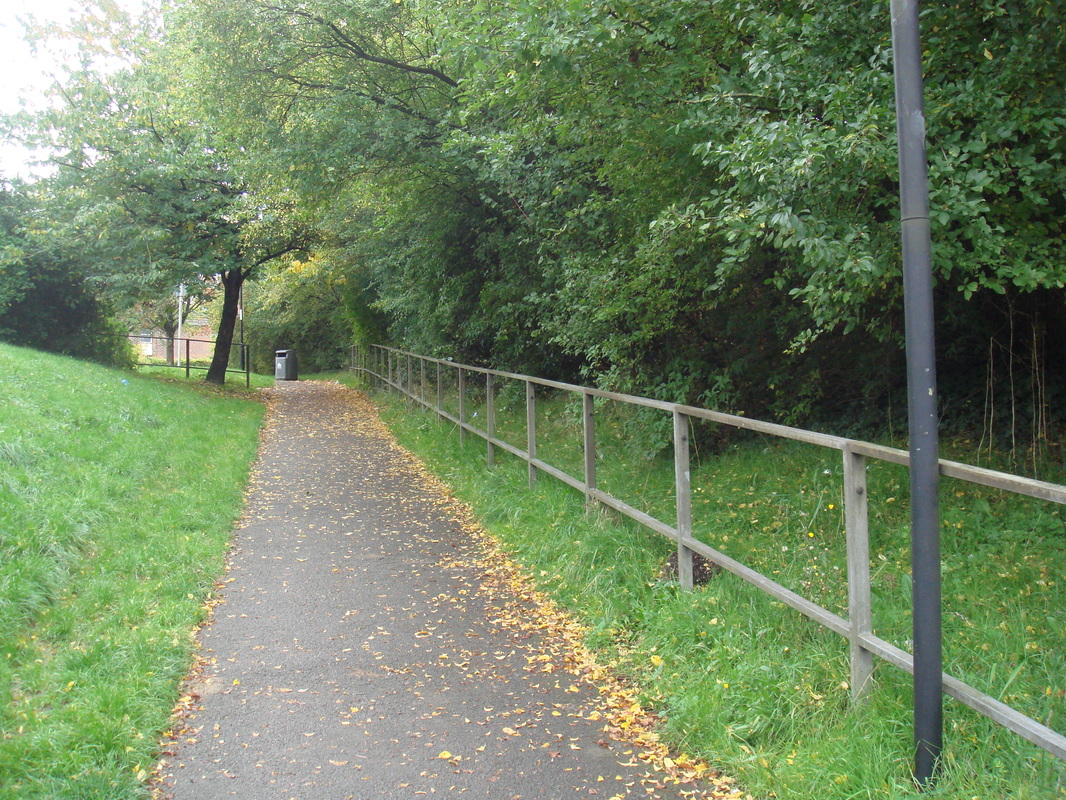

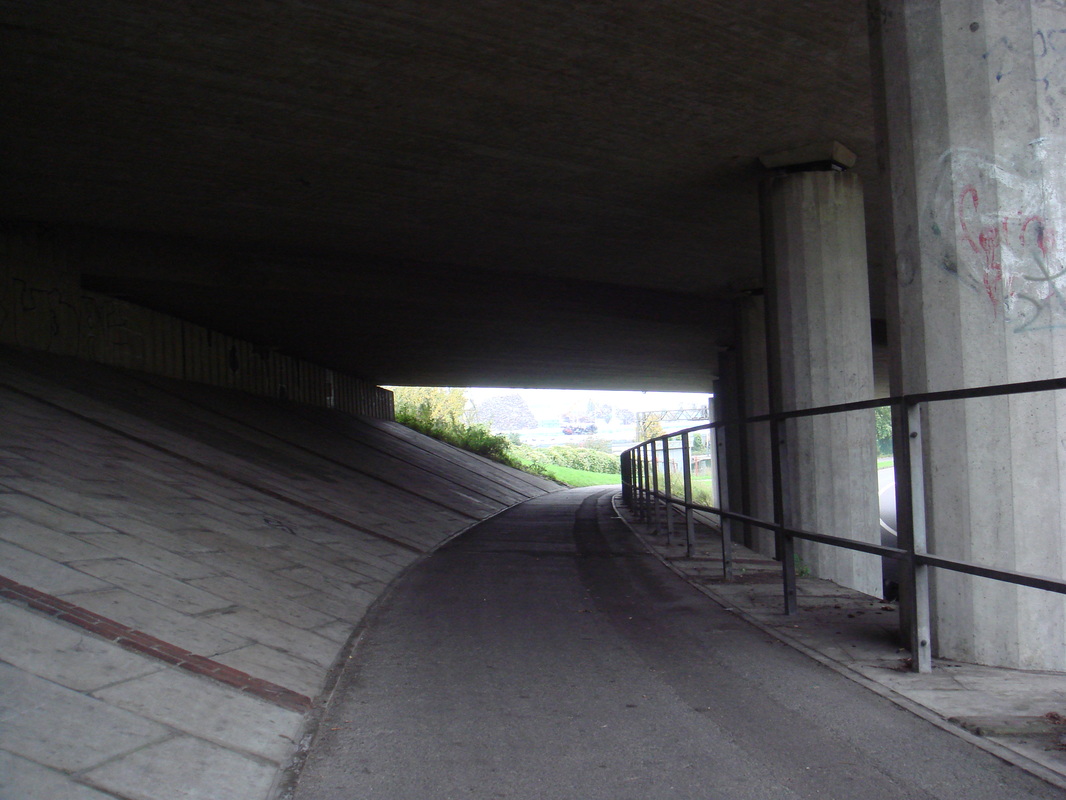

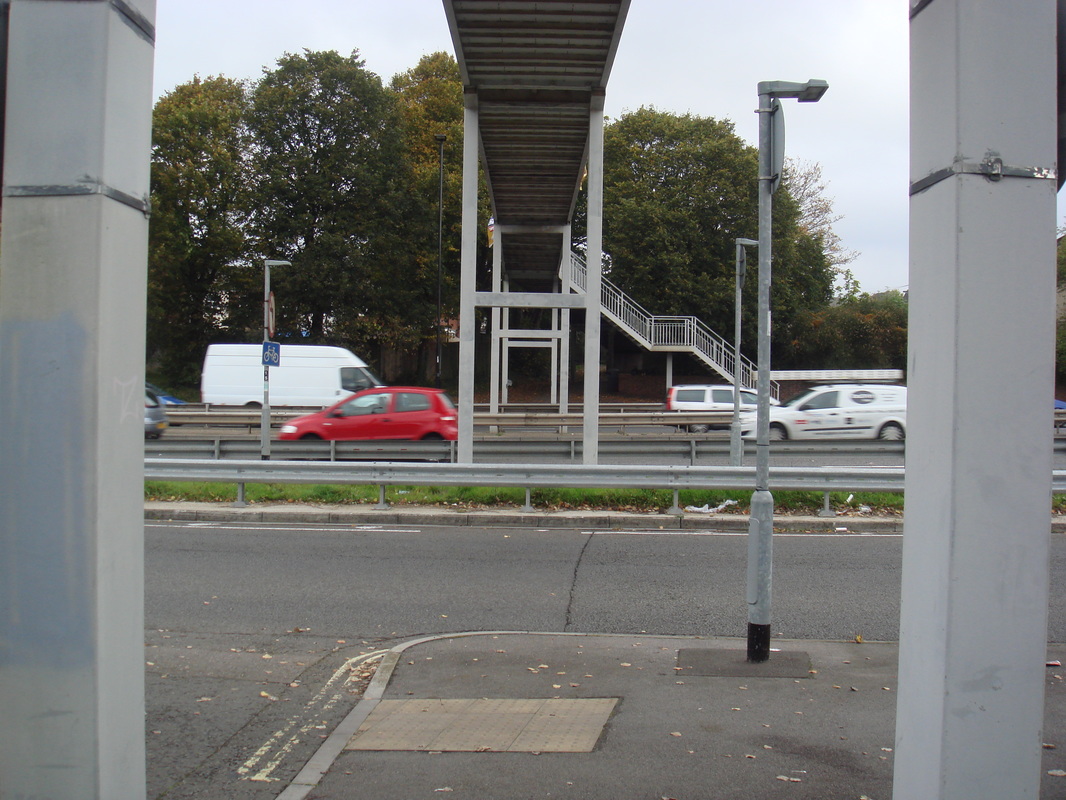
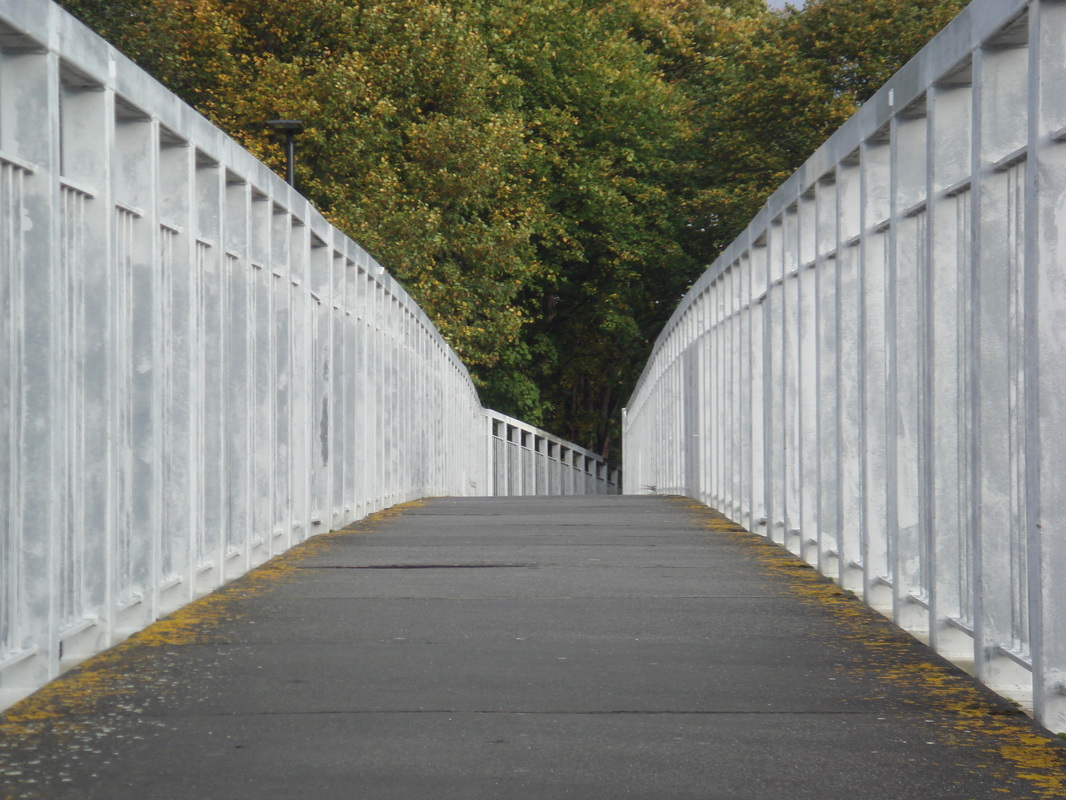
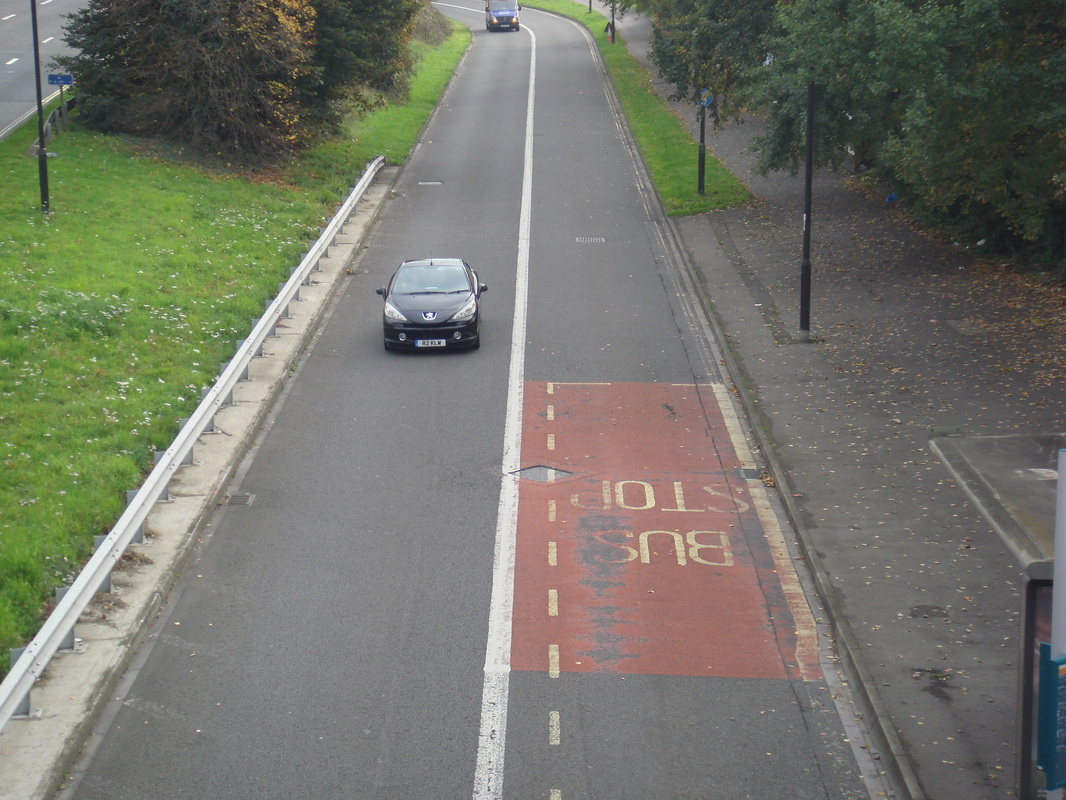
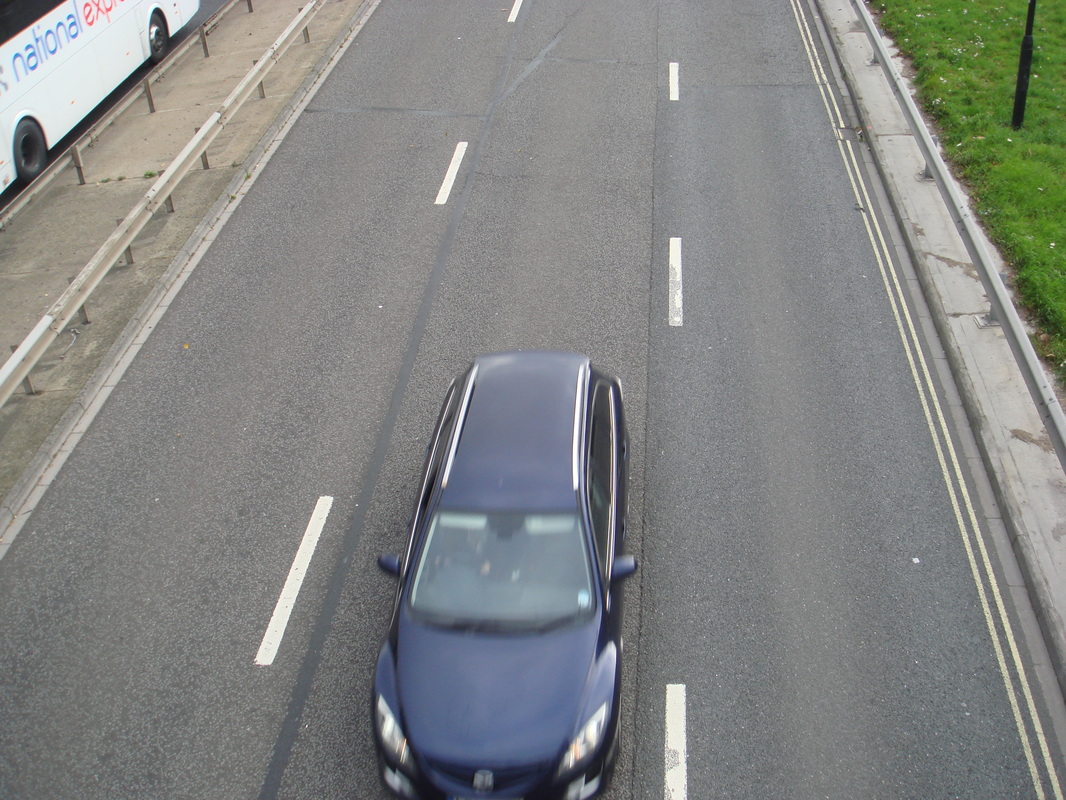
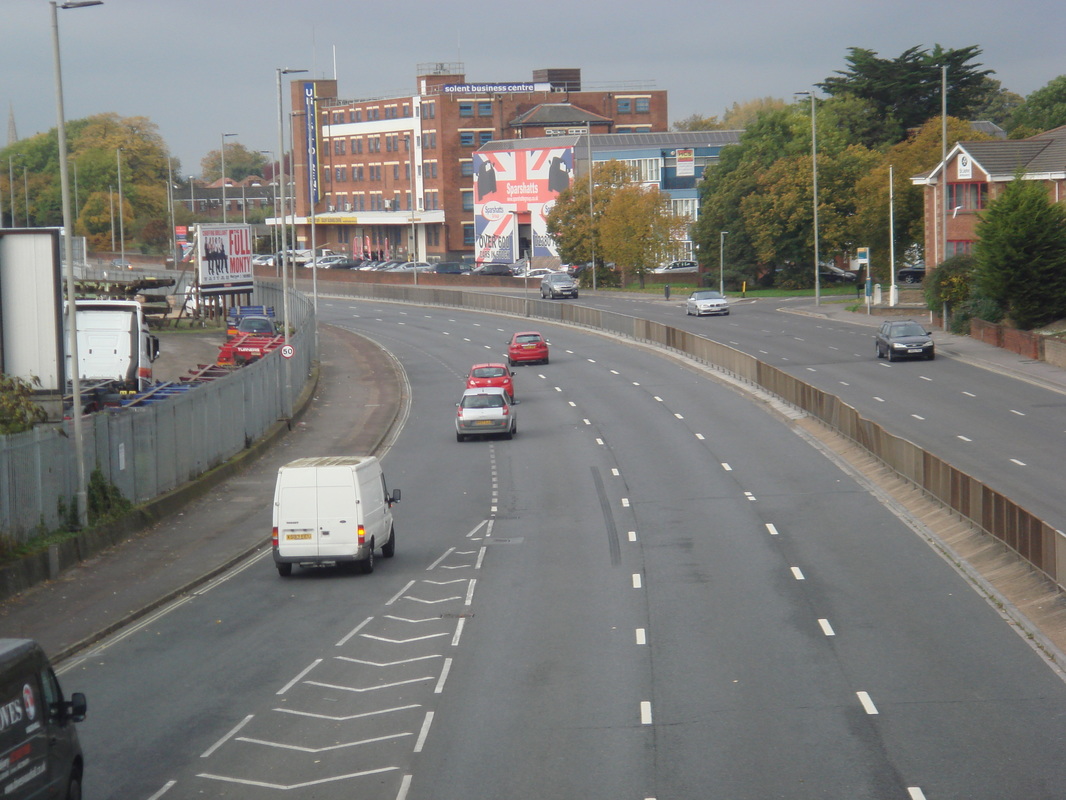
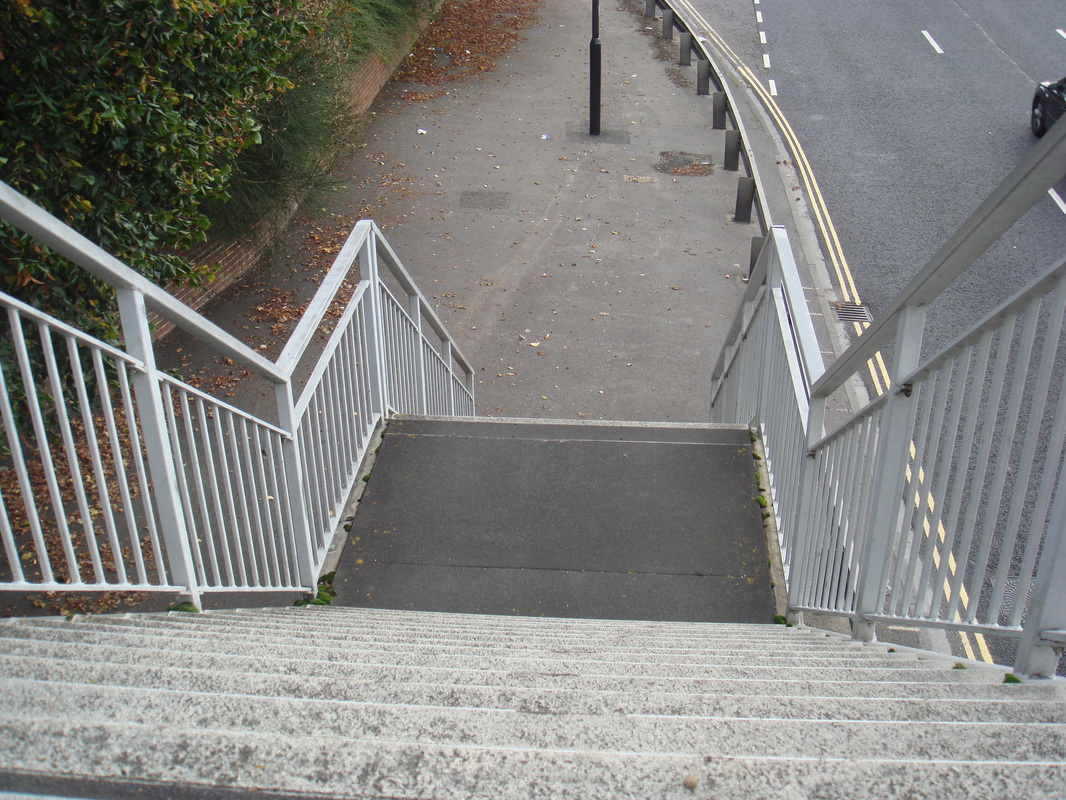
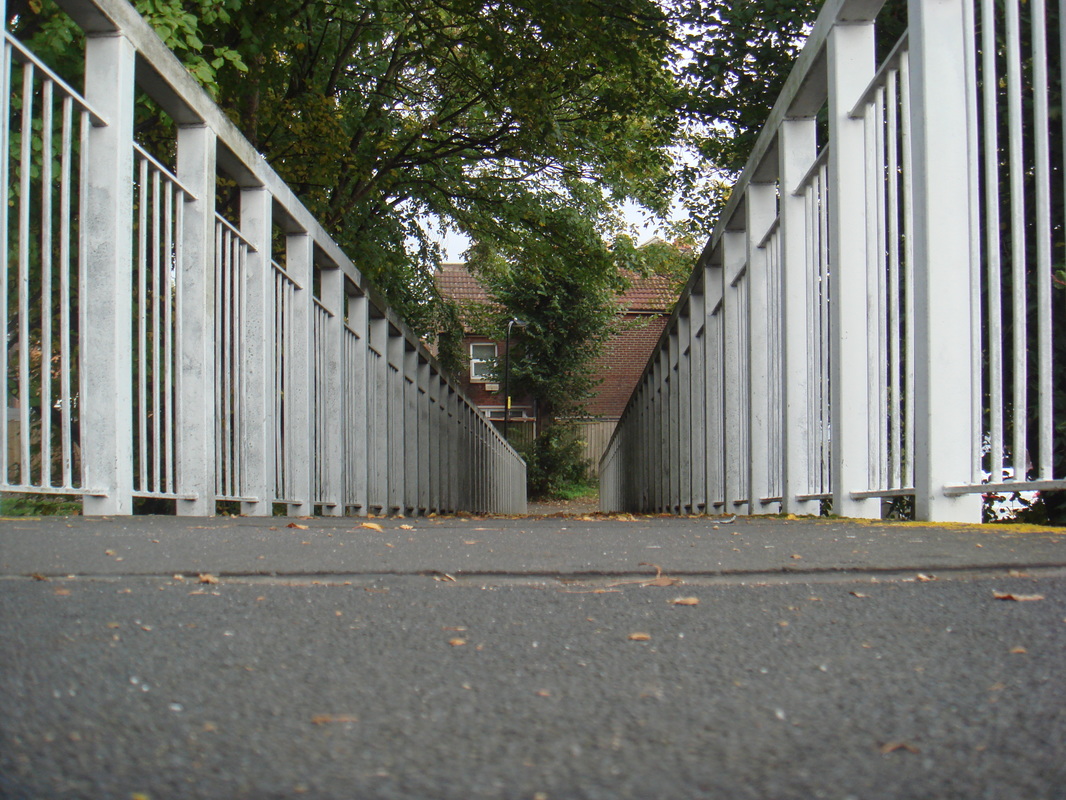

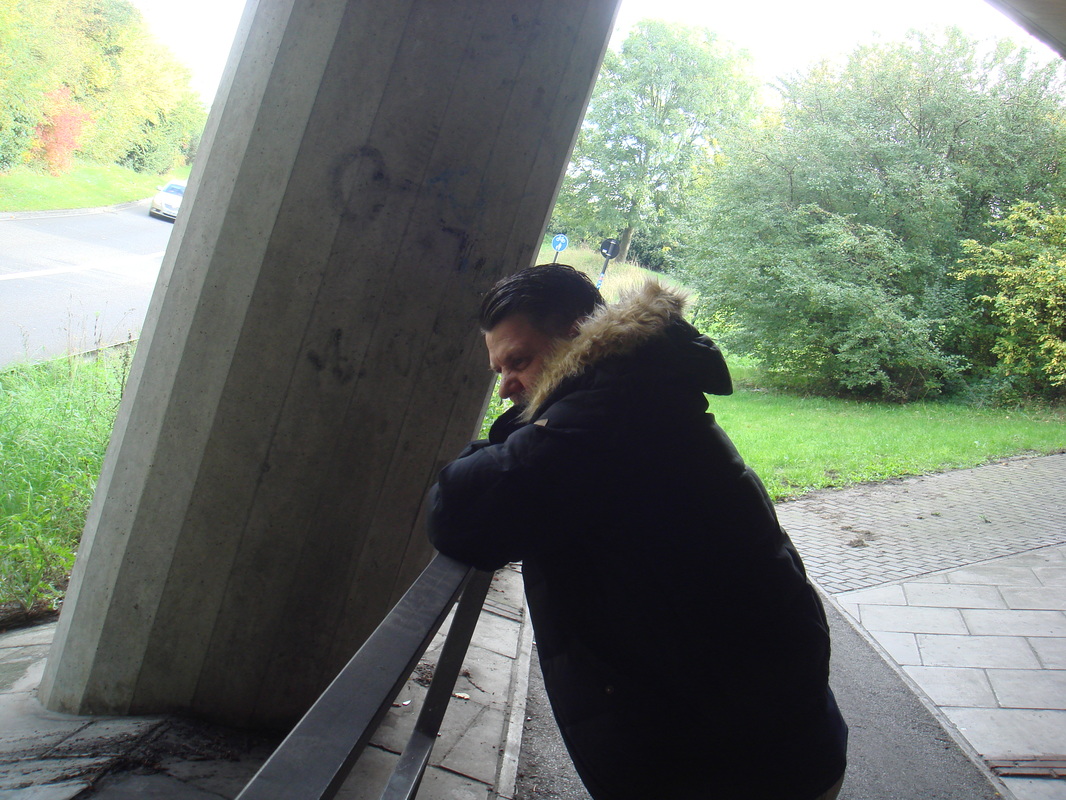
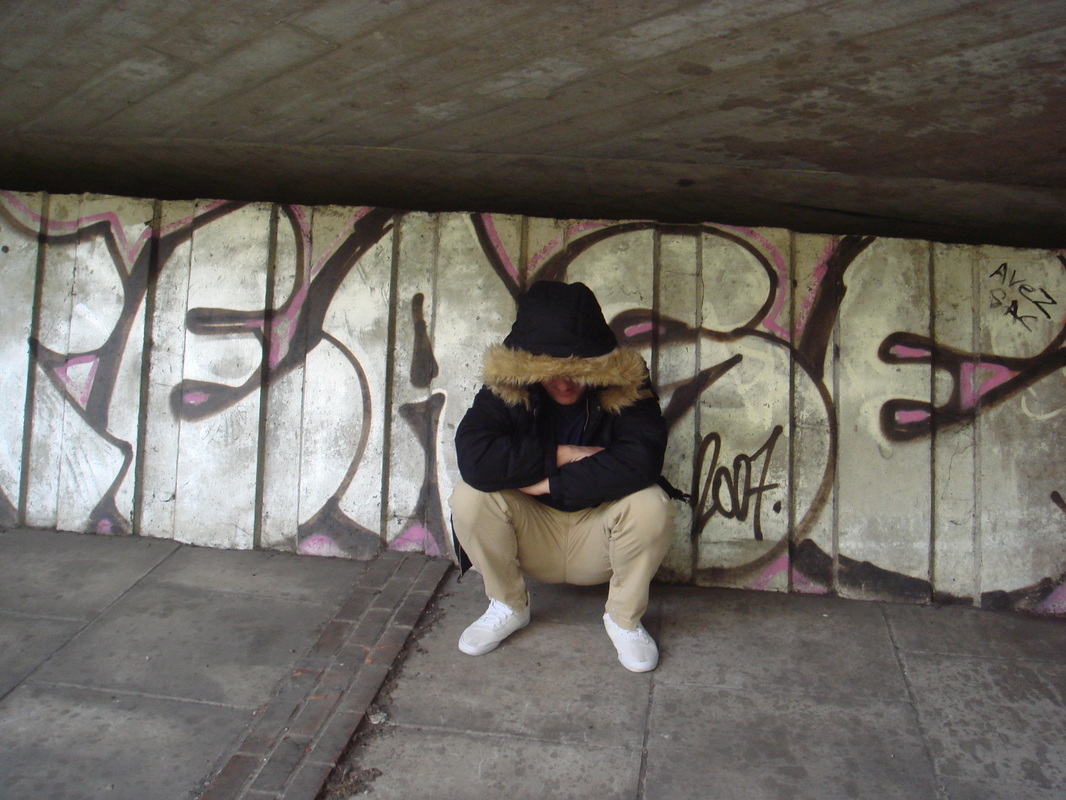
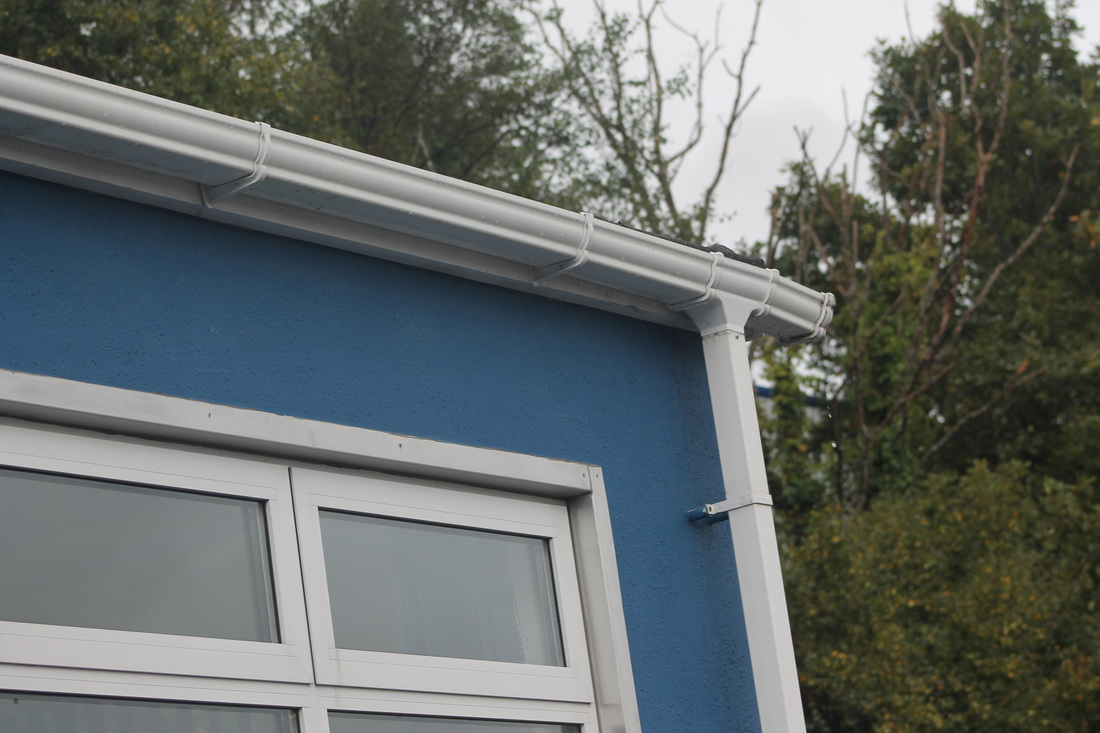
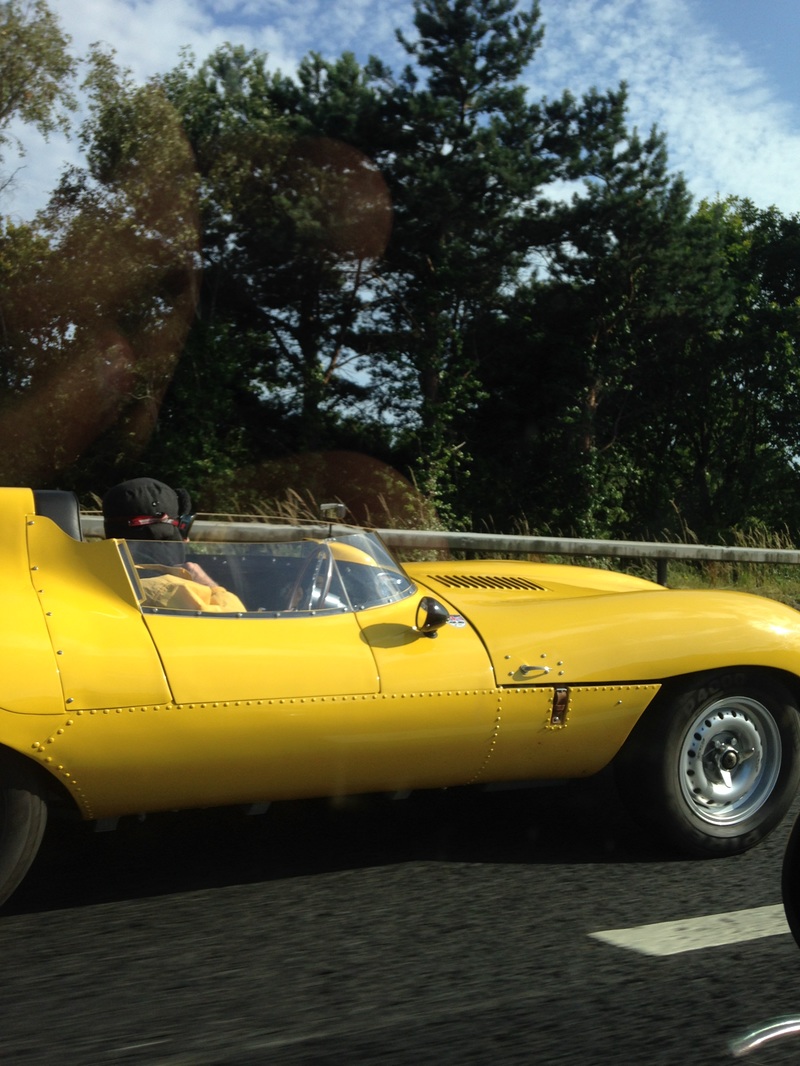
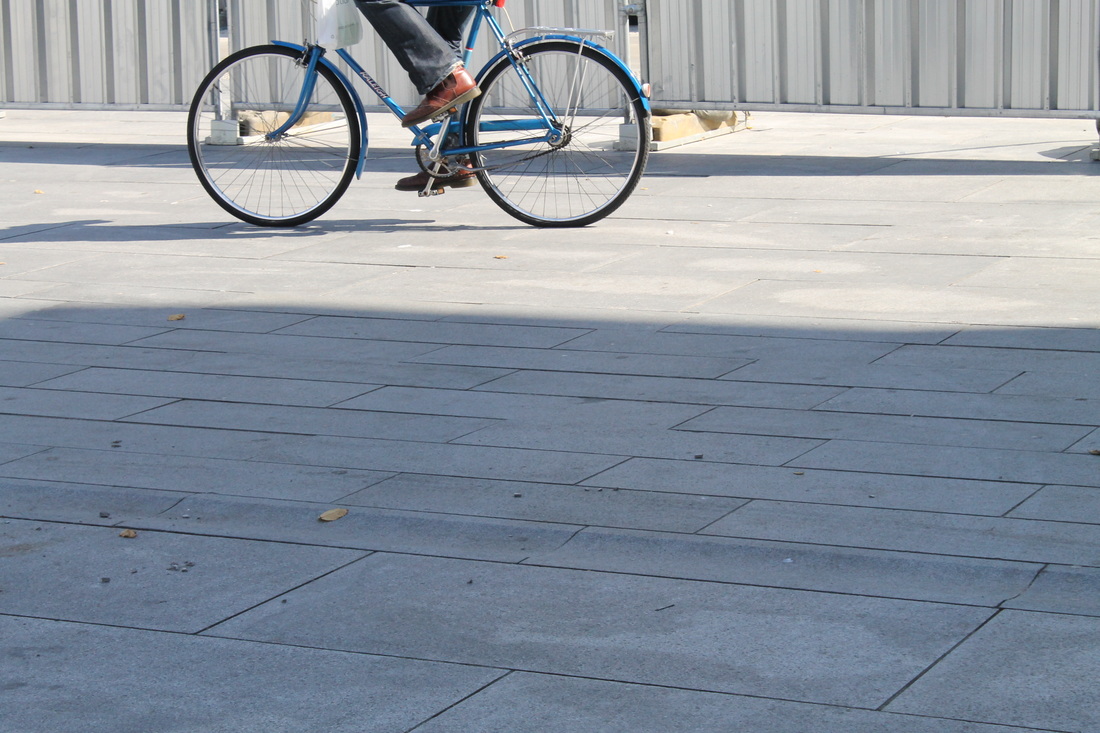
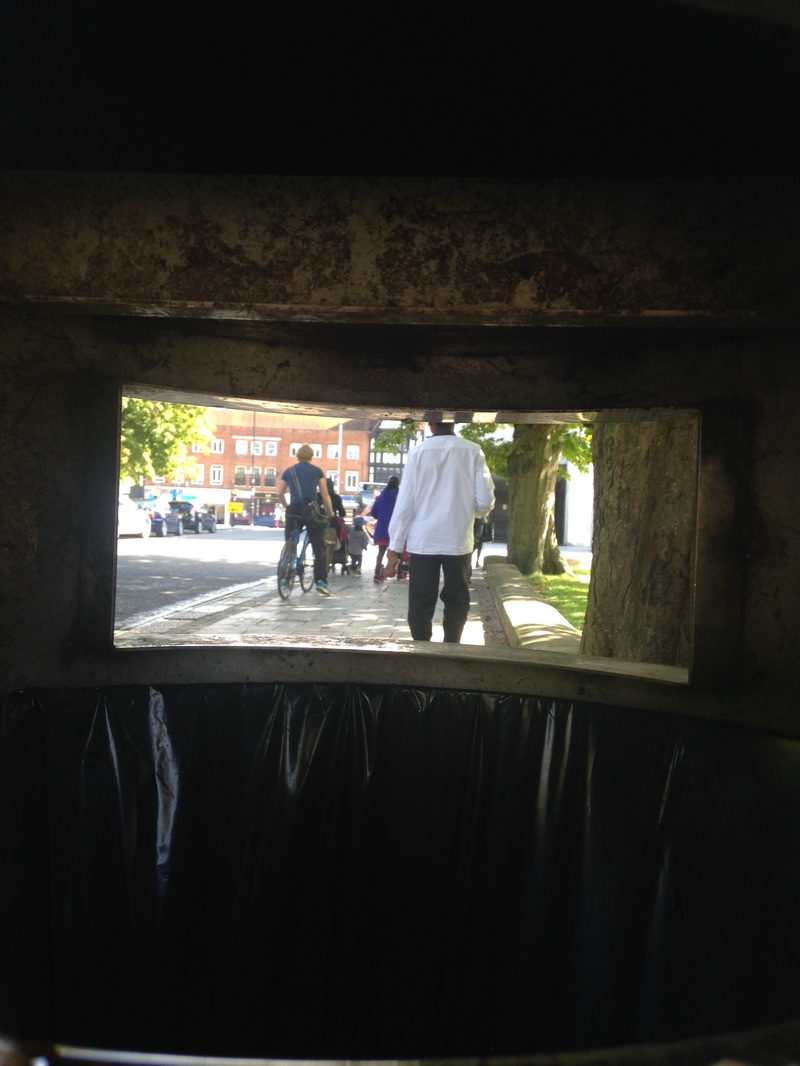
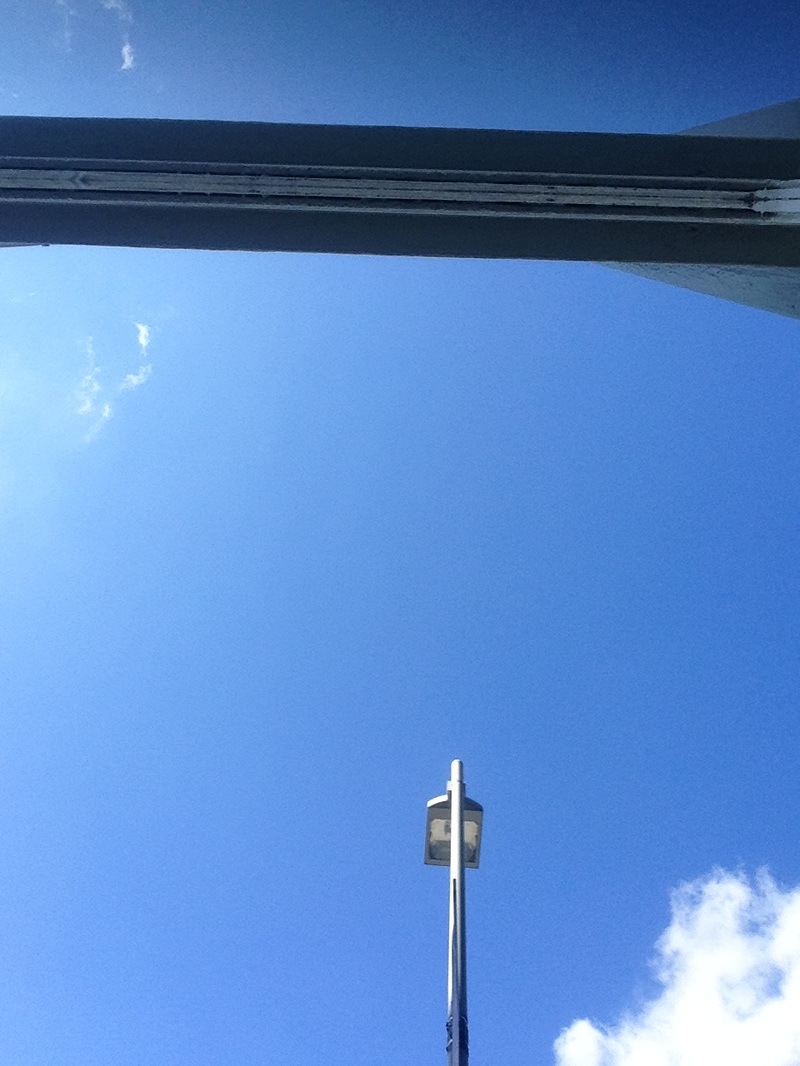
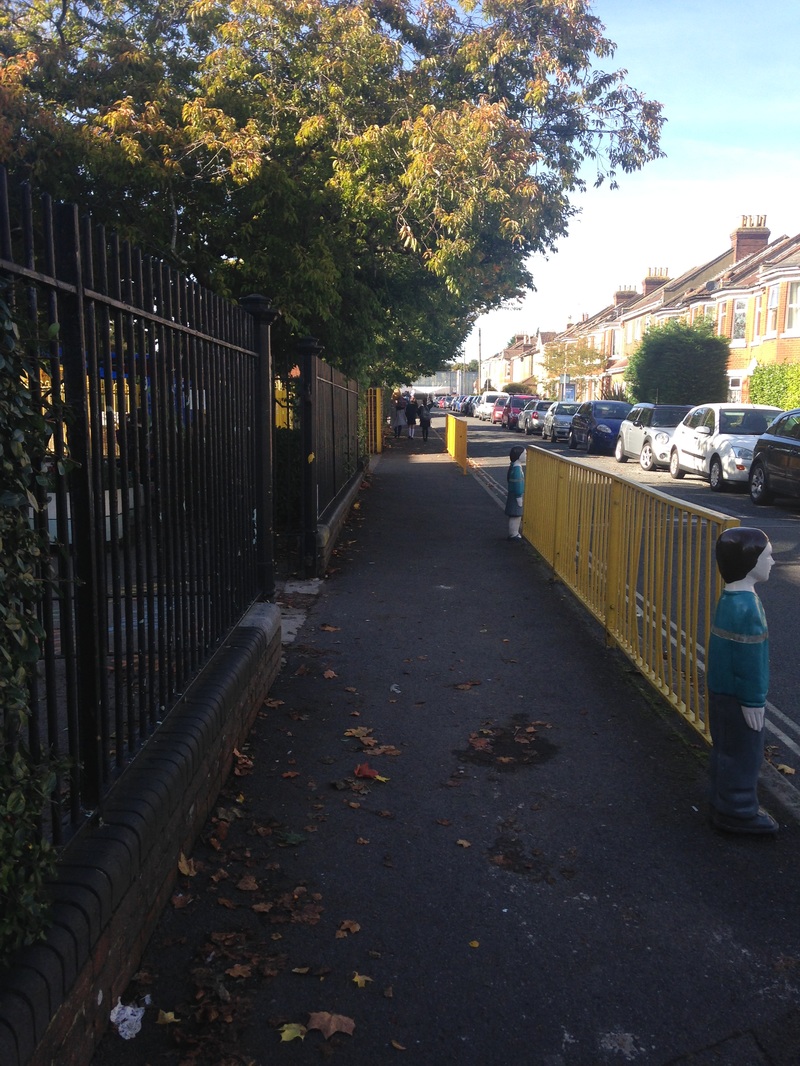
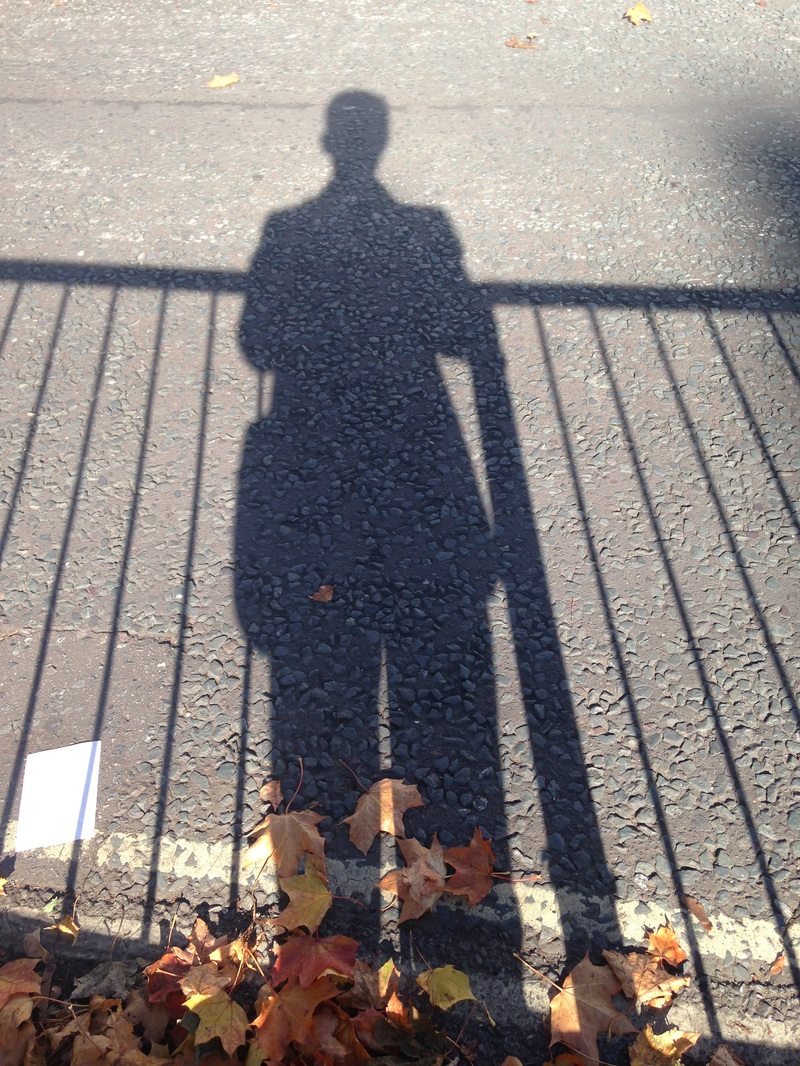
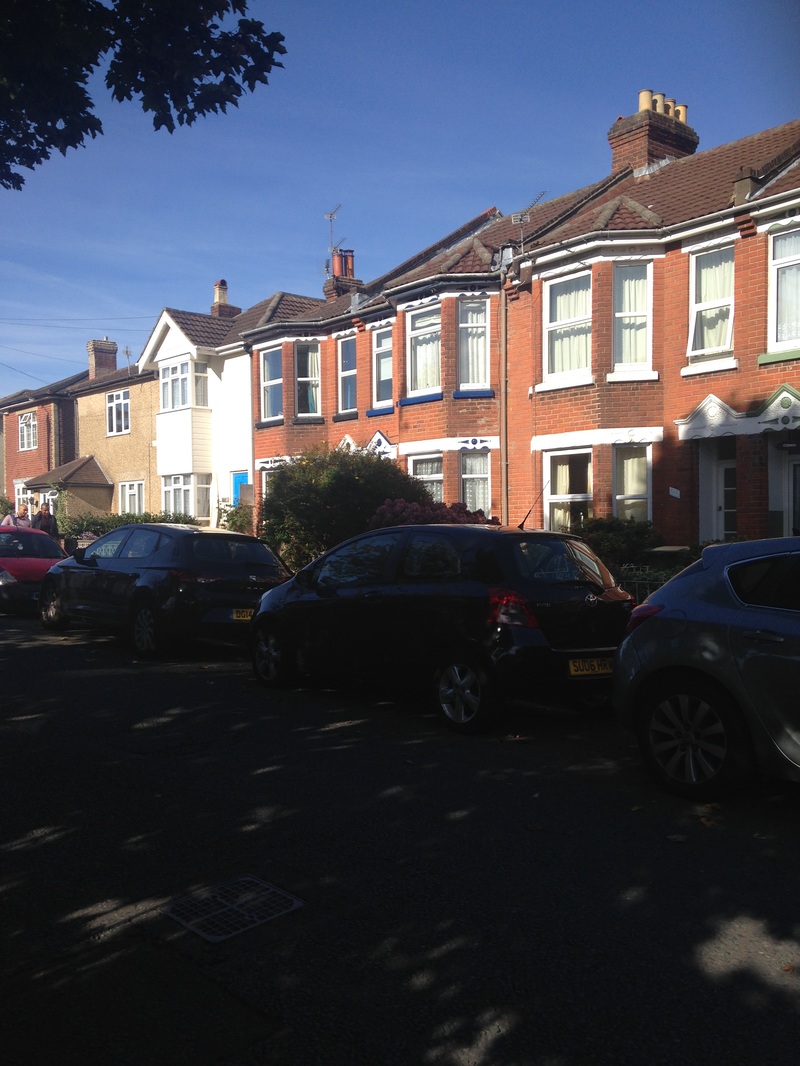
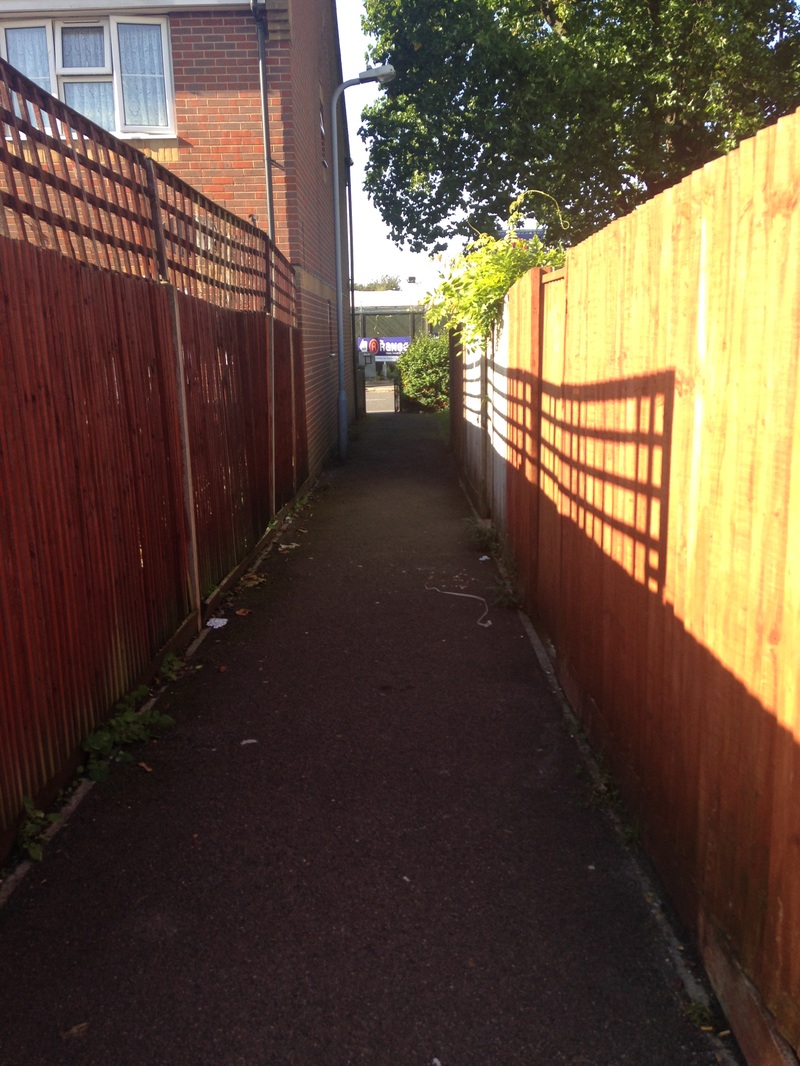
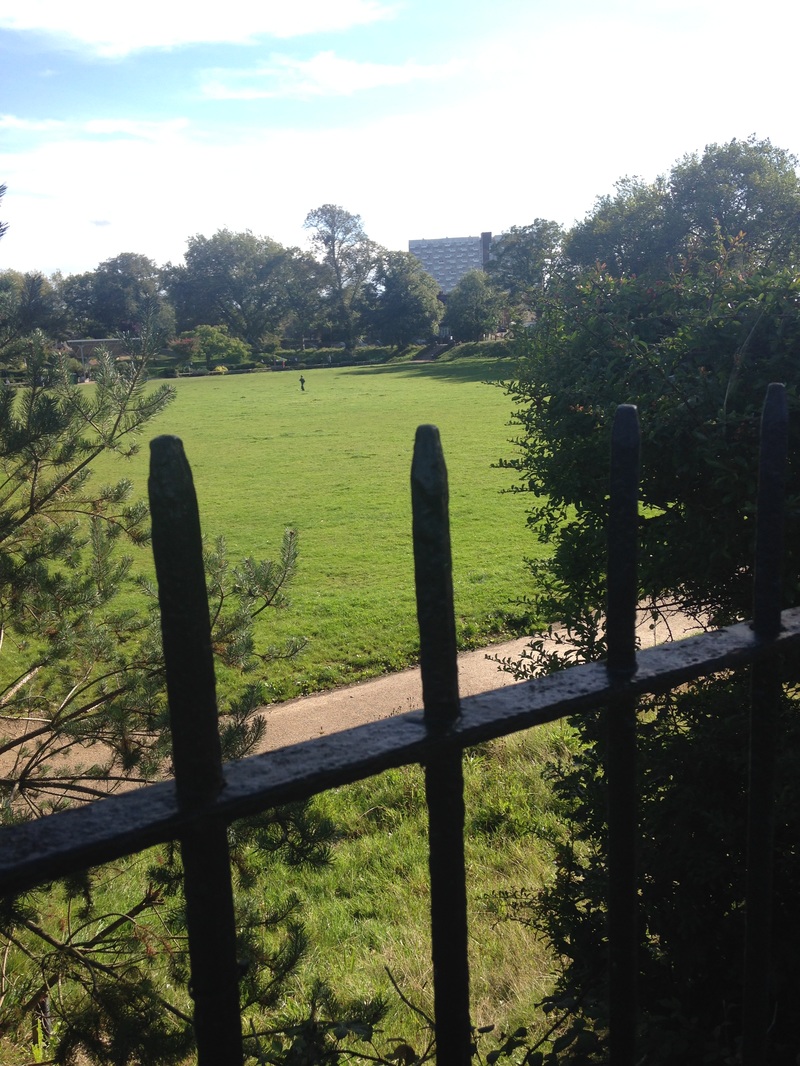
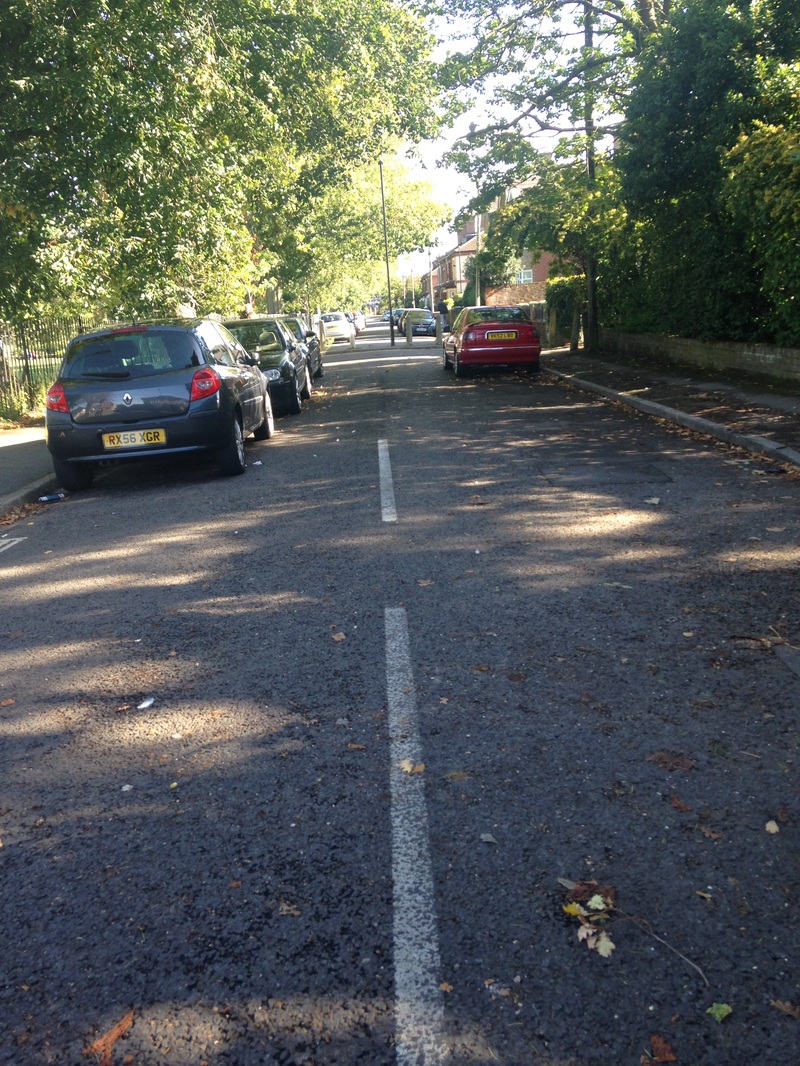
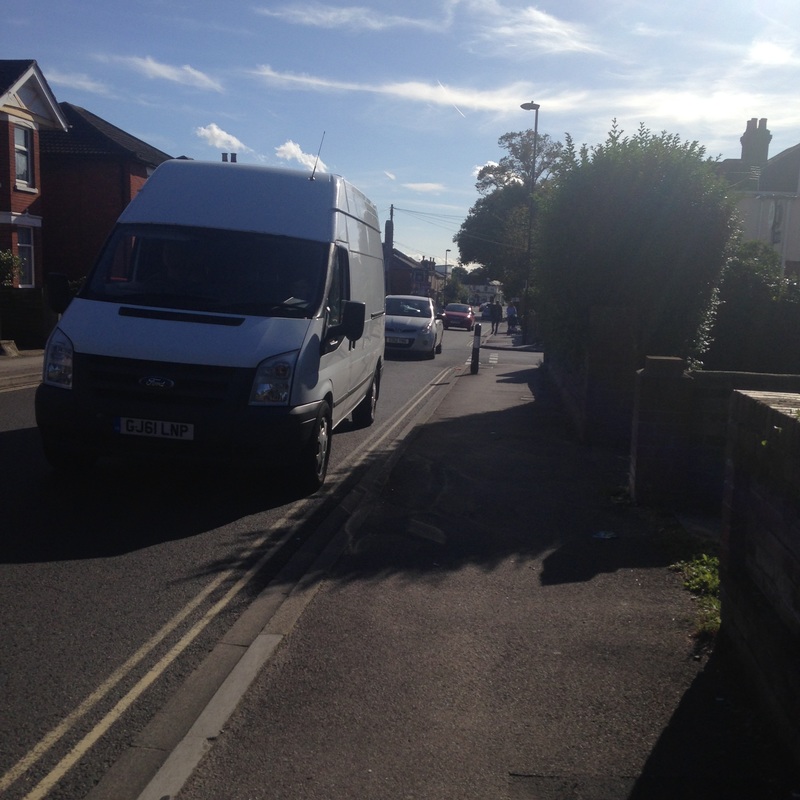
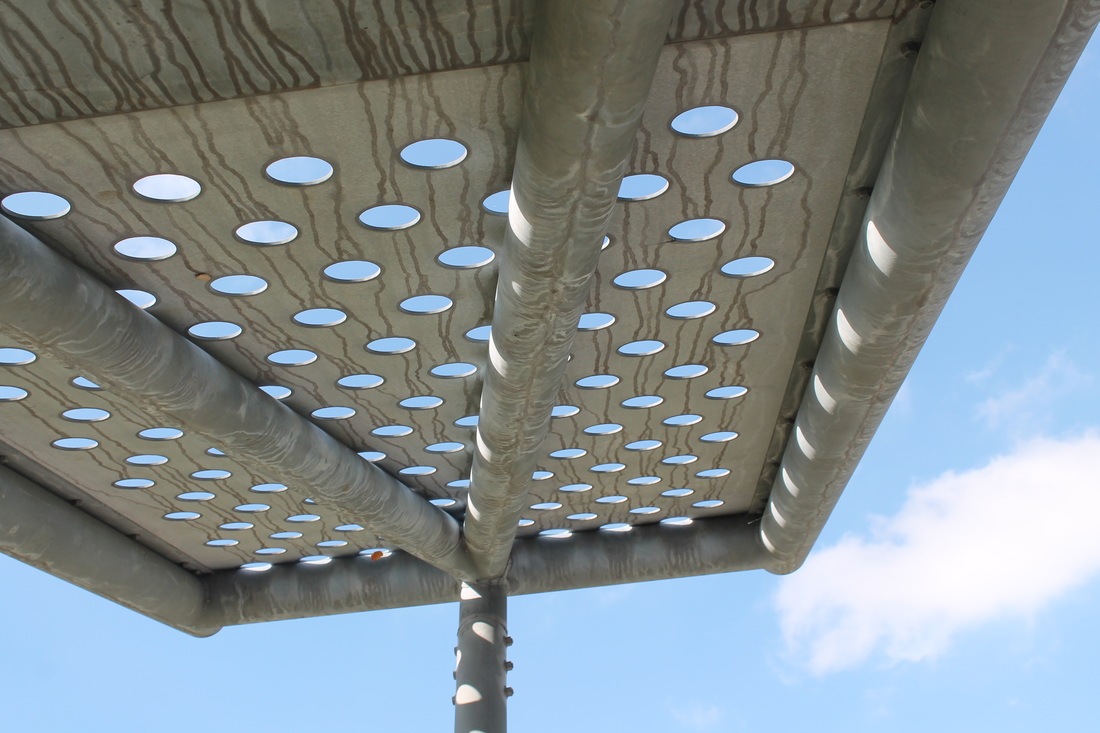
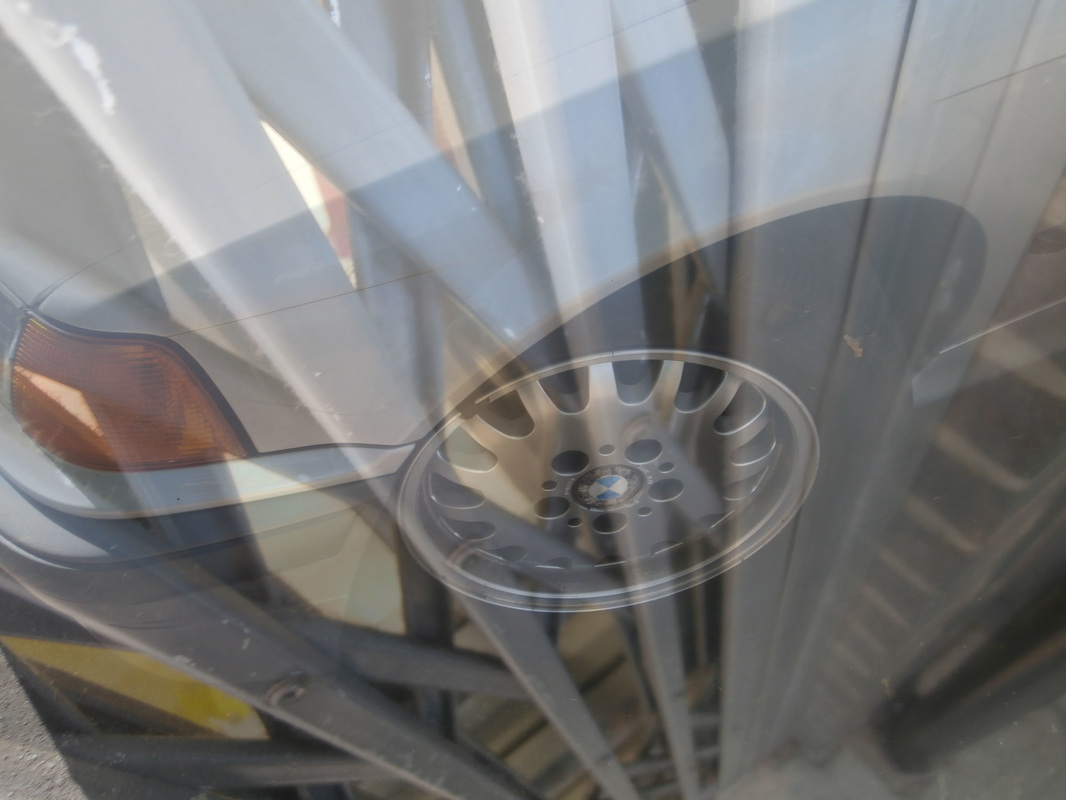
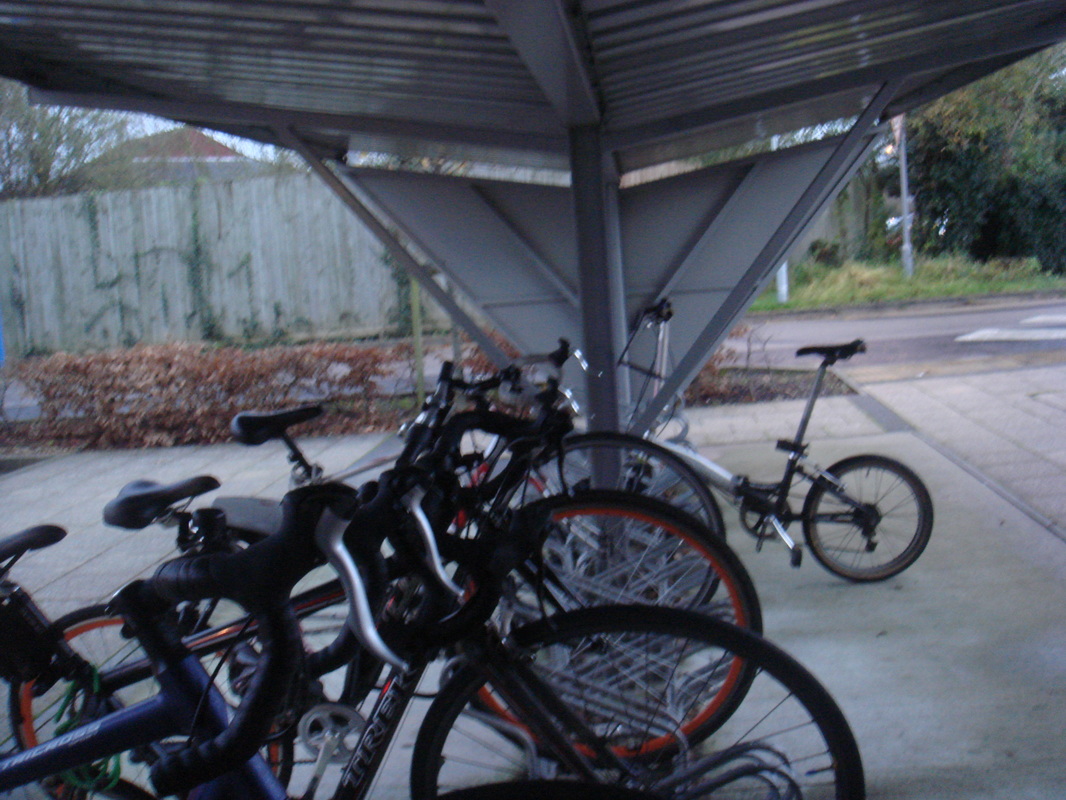
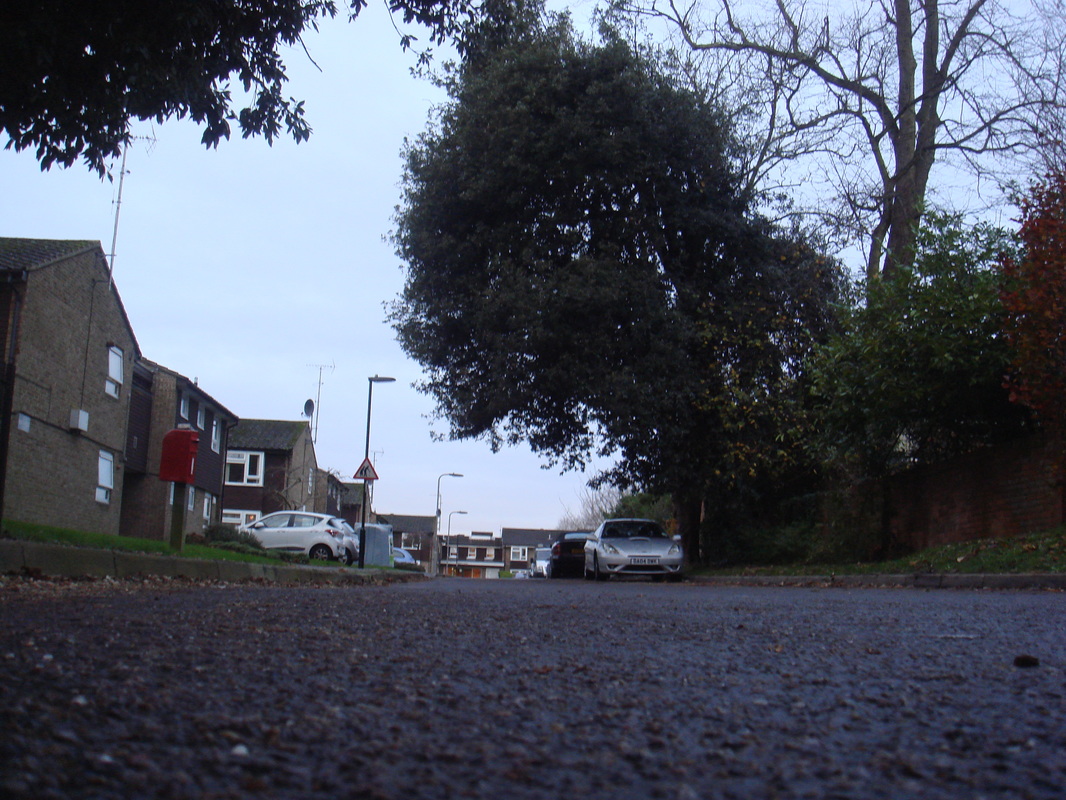
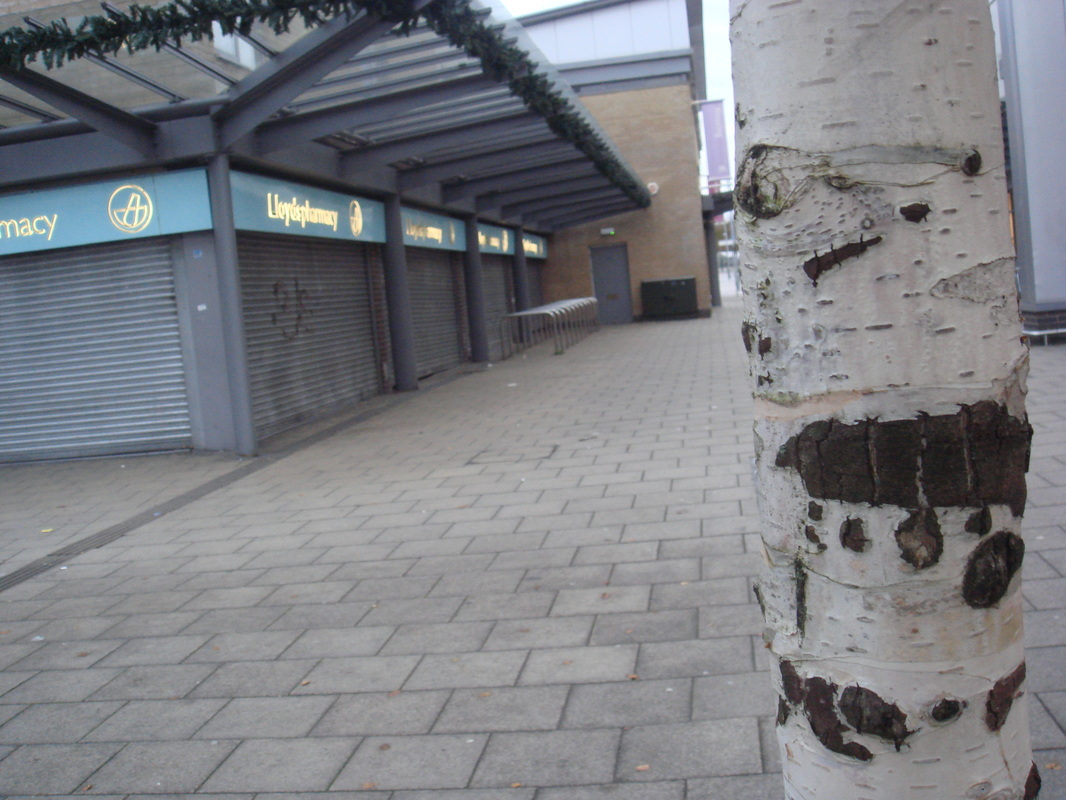
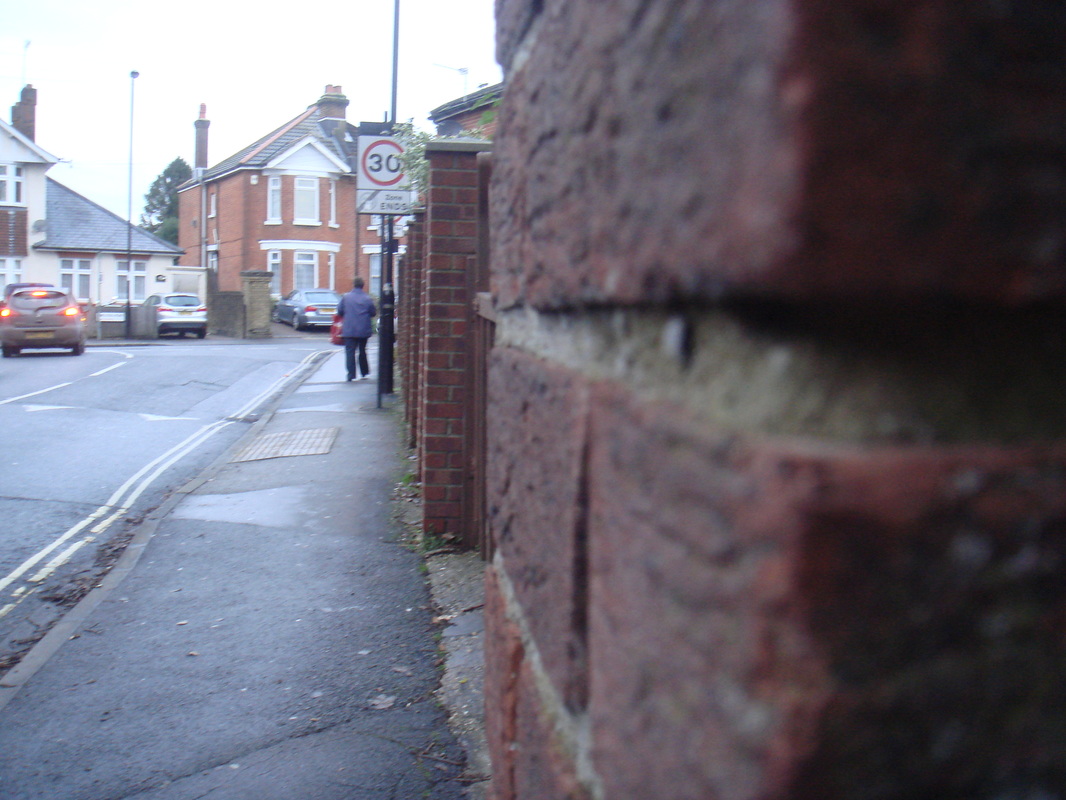
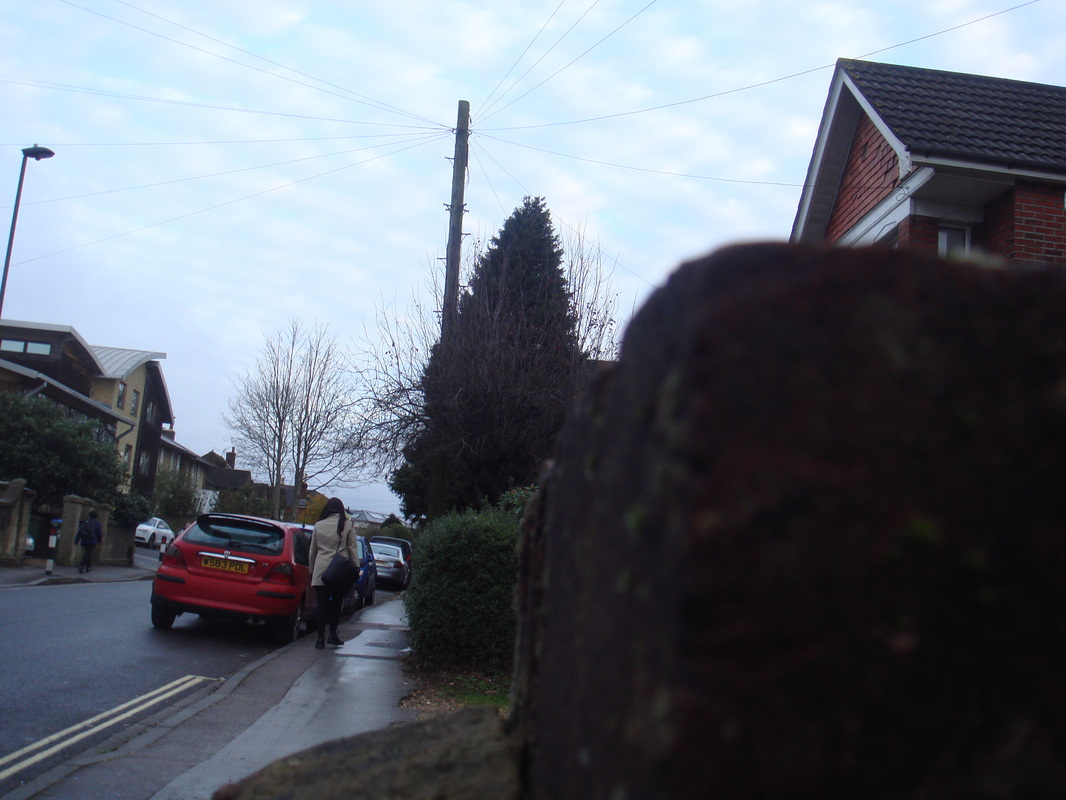
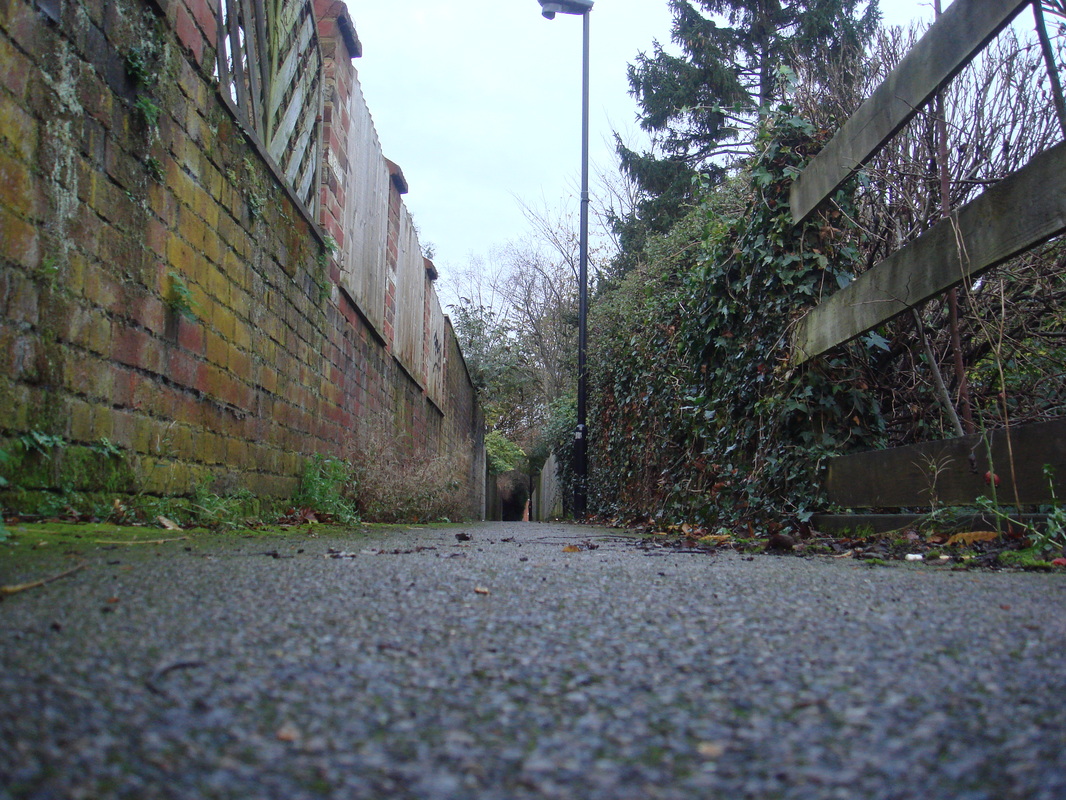
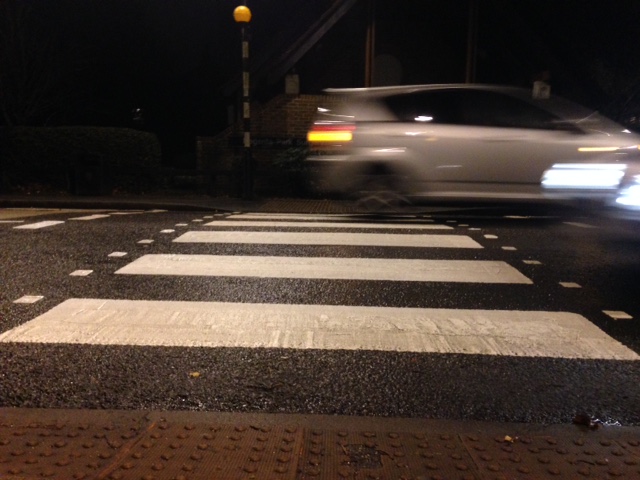
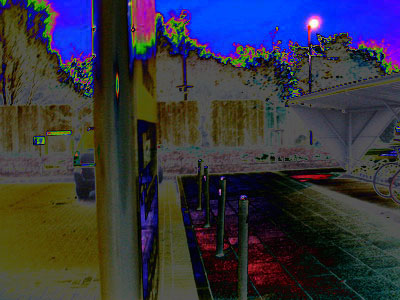
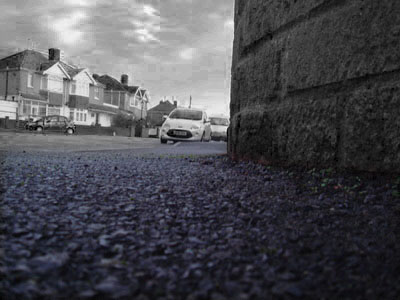
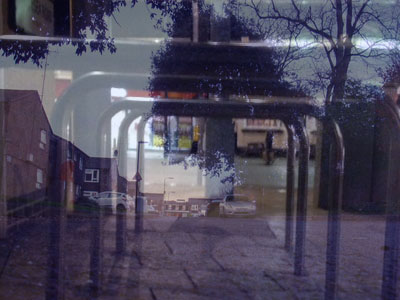
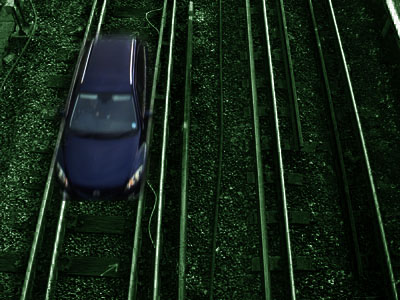
I looked at Paul Gonellas work and he was taking photos on the street like near the sea and pictures of houses, trees and a church, so in my response to this I took photos of under the bridge and I took some photos with the camera looking down on a bridge to capture a moment of a vehicle. my dad was used in part of this with a background of graffiti and he was leaning over the top of a bar under a bridge. I am very happy with my work and I fee like I tried very hard.
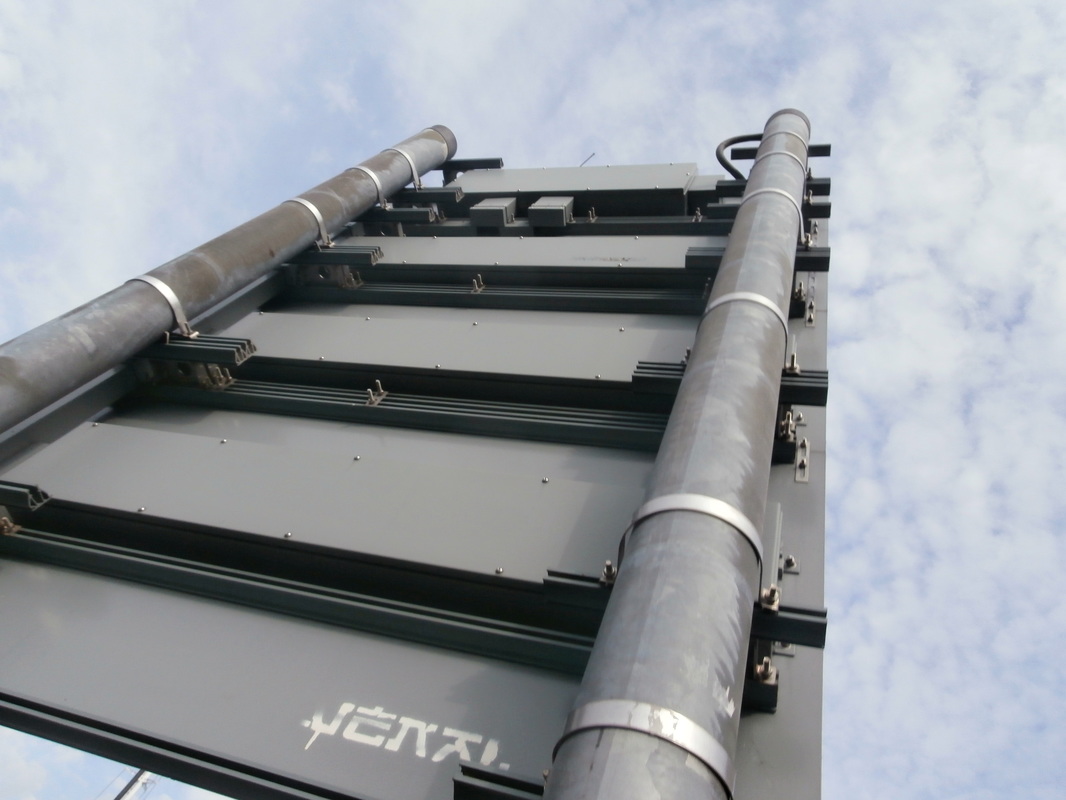
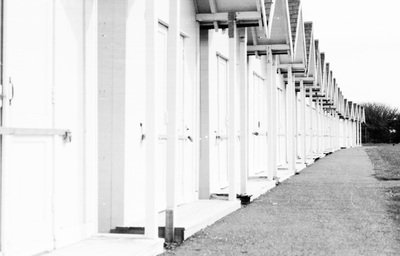
Keld Helmer Peterson
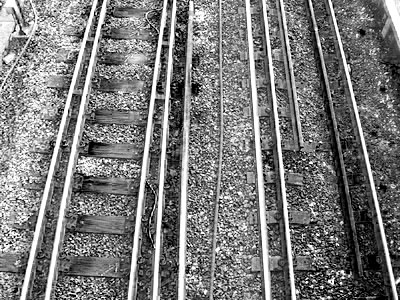
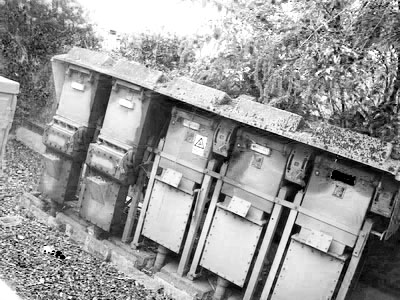
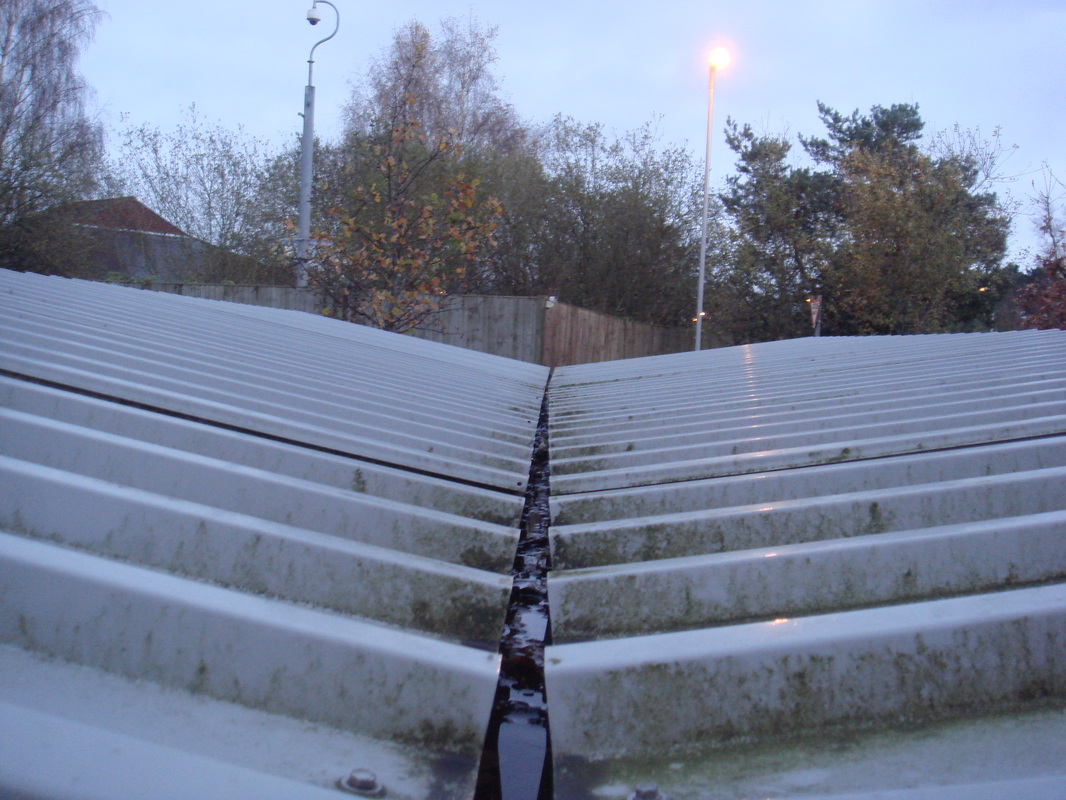
Keld Helmer-Petersen was a Danish photographer who achieved his international breakthrough in 1948 when he published 122 Colour Photographs, a collection of experiments with shapes in different positions of train tracks but it had no colour to it just black and white. I inspire his piece of work because the way he takes pictures from positions is amazing.
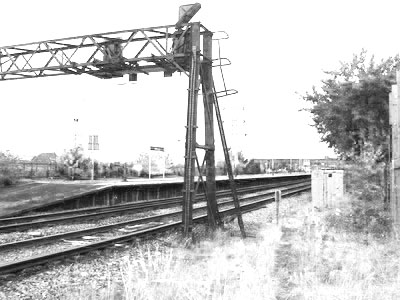
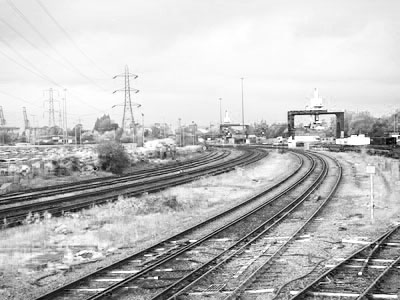
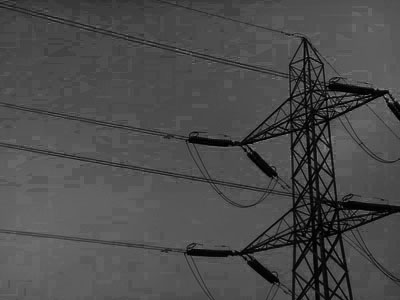
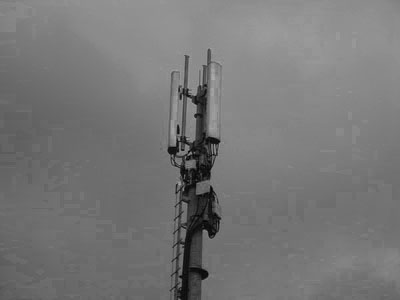
My photos inspired by Keld Helmer Peterson
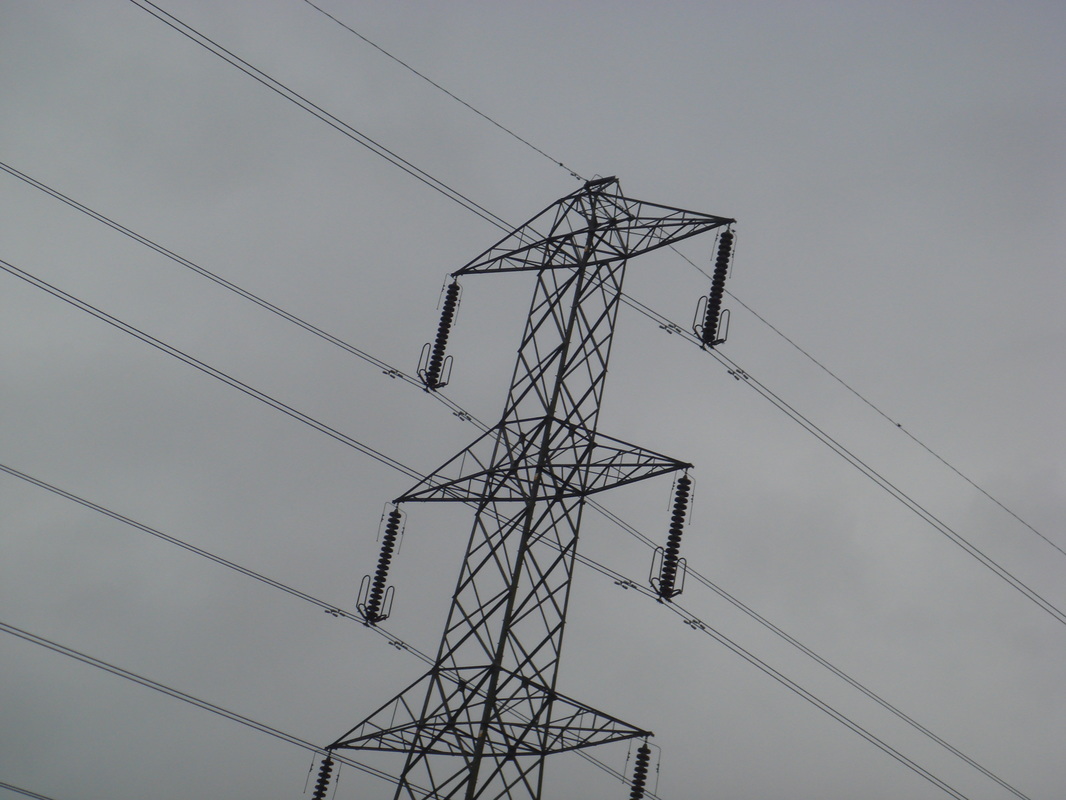
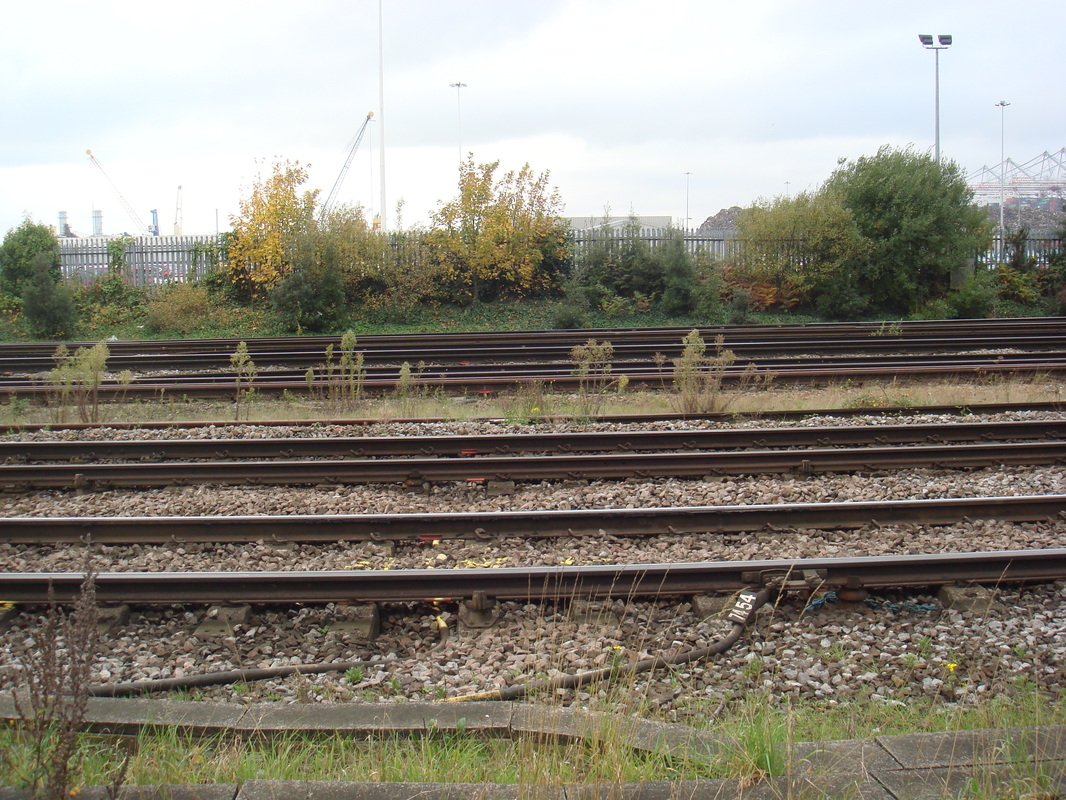
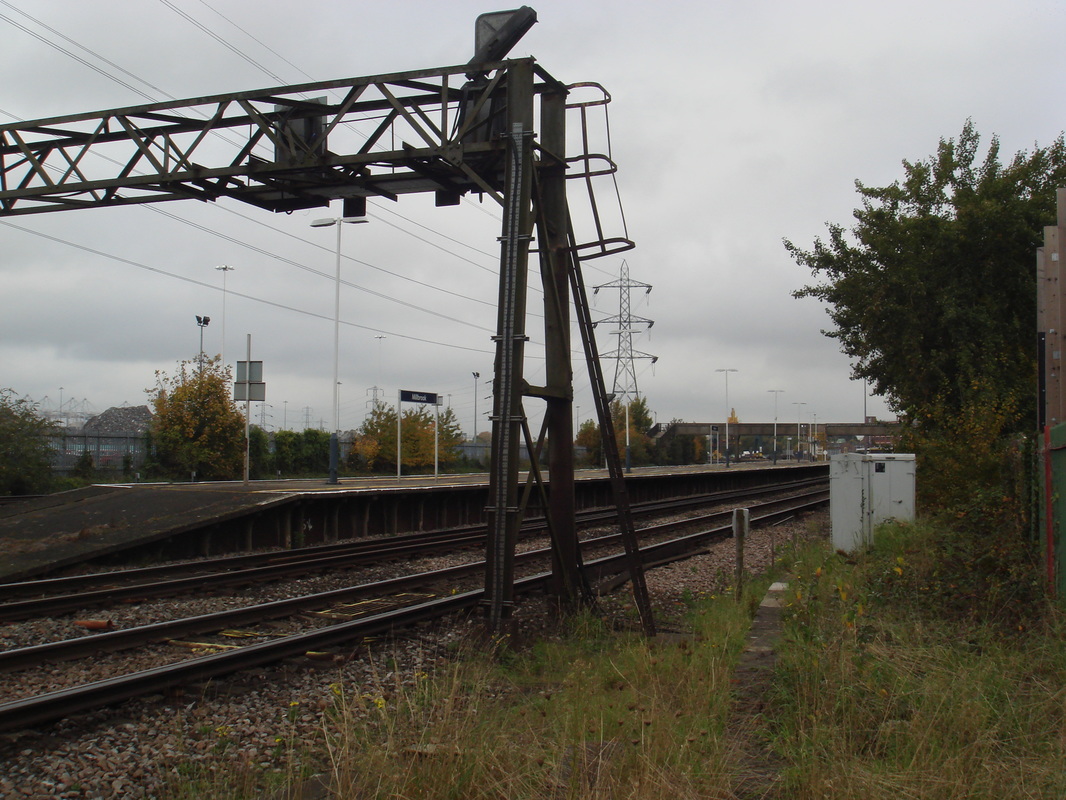
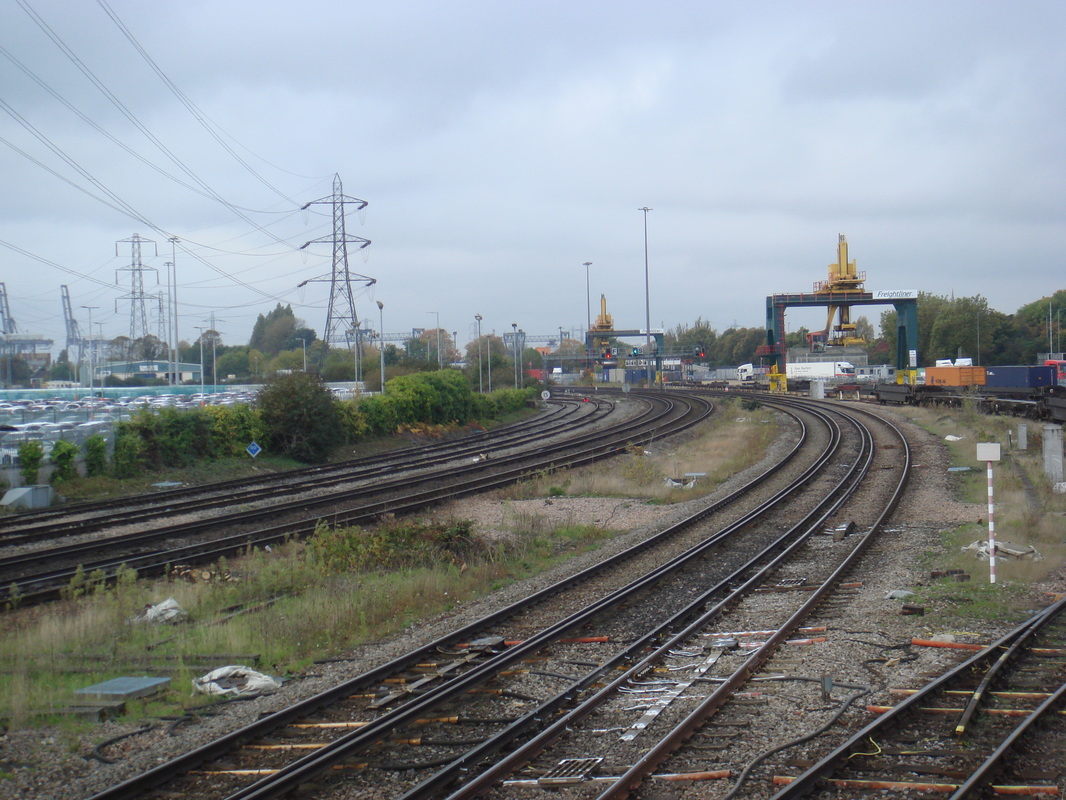
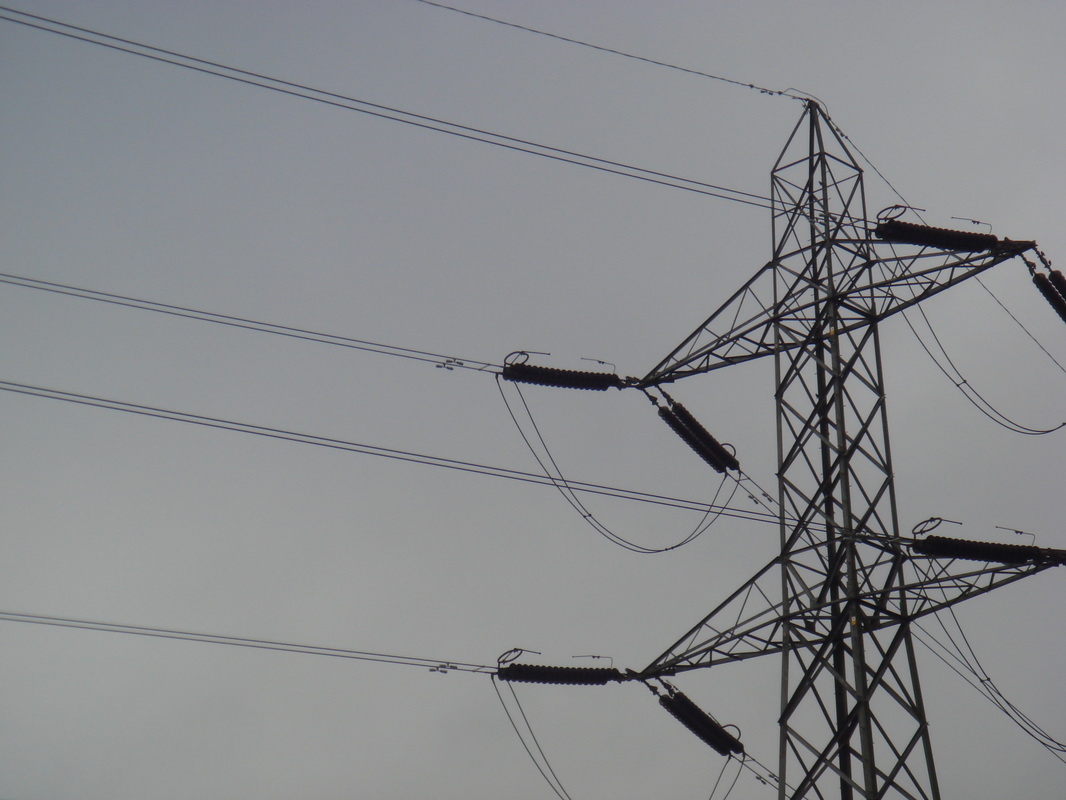
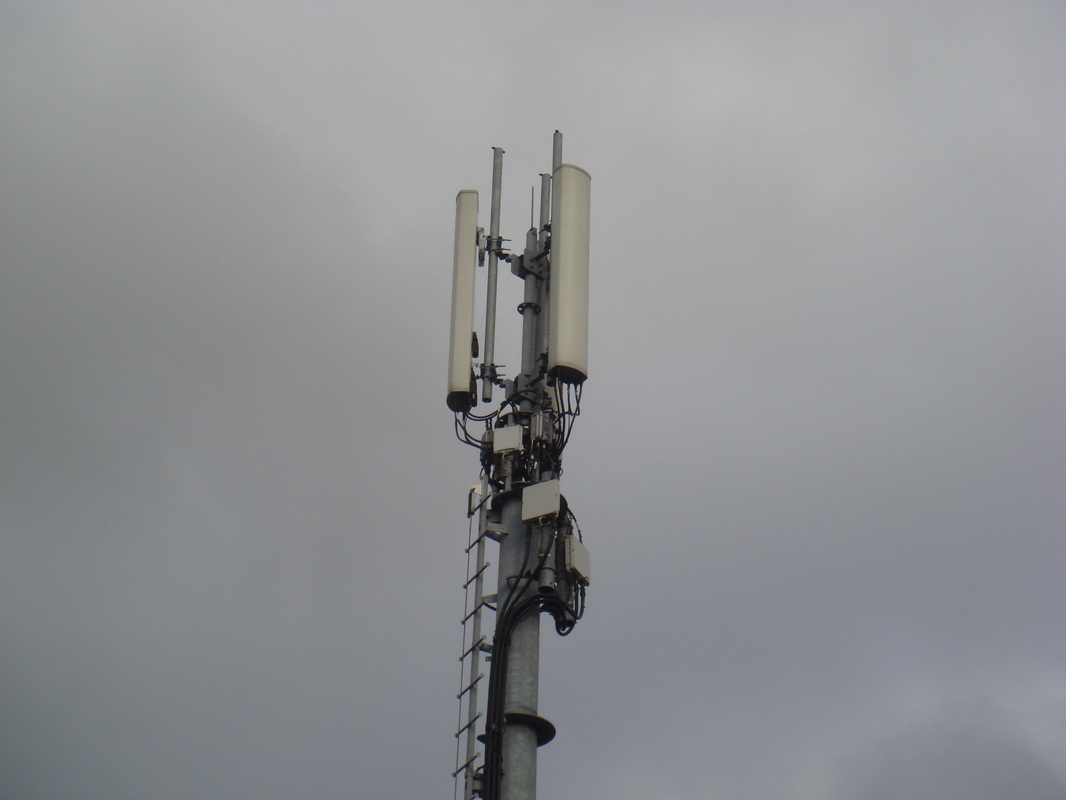
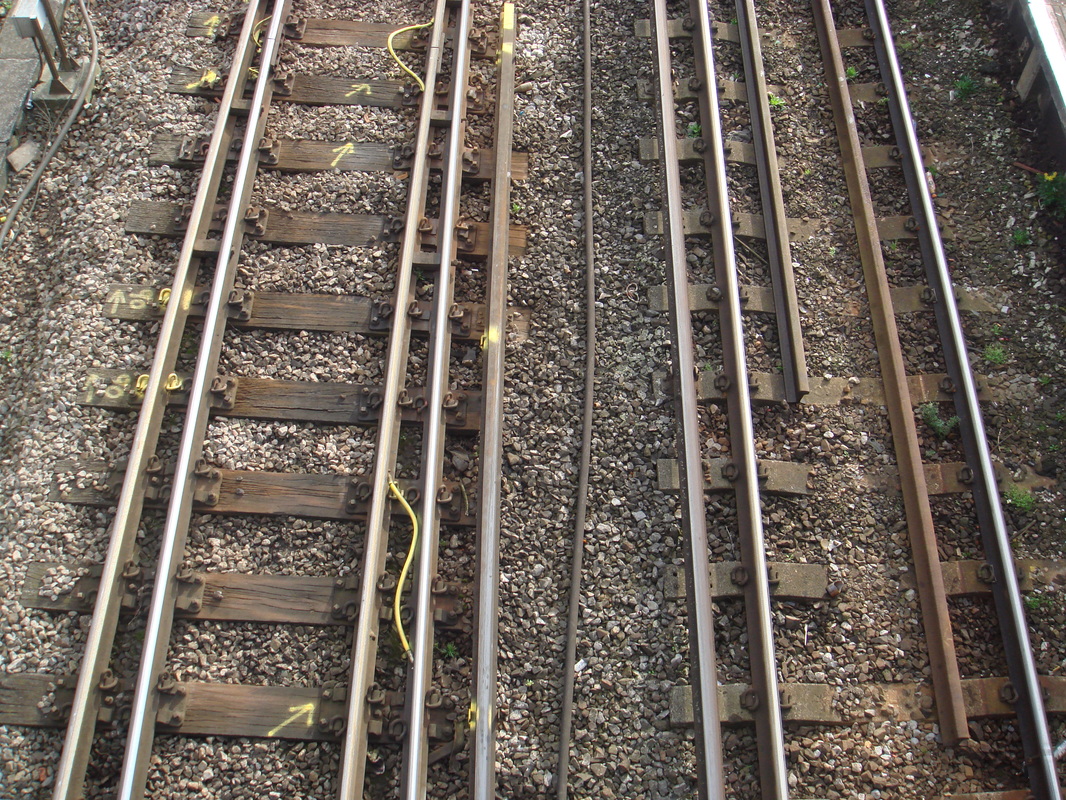
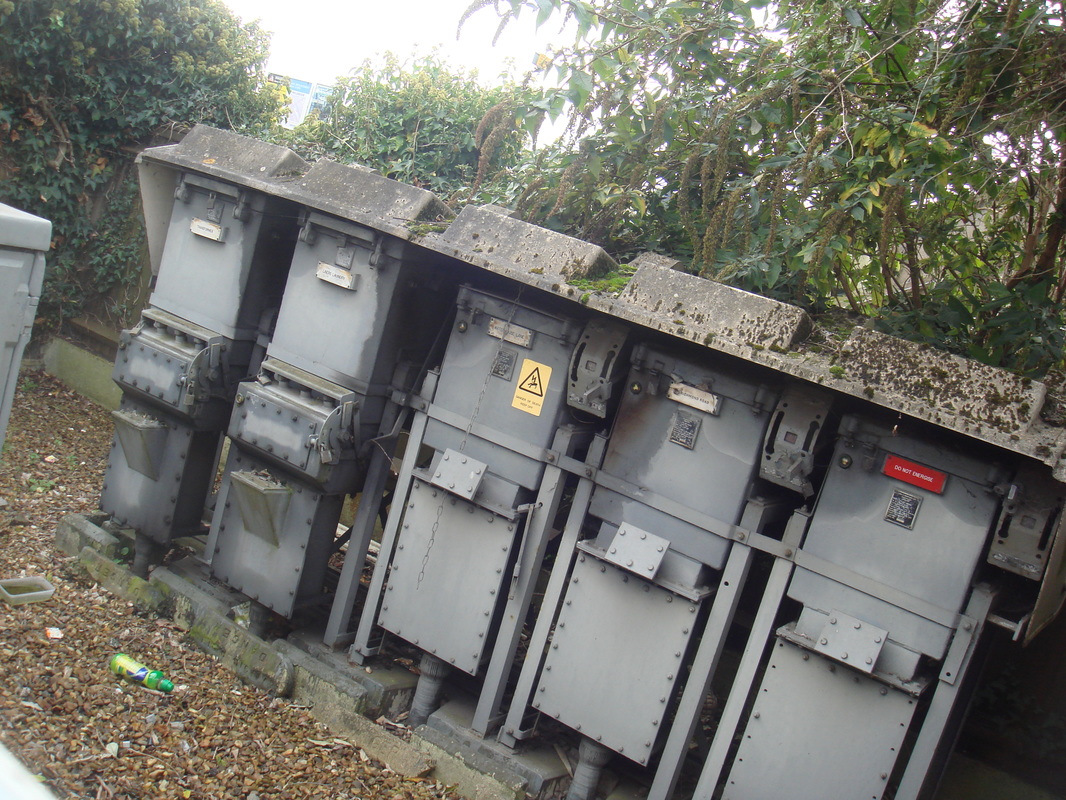
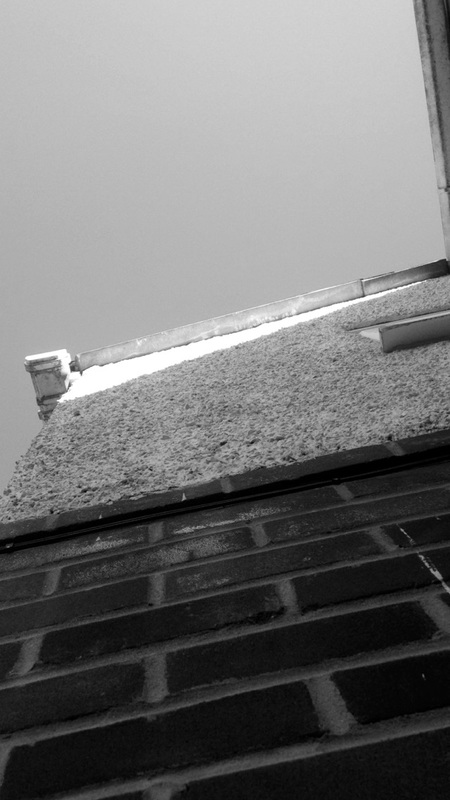
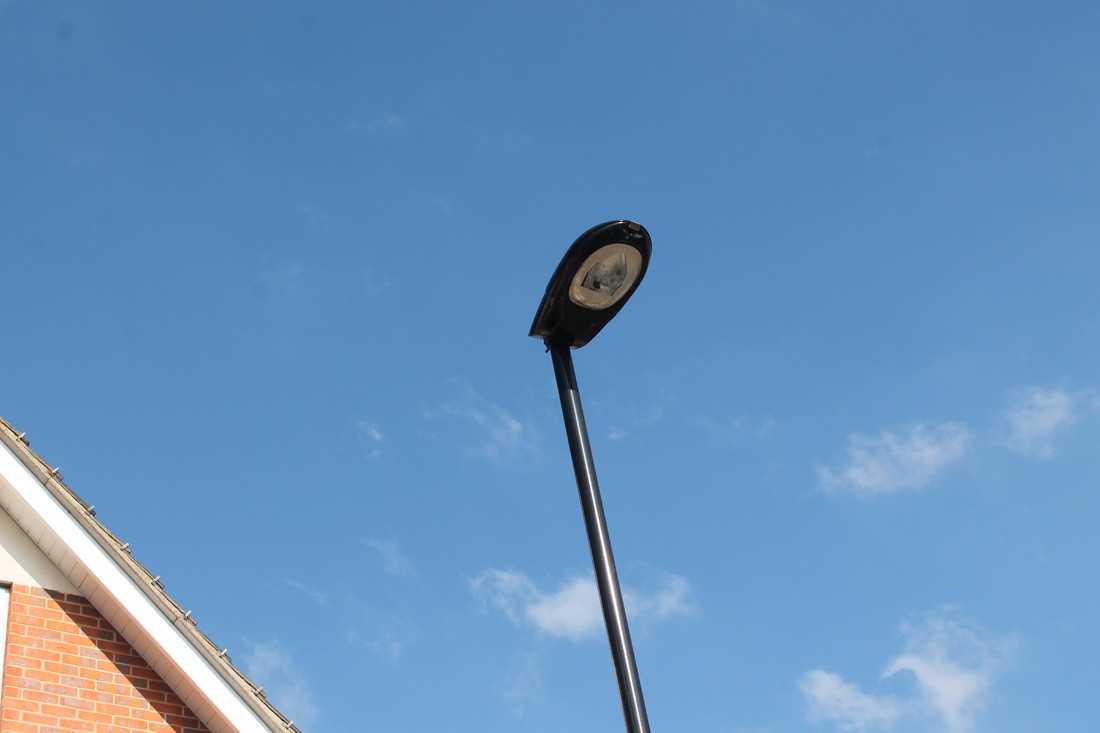
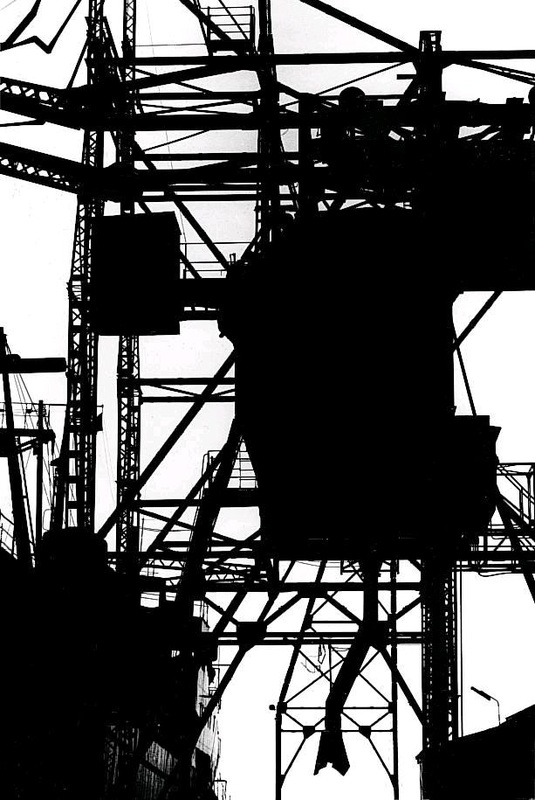
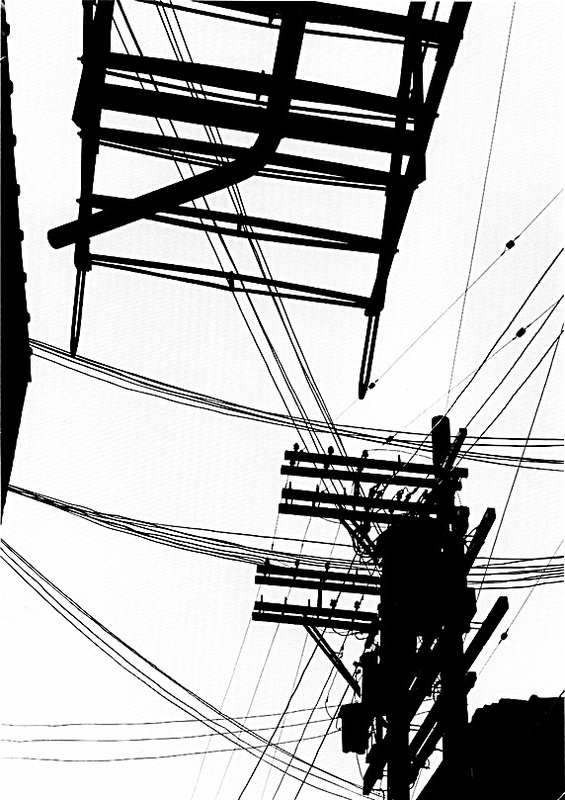
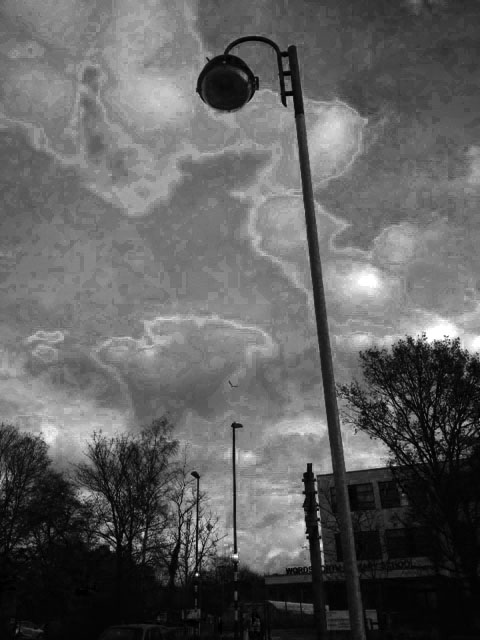
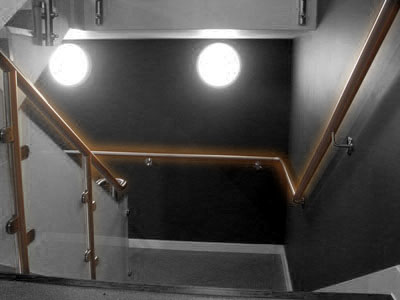
in response to his work I took pictures of train track lines and electric stuff because its a colour which suits black and white and its pictures which you would be amazed by. I took my time on the work and focused on the exact position and it was similar to his type of work.
My Edits

I edited these pictures by using the crop and curving tool where you have a straight lines and you move the line in a curving shape to make it darker or make it saturation and I used it so it moves the way towards dark and light. for the cropping tool I went round the edge of the main part of the picture so one part would be different to the other part. mostly my background is lighter than the main part.
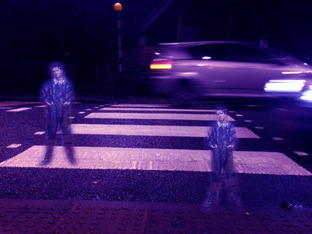
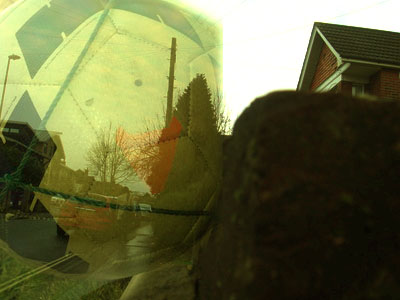
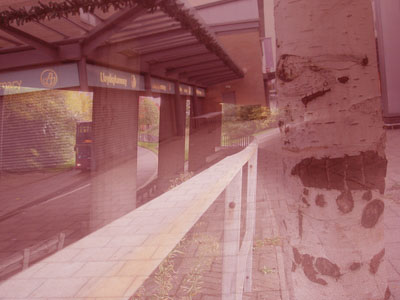
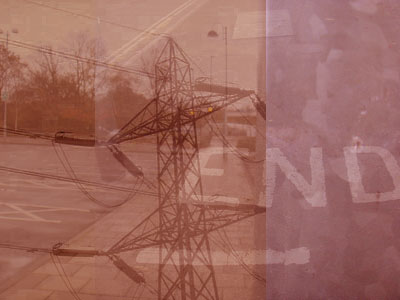
Alexey Titarenko Ghosting
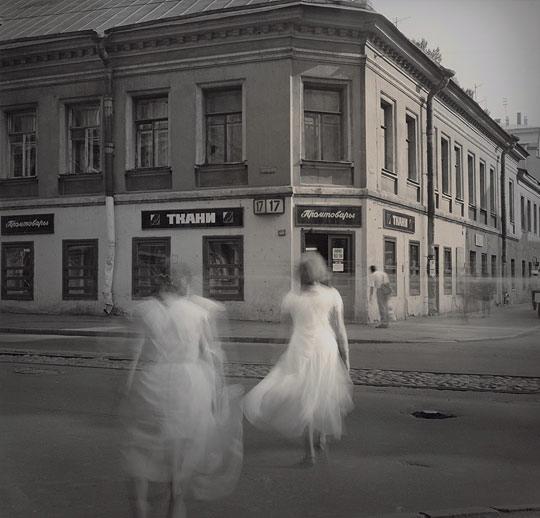

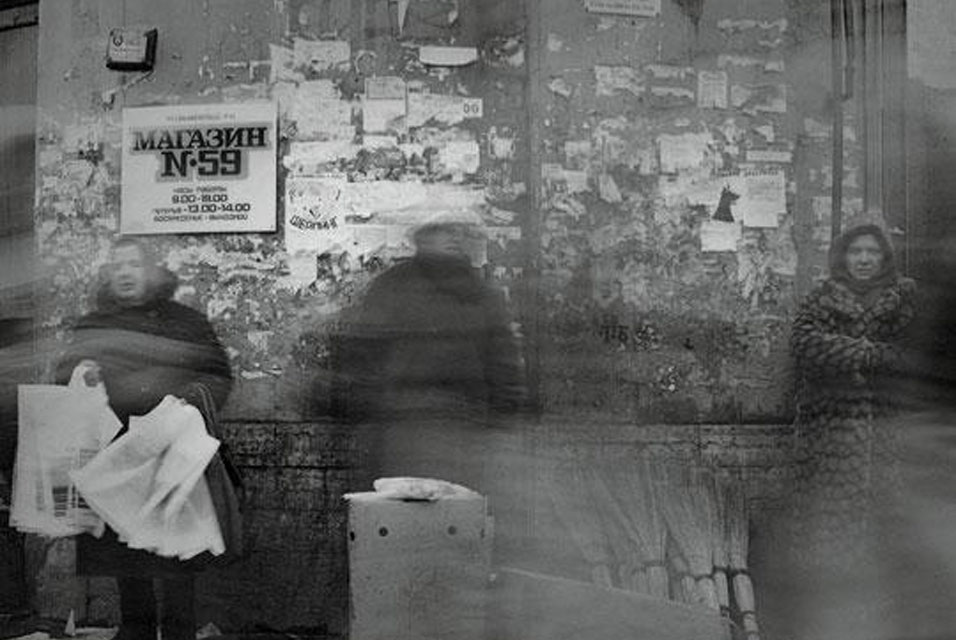
Ghosting Edits in Response to Alexey Titarenko
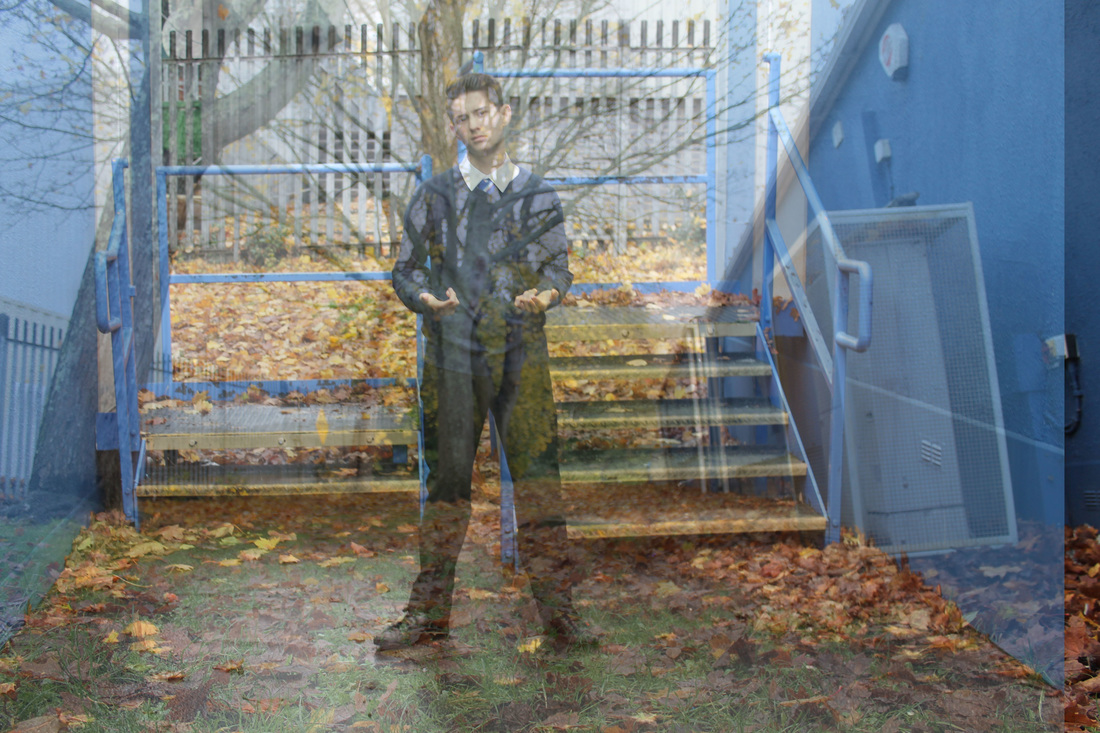
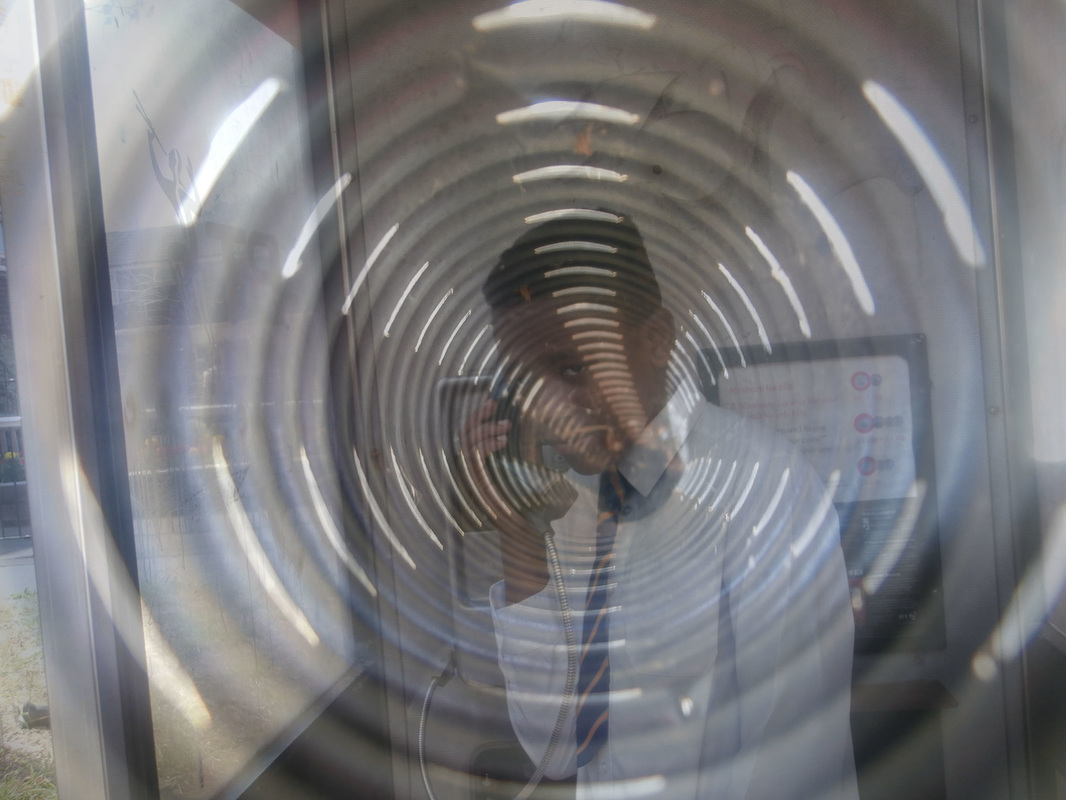


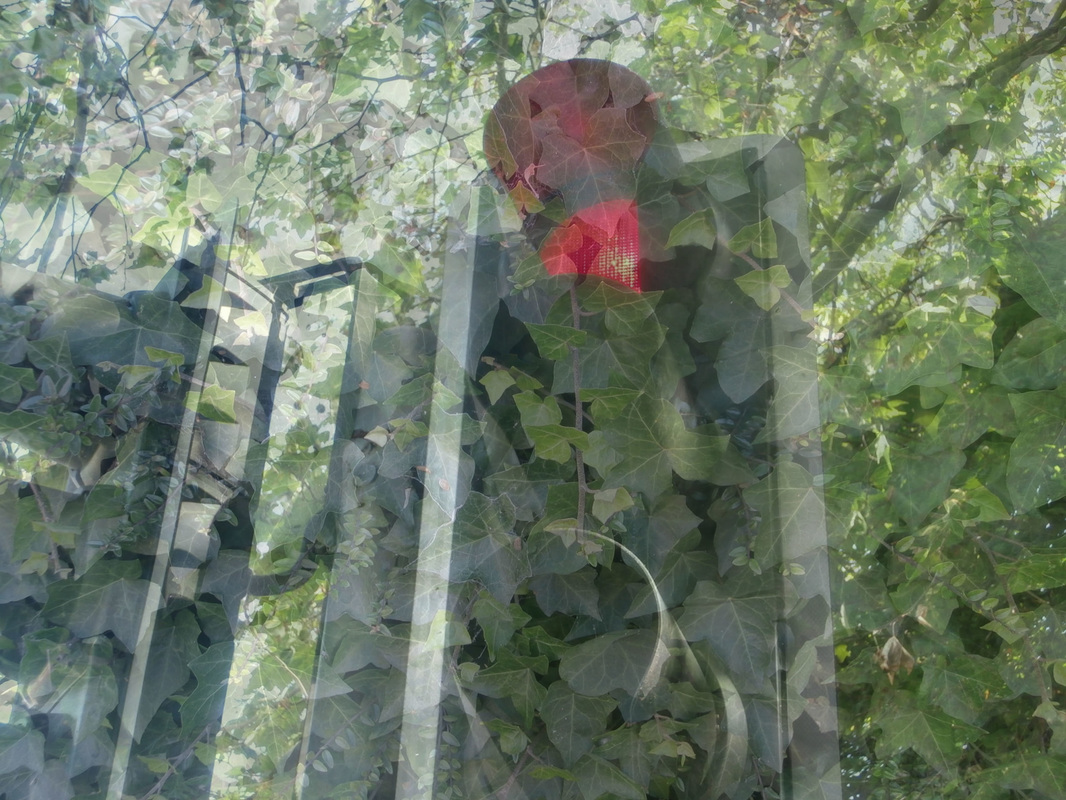
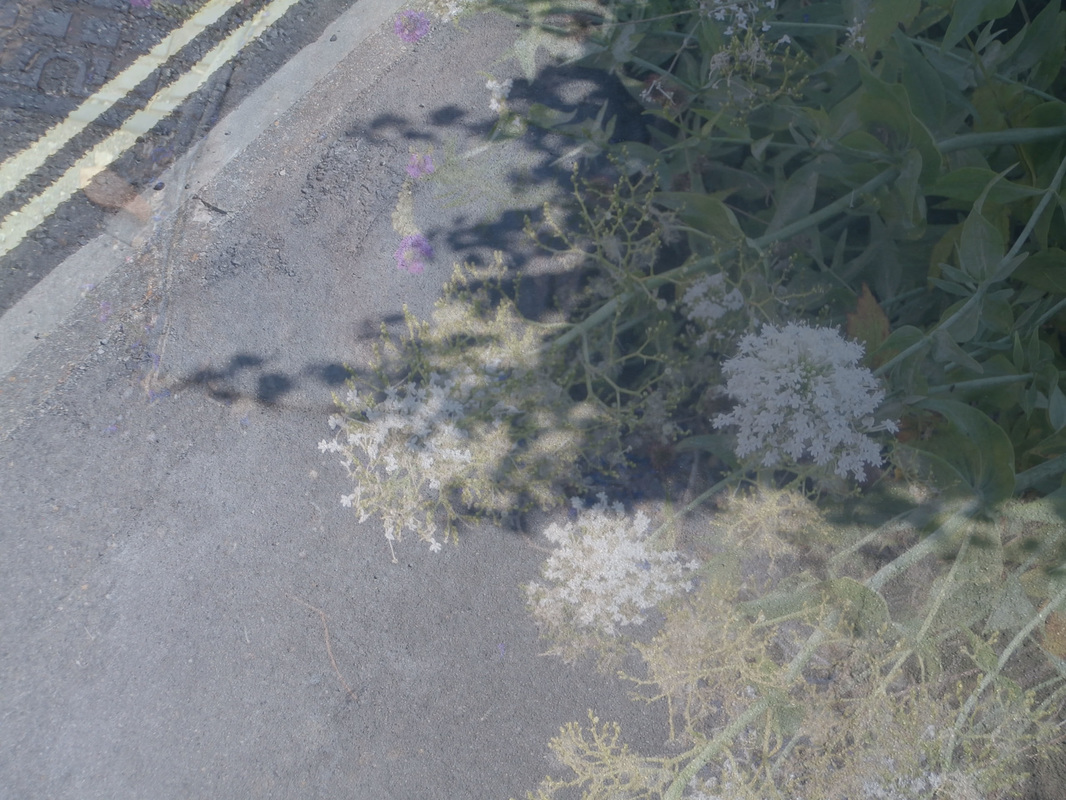
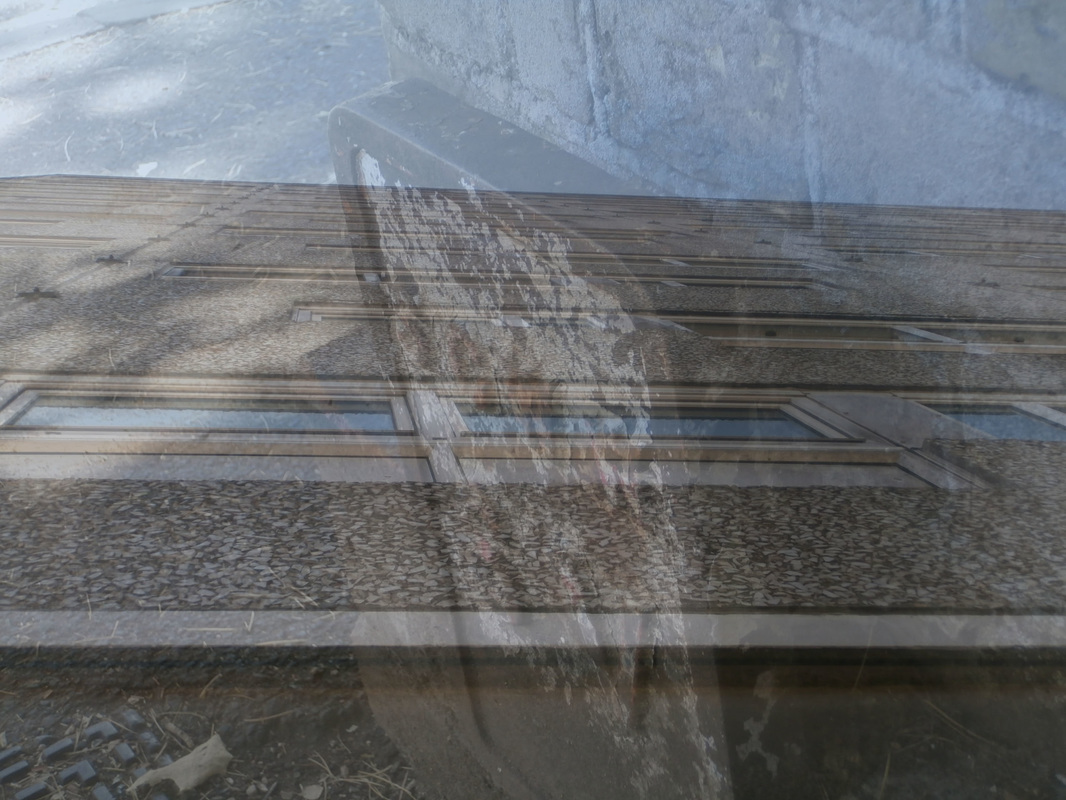
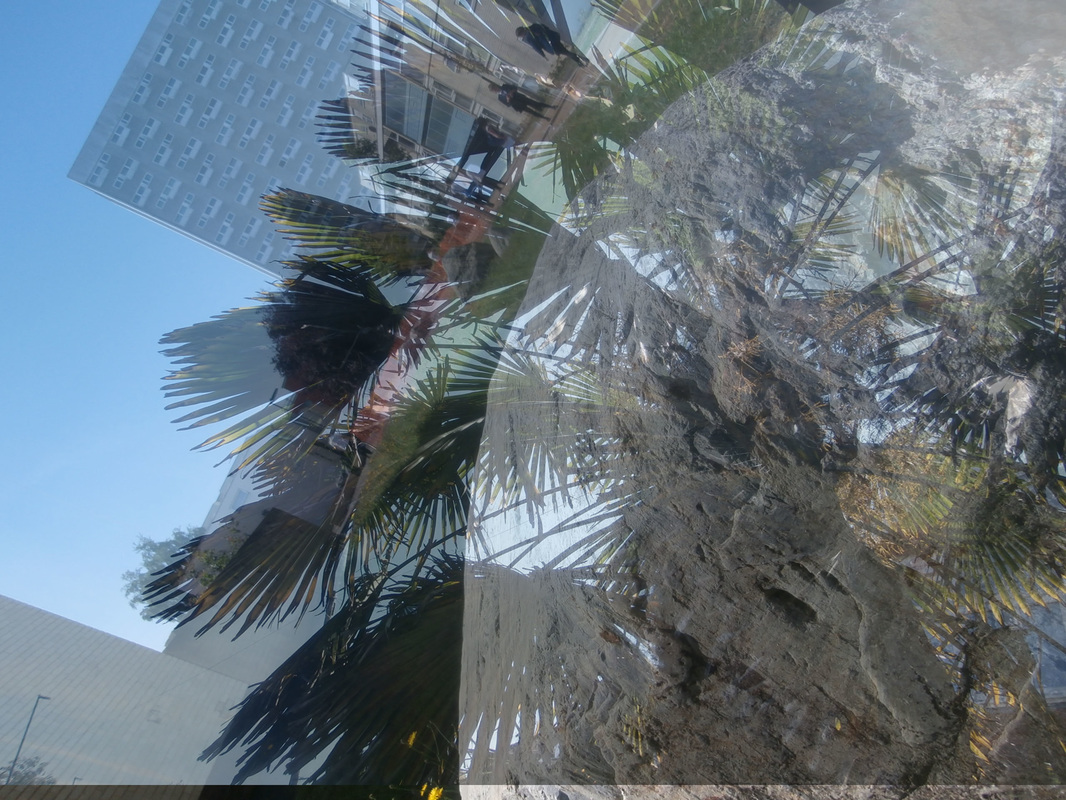
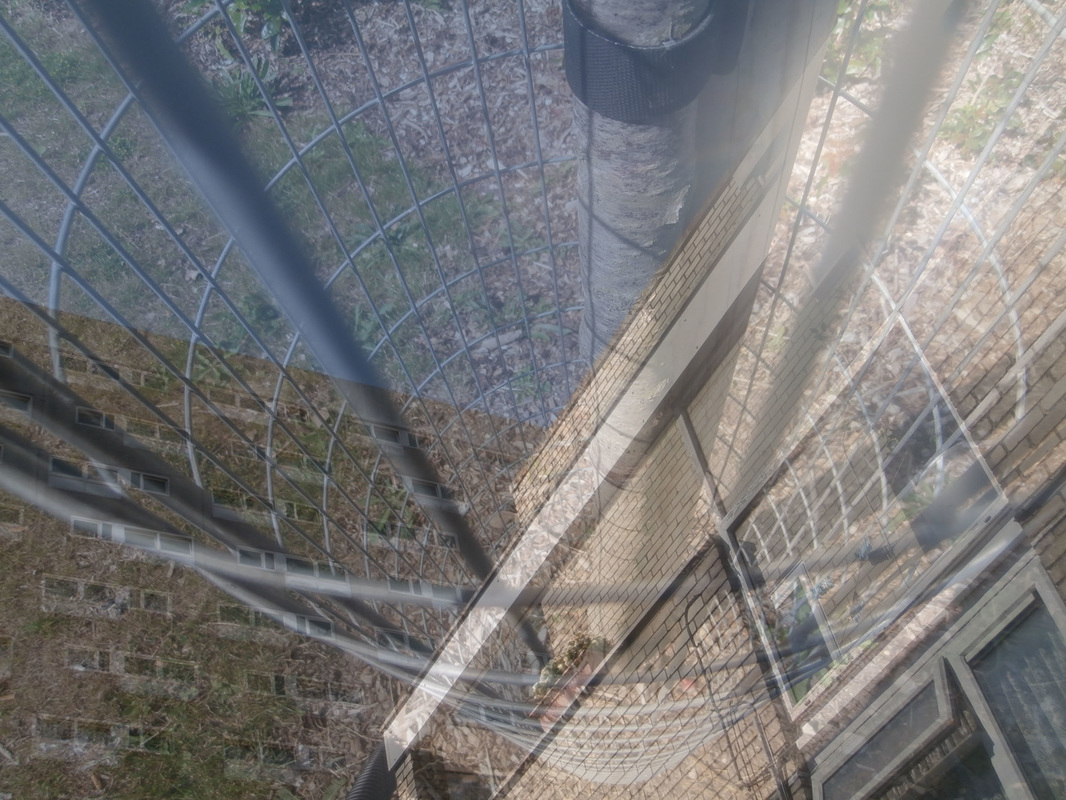
Ghosting is one of the hard working themes. you have to pic an object and pic another one and use the move tool to move one picture into another one so it blends in, you then use opacity to lighten the picture so you see both pictures making one photo.
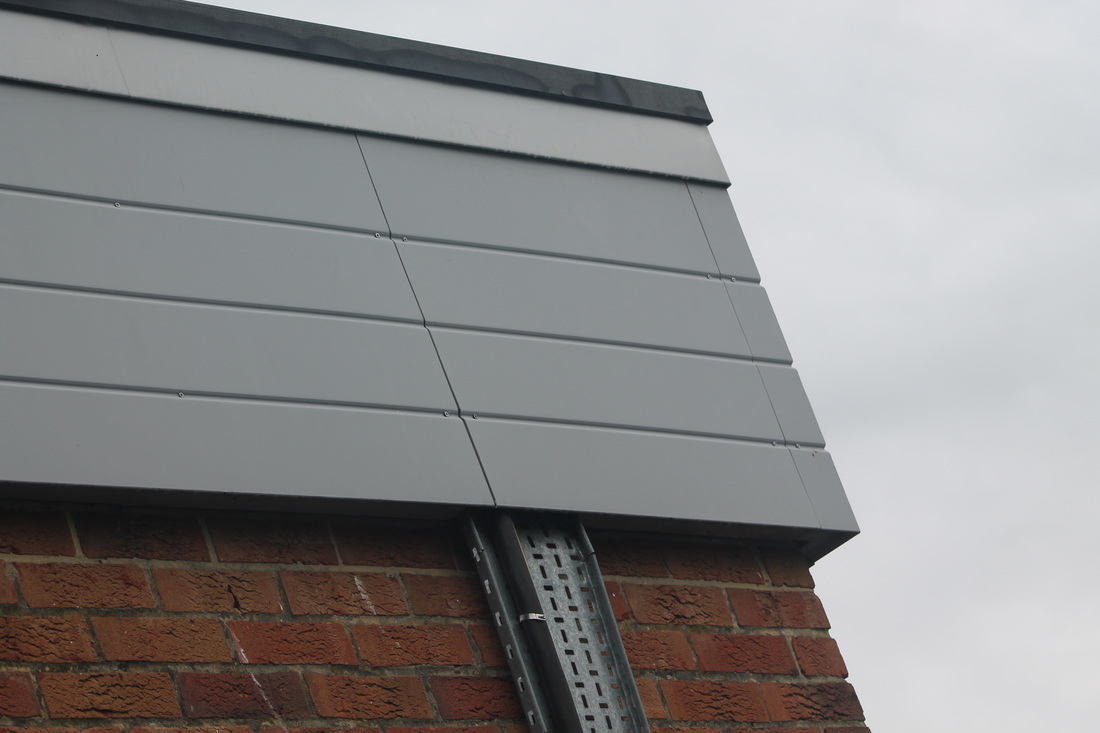
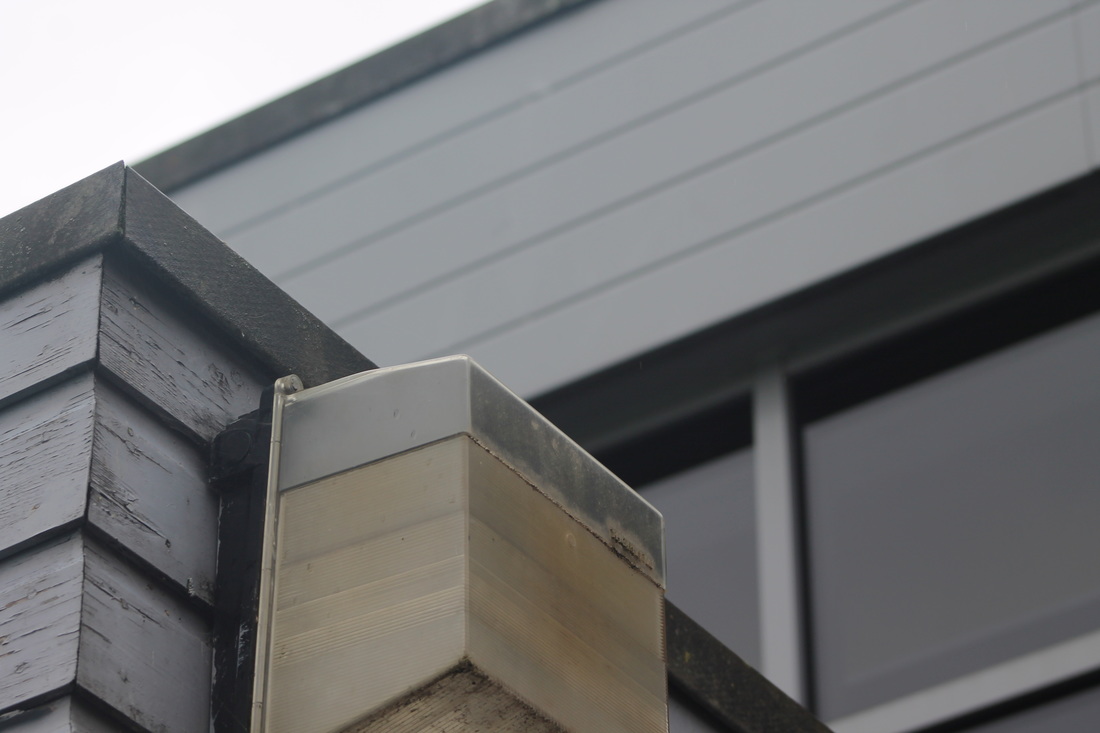
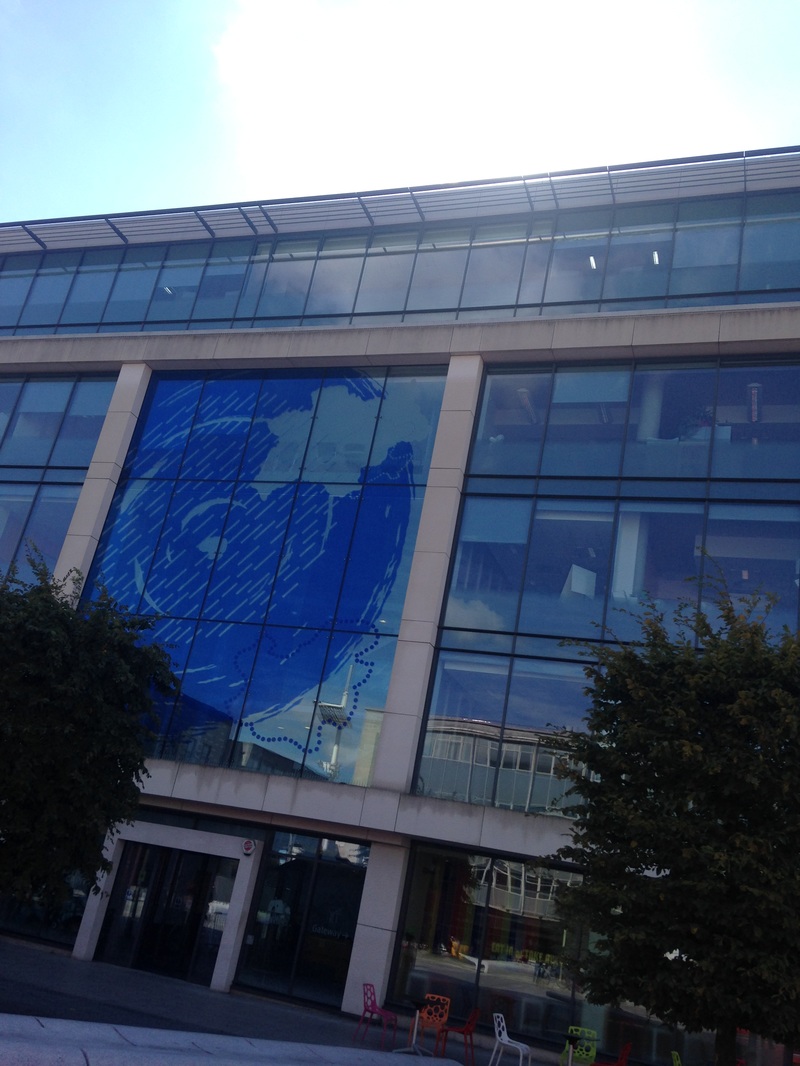
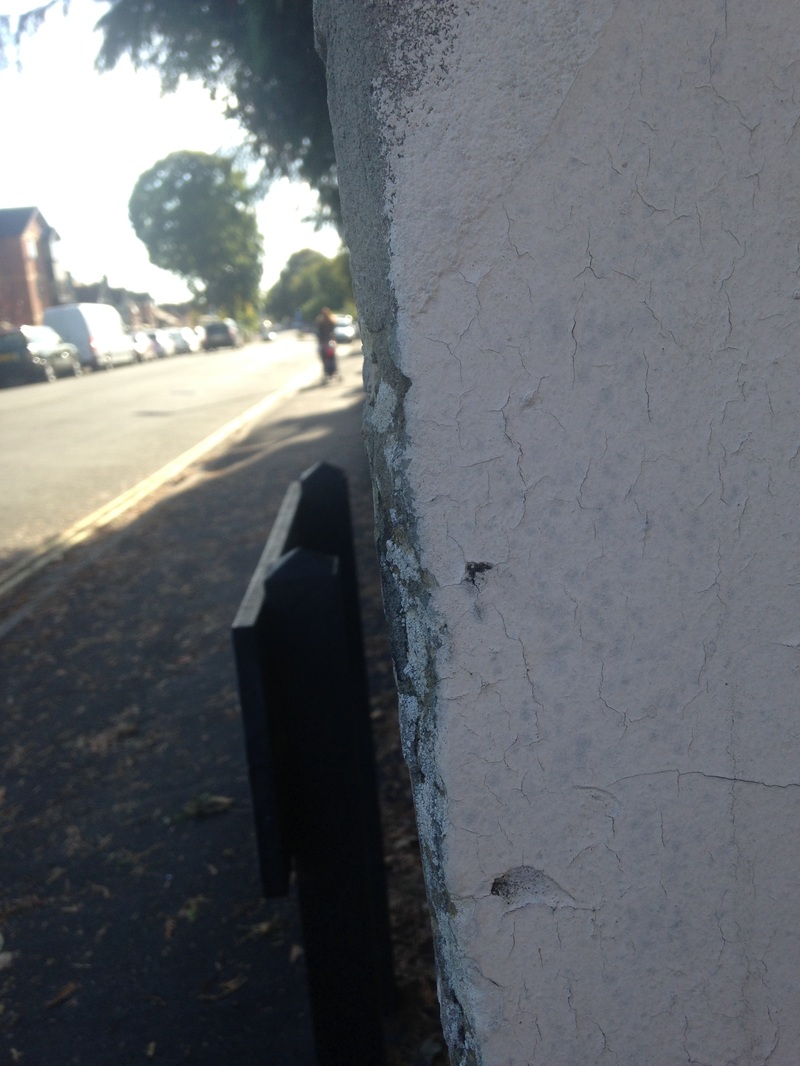
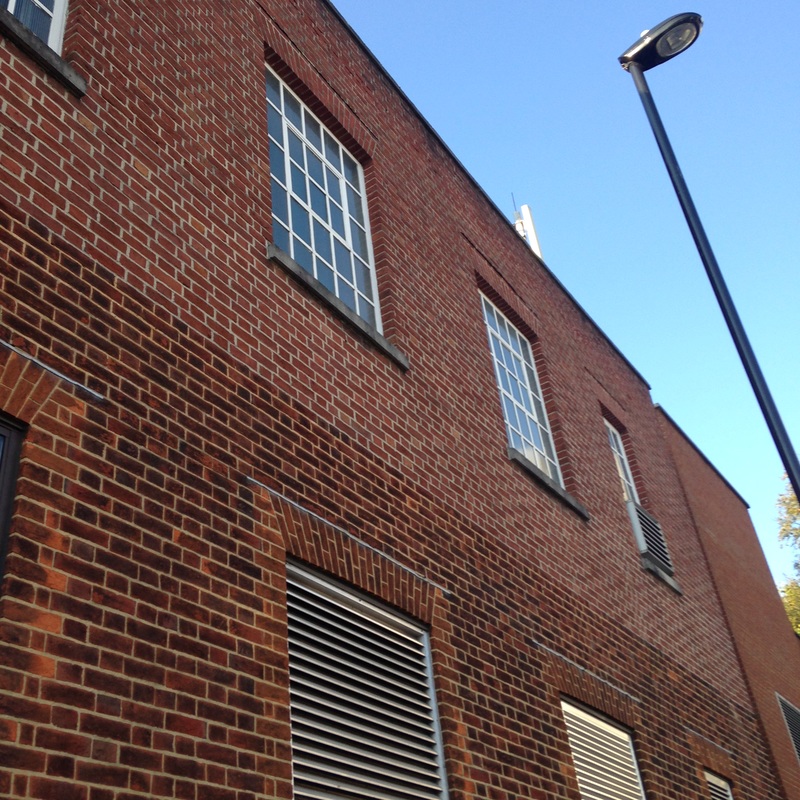
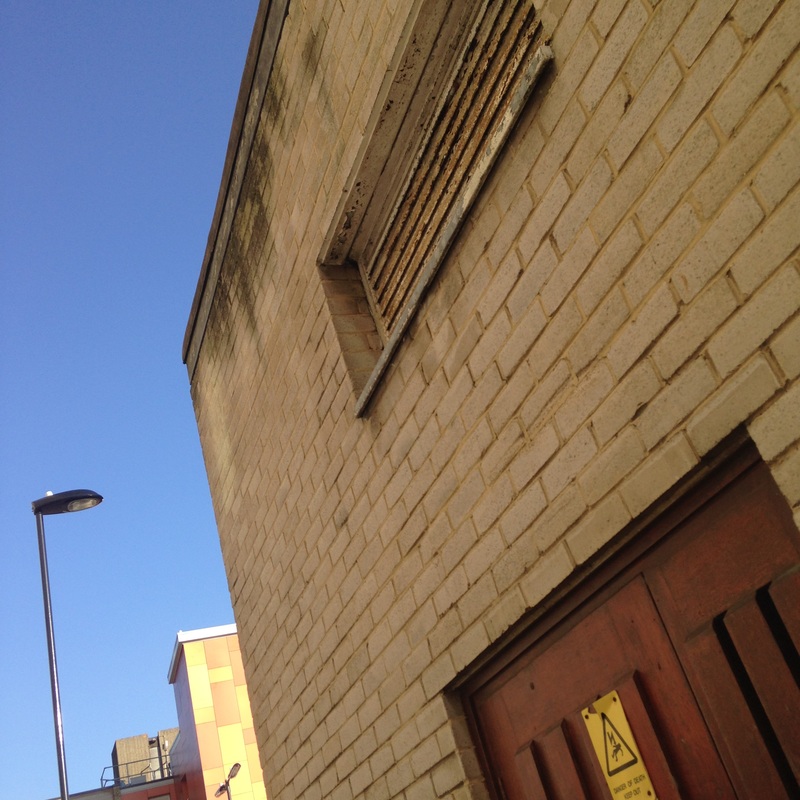
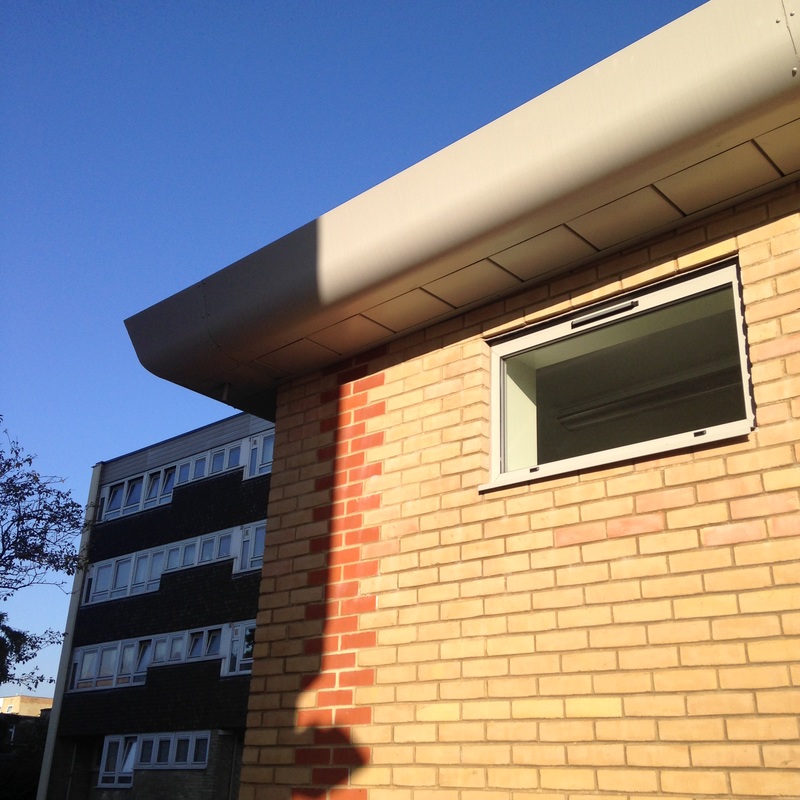
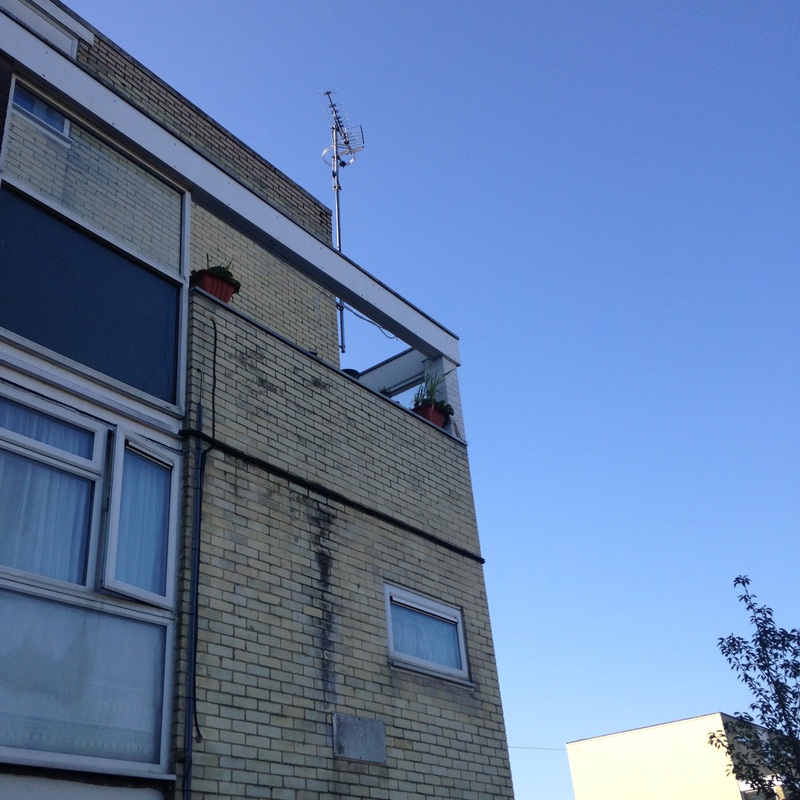
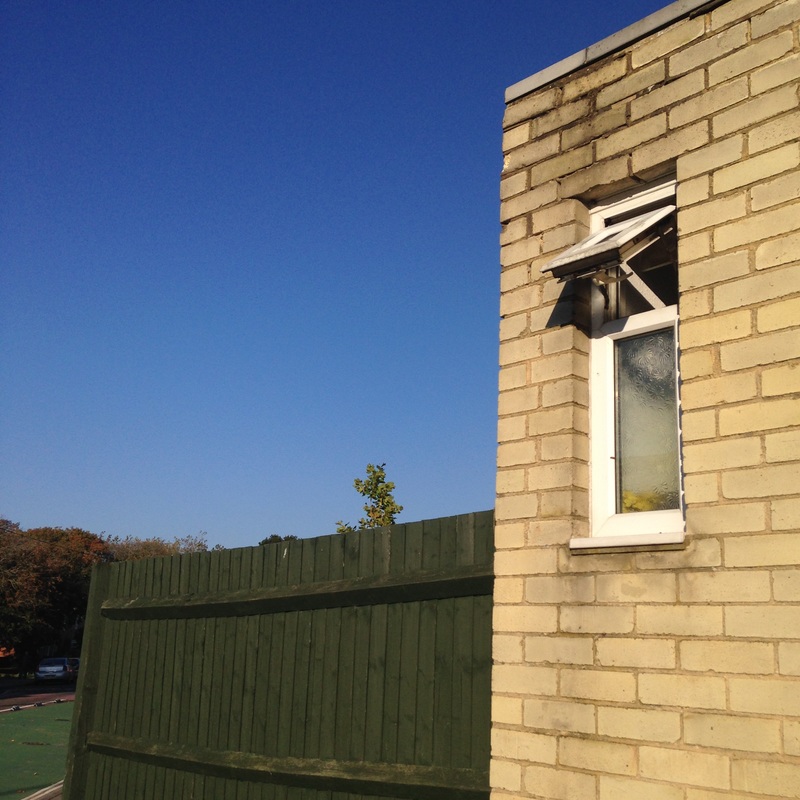
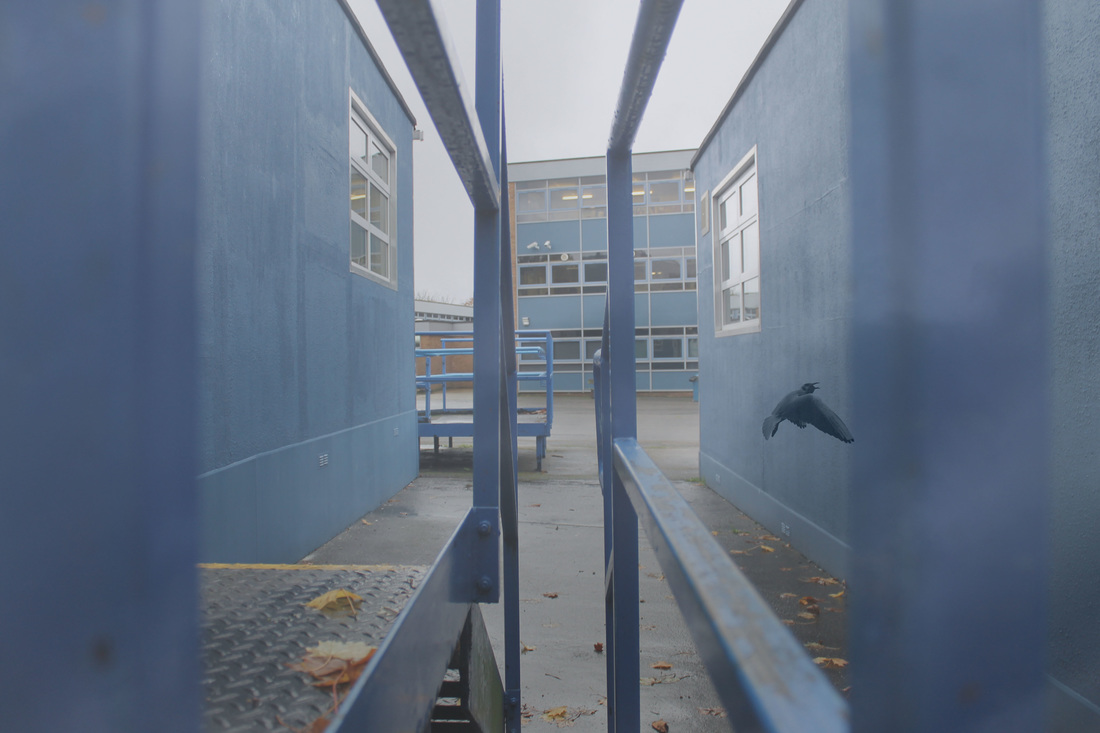
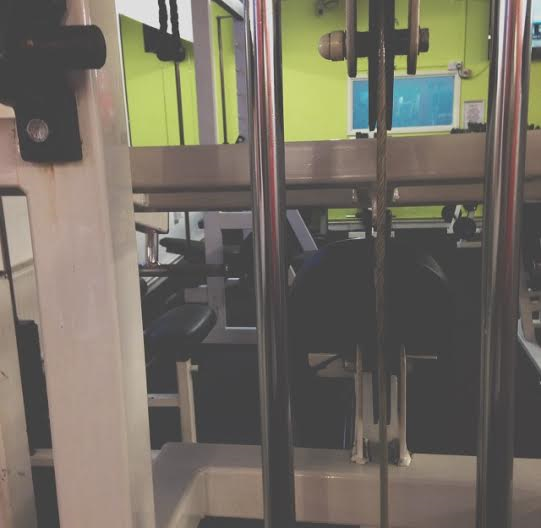
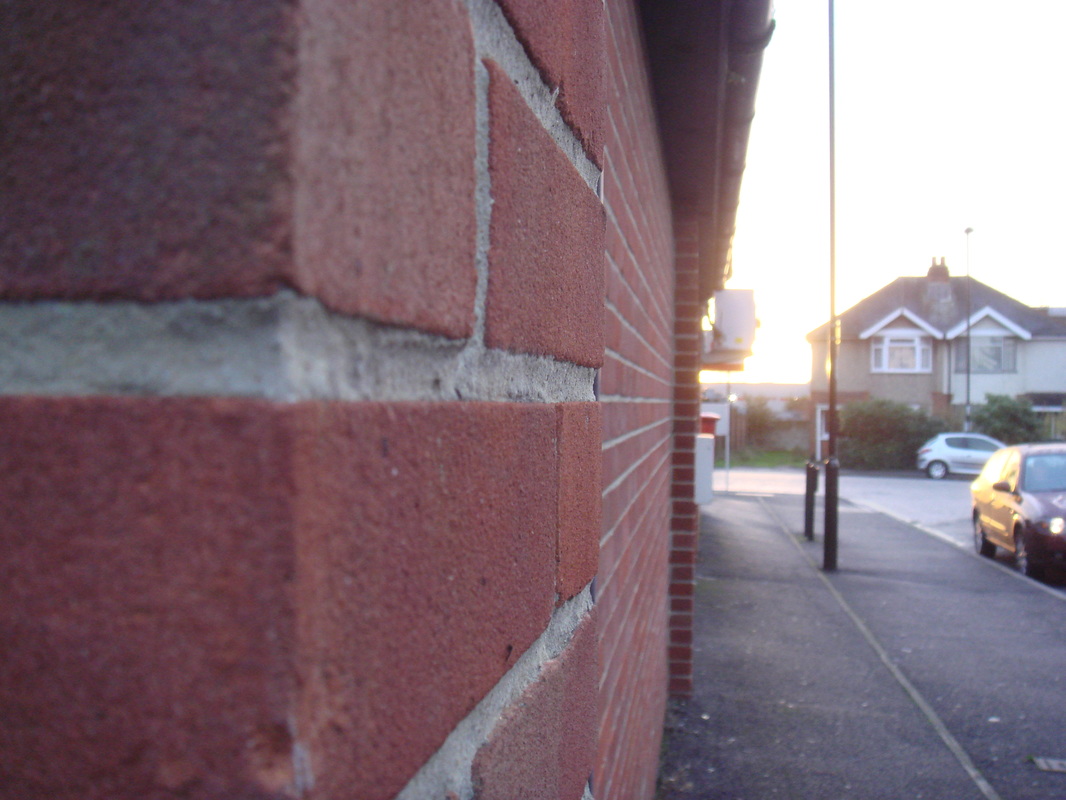
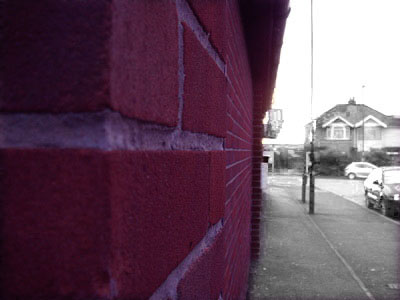
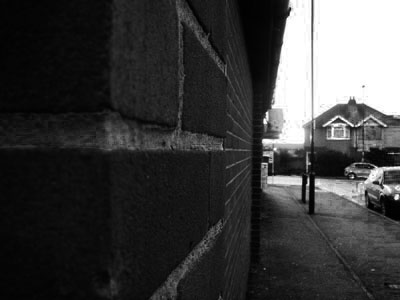
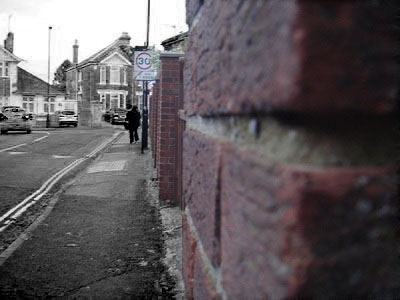
Lines
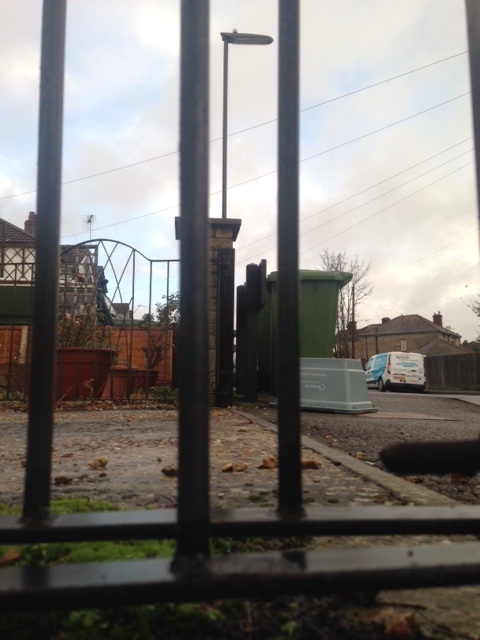
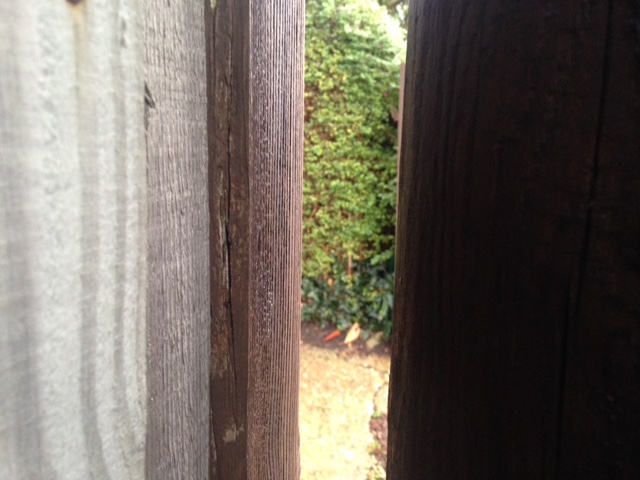
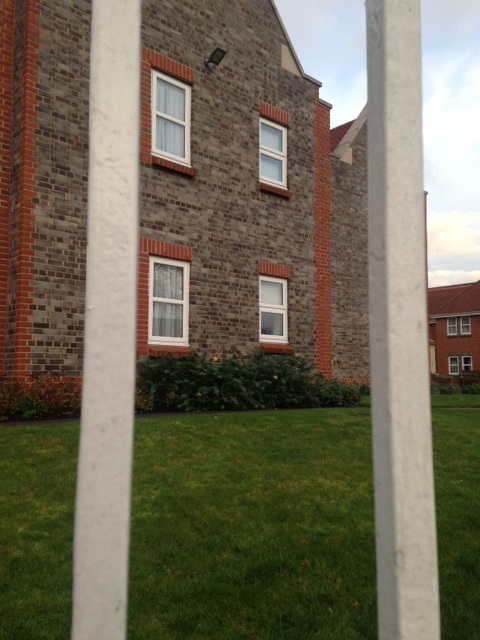
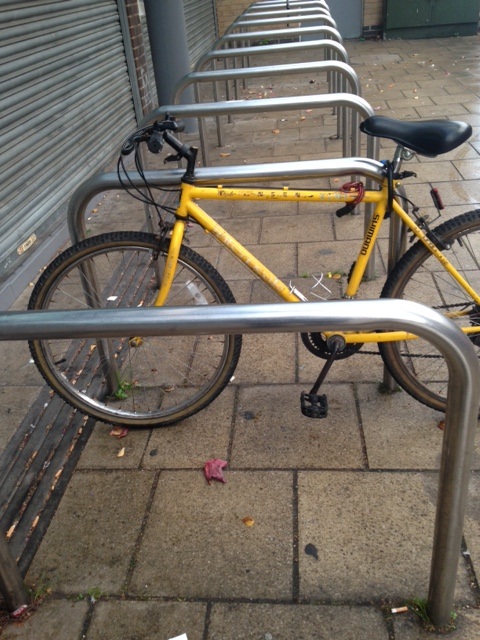

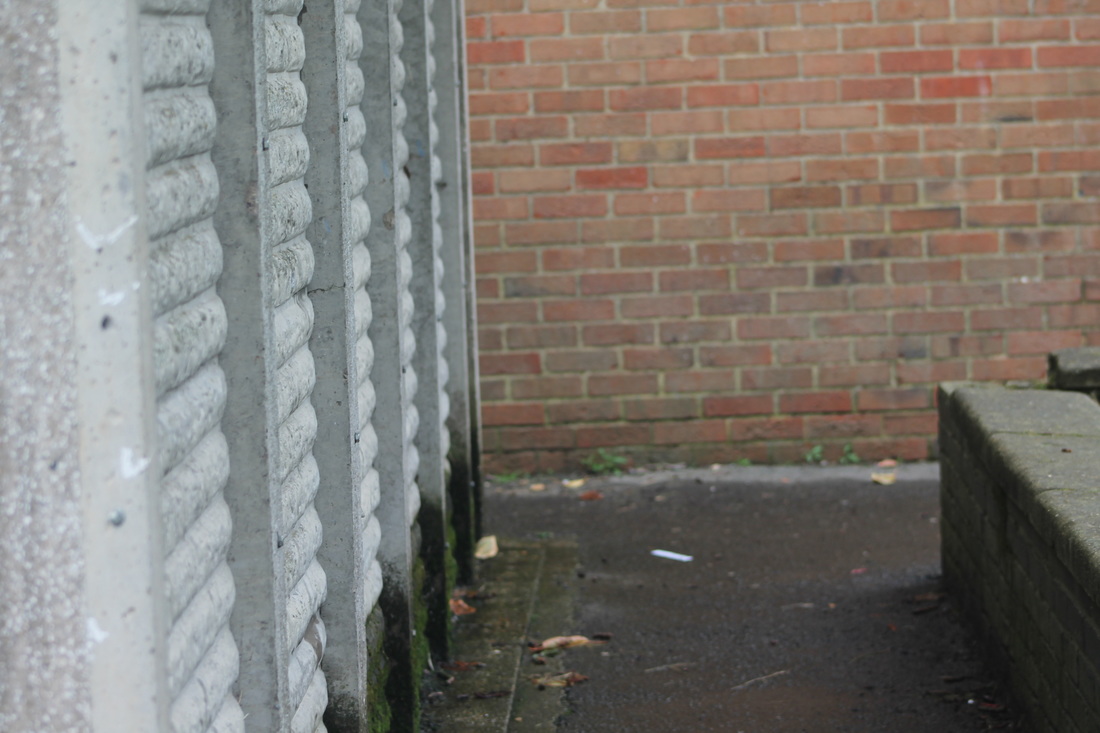
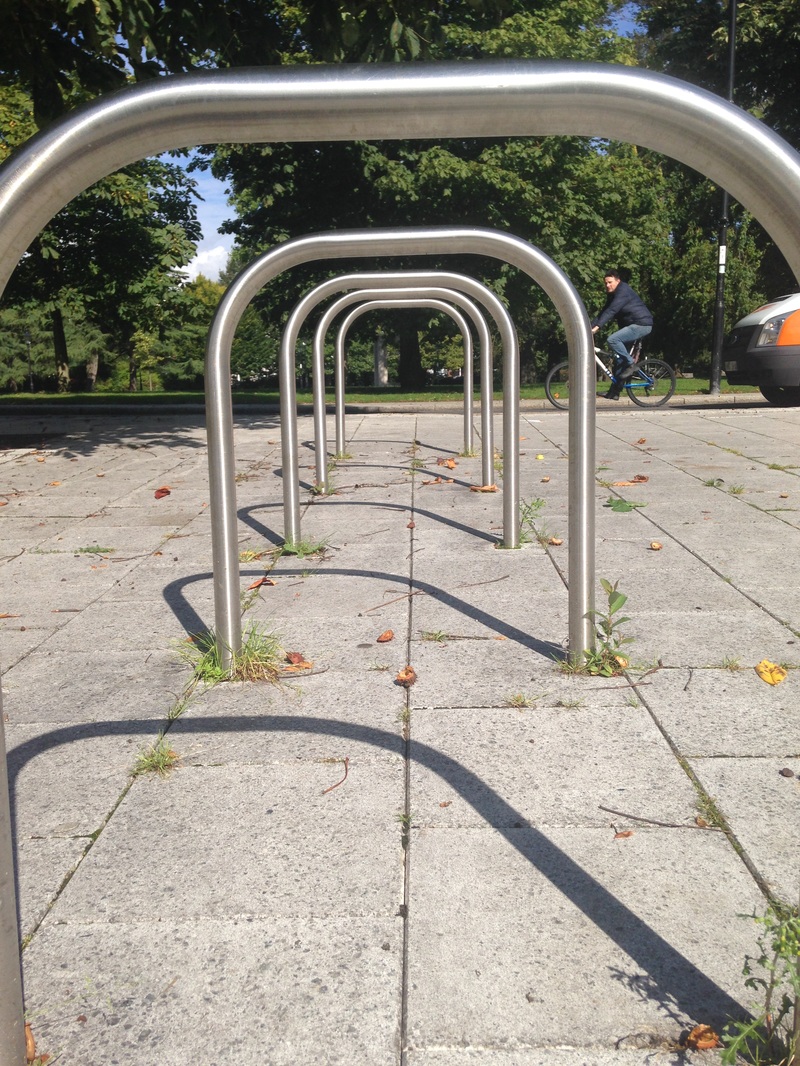
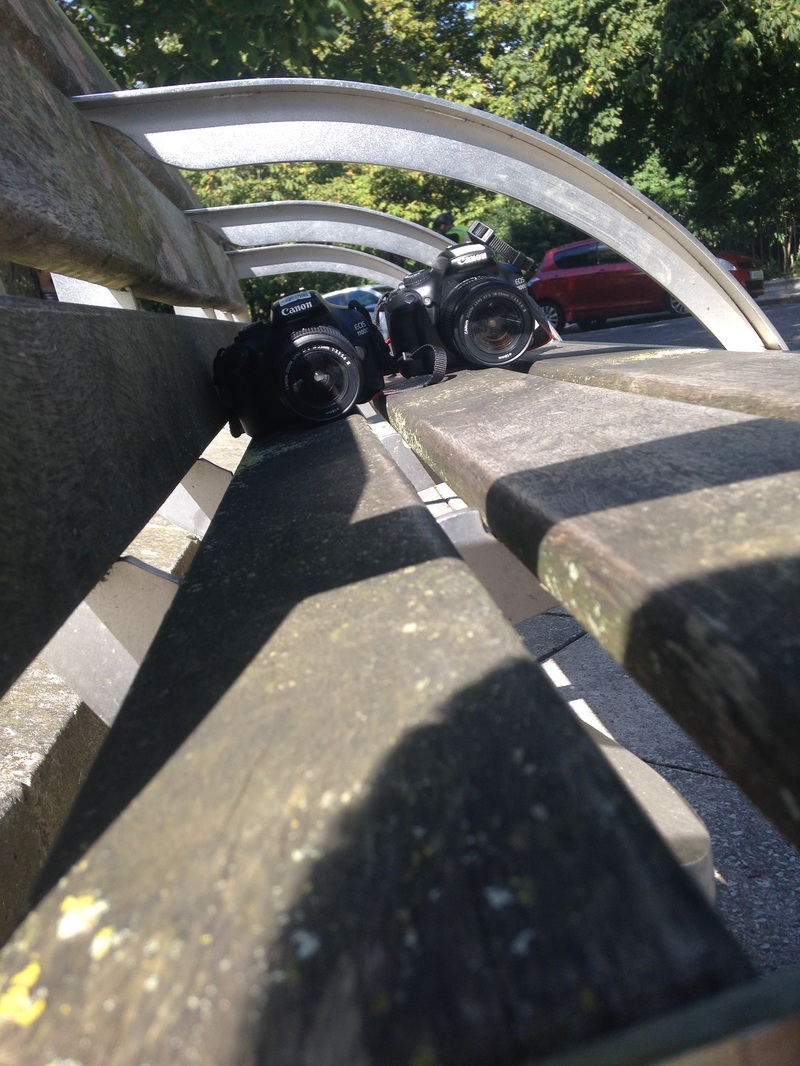
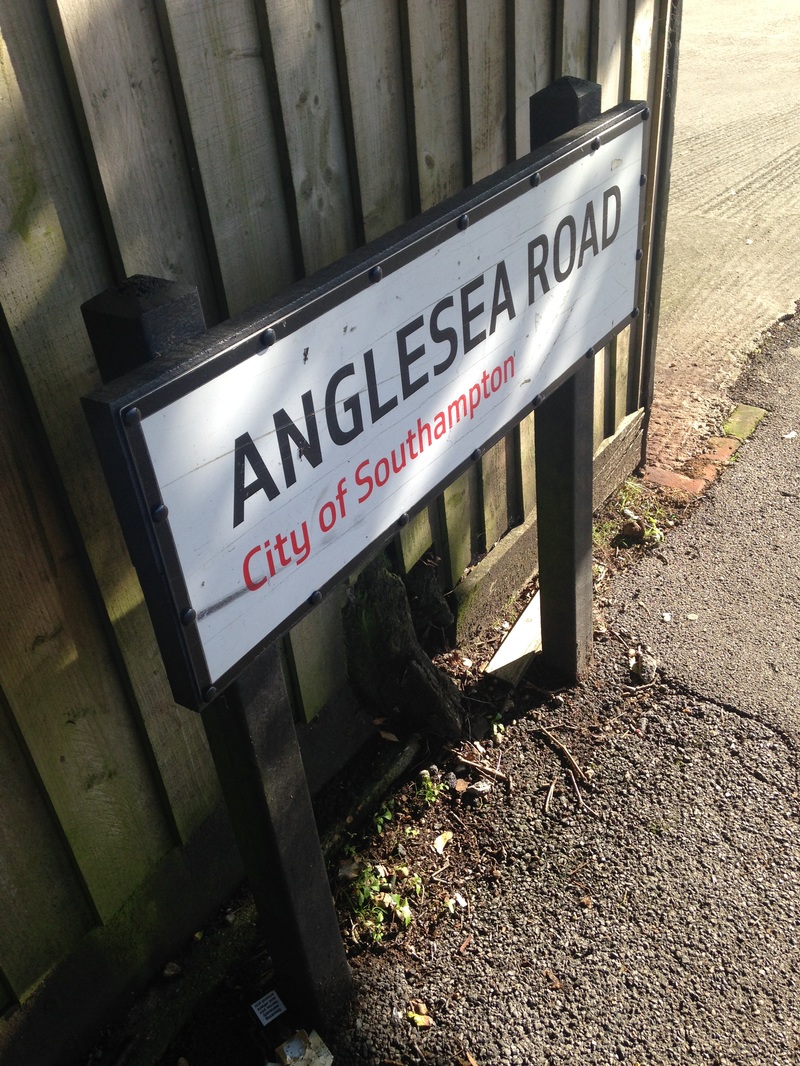
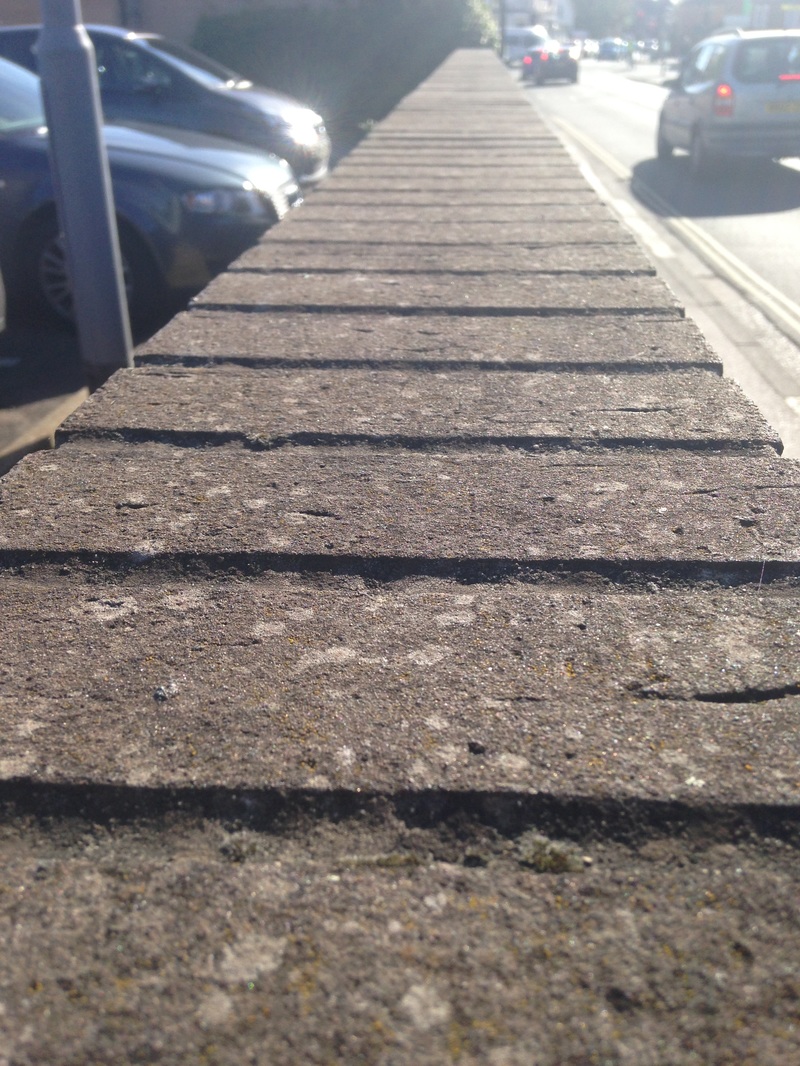
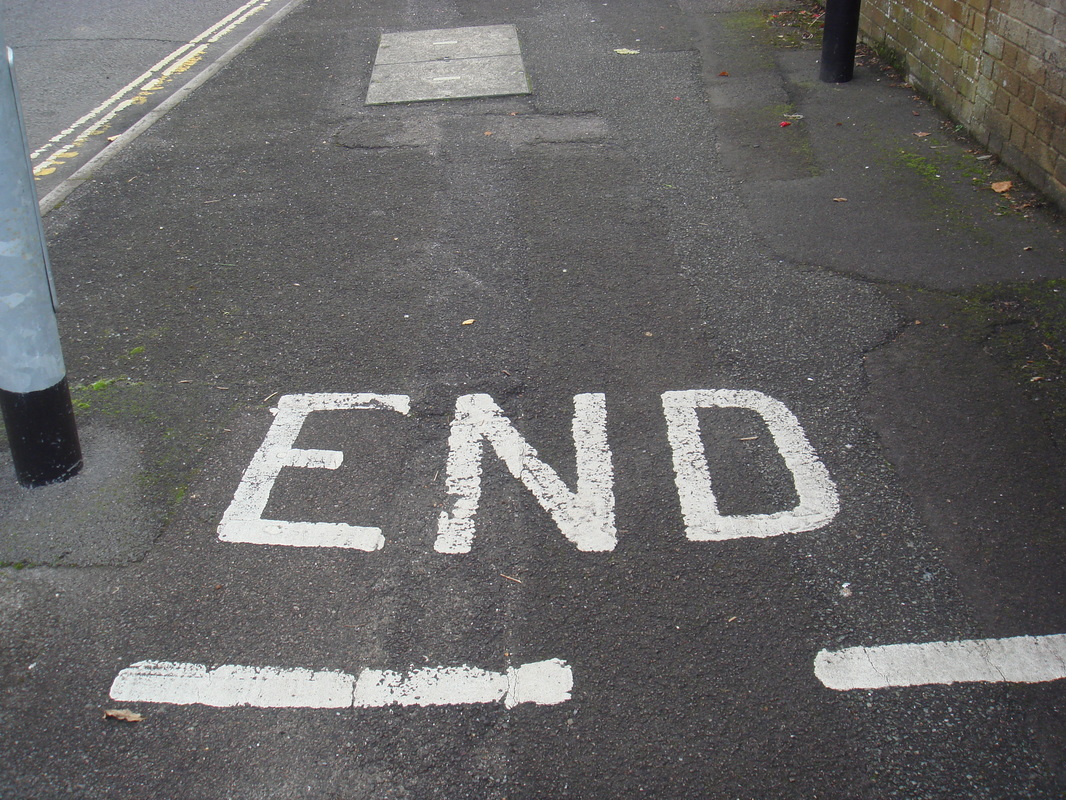
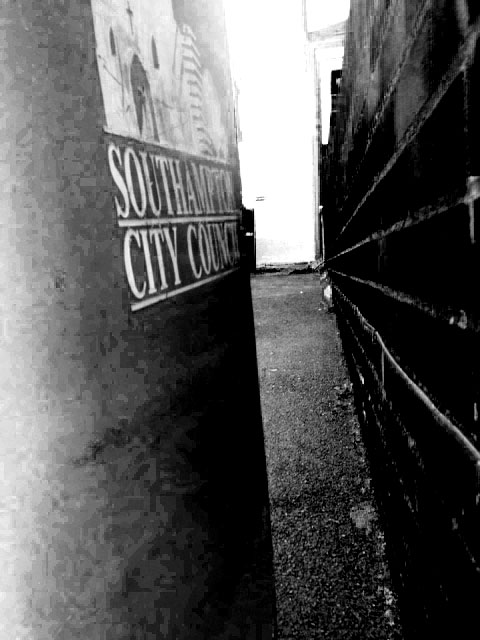
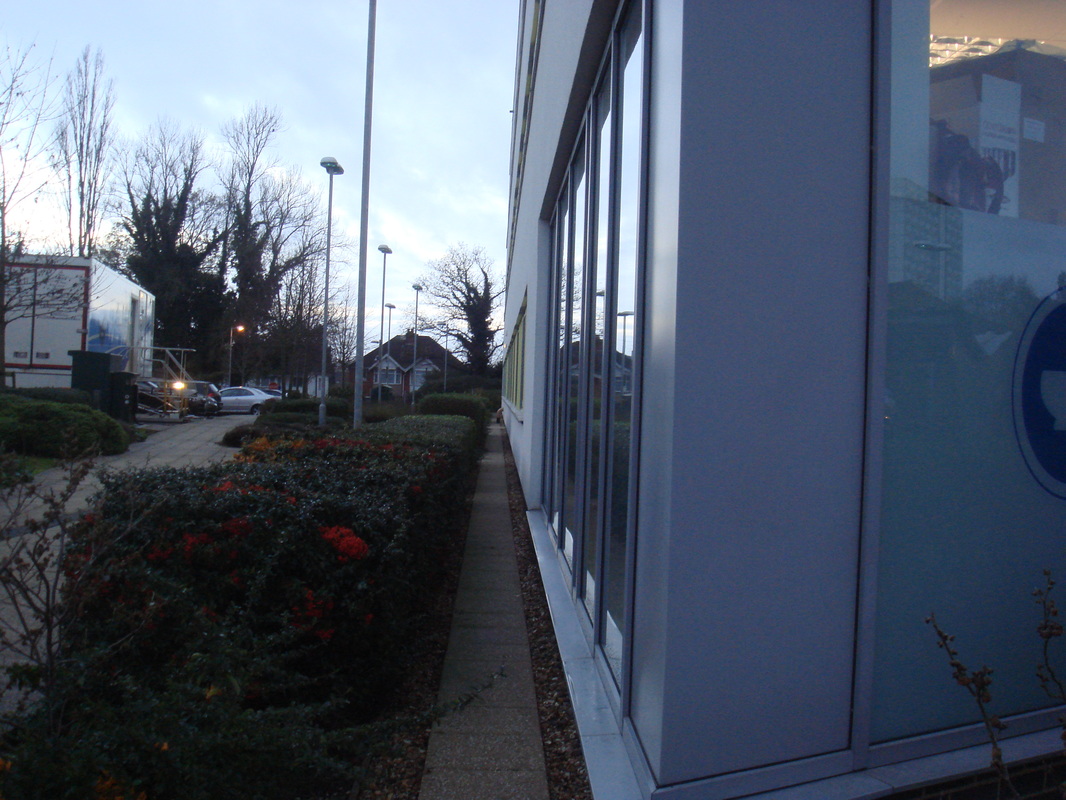
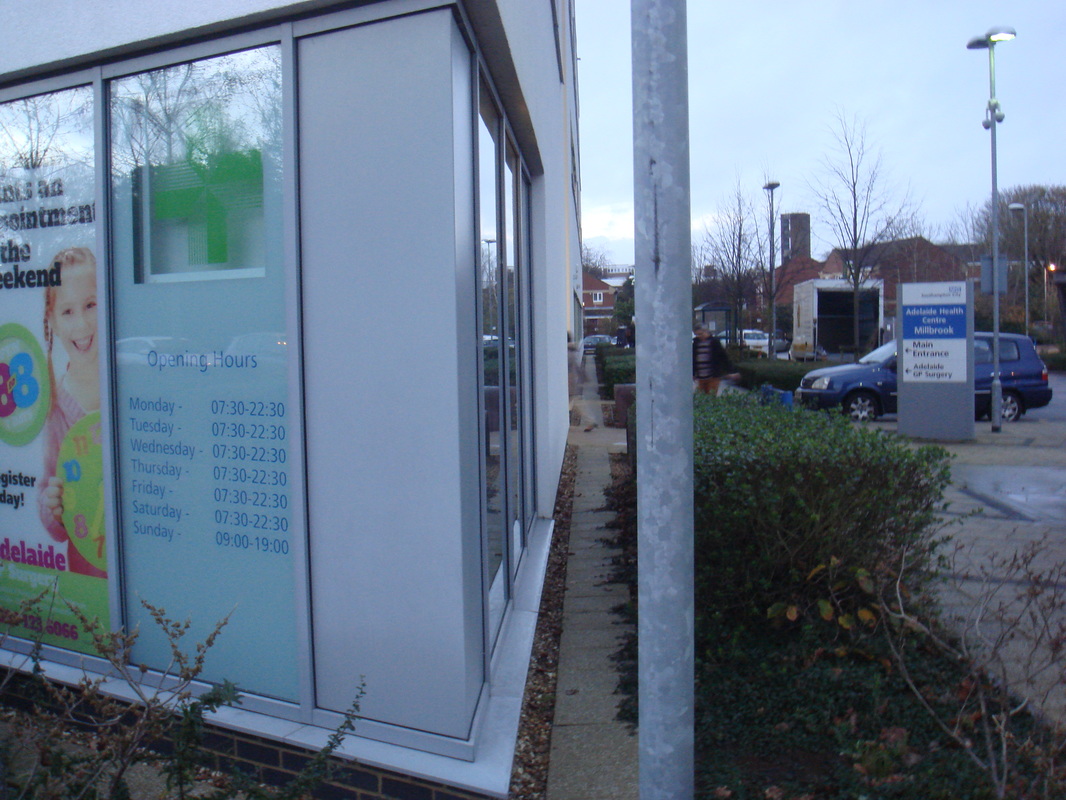
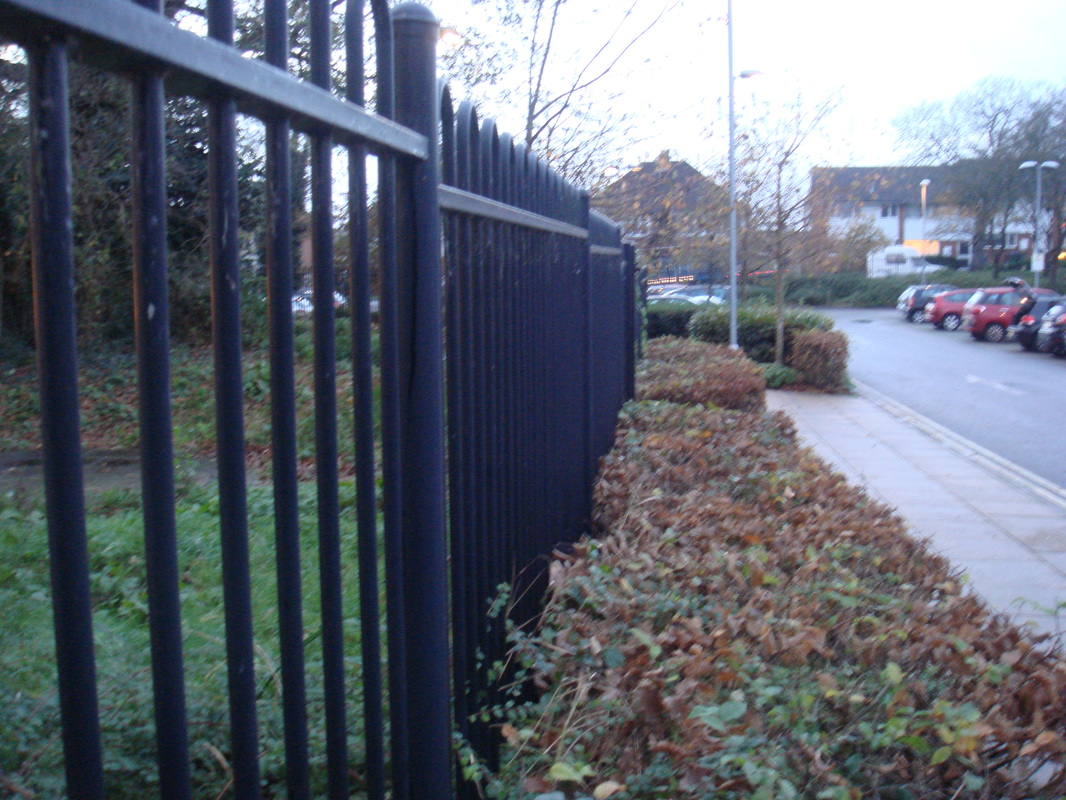
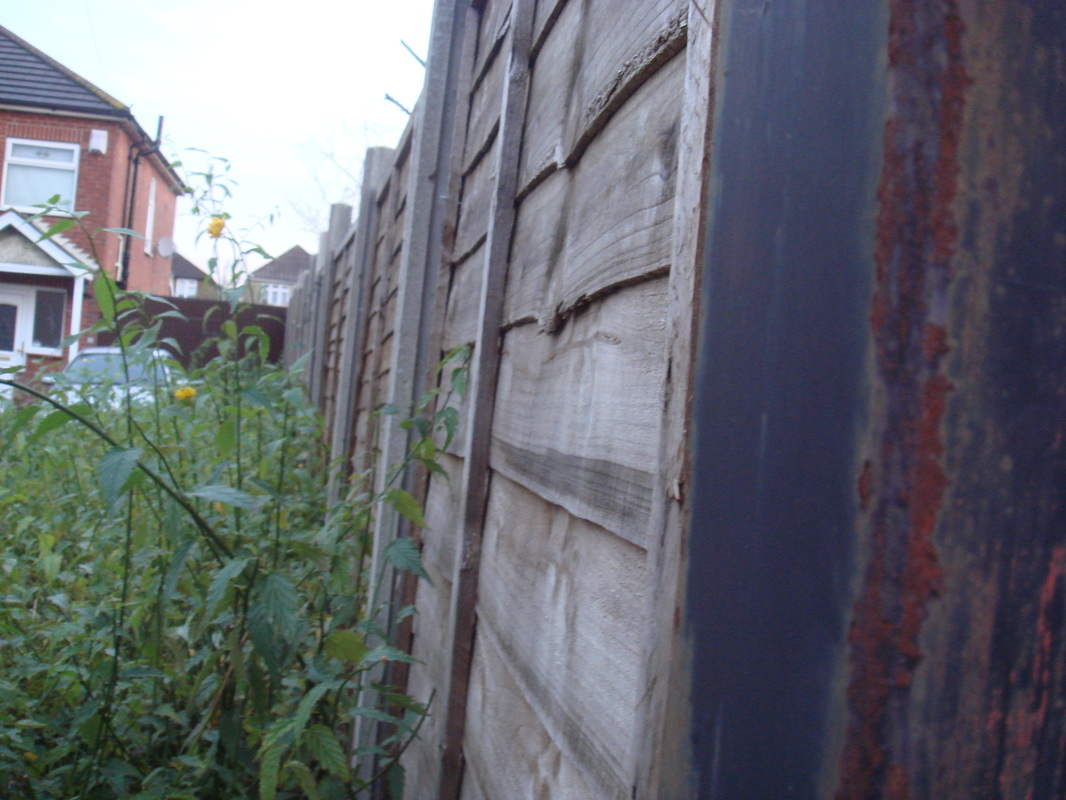
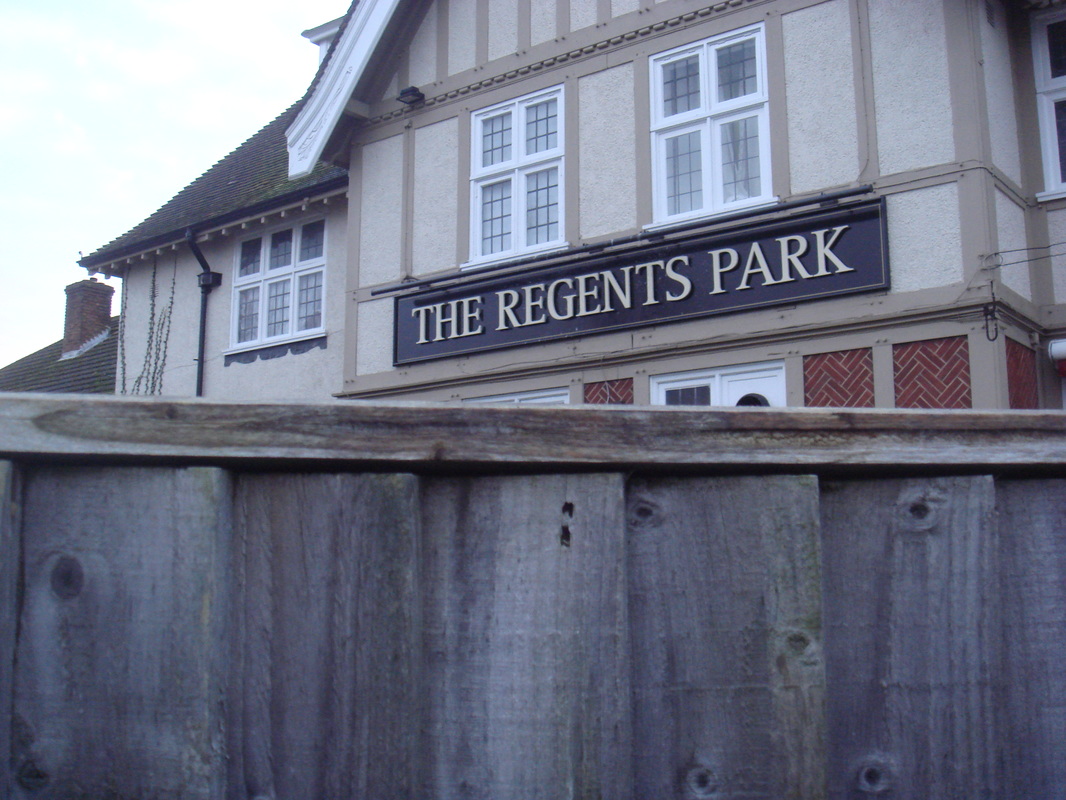
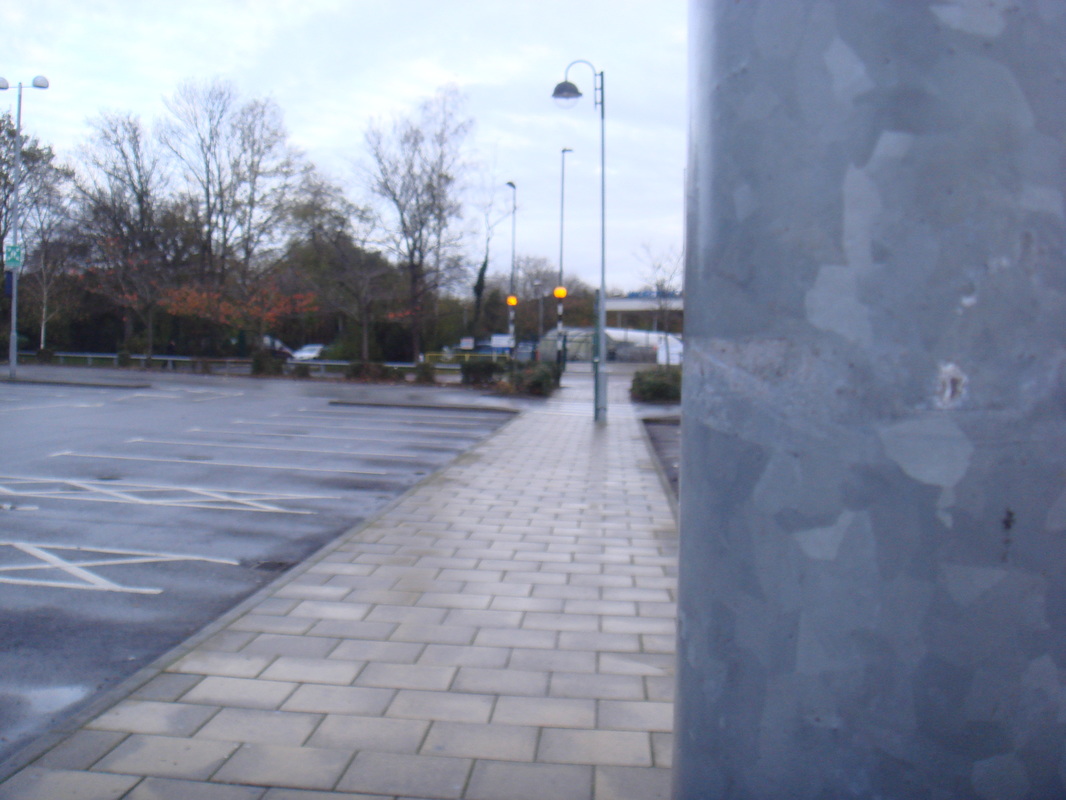
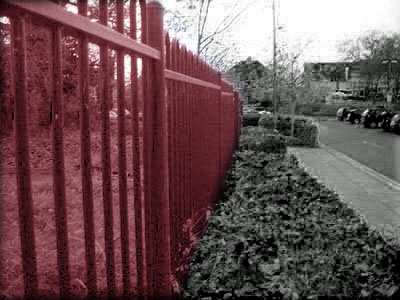
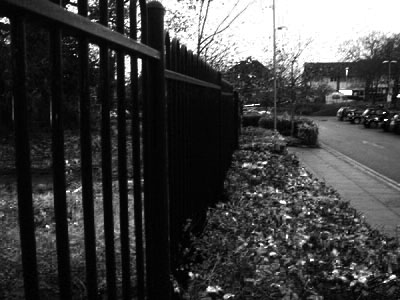
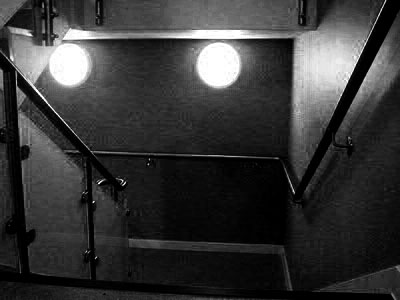
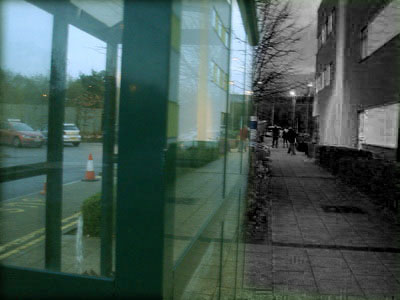
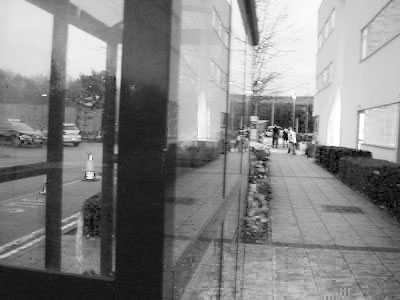
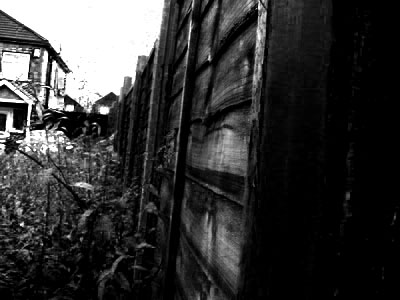
this is lines where you put an object in the middle of a picture and focus on it and blend the background. I took pictures around my area of lines and its pictures of bars.
Edits
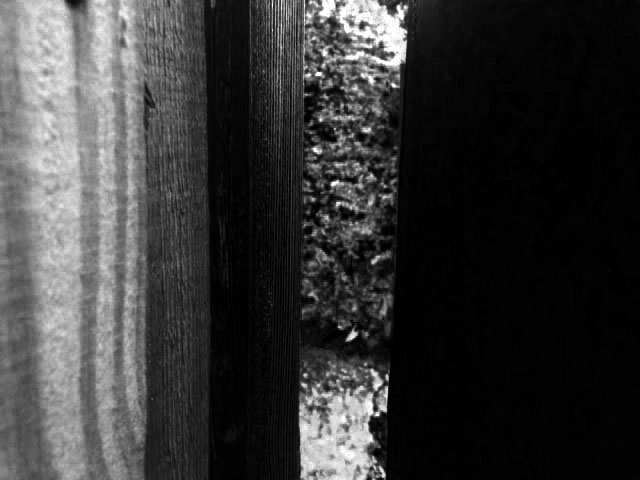
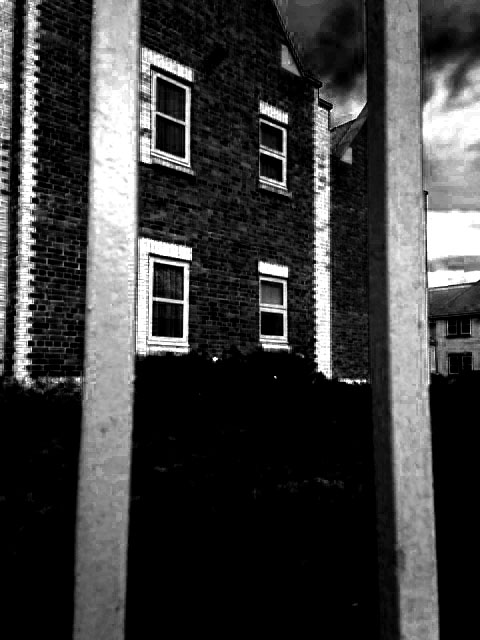
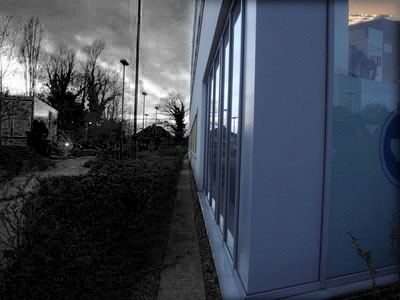
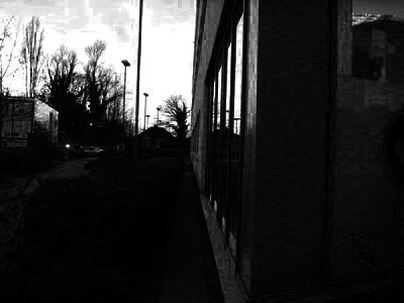
I edited these pictures in black and white and used curves to lighten and darken certain parts of a picture. I didn't just darken and lighten it a bit it was a lot and kept the focused image as it is, I just put bold themes over it.
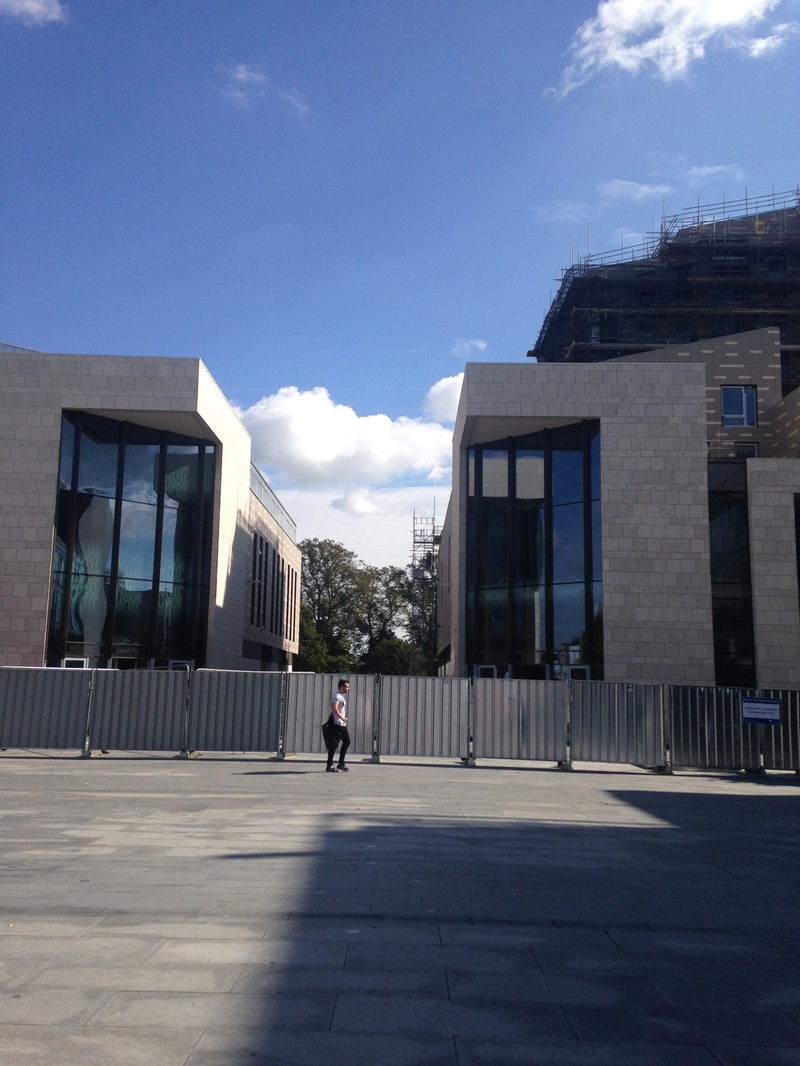
Refining my Ideas Photo Shoot

Edits

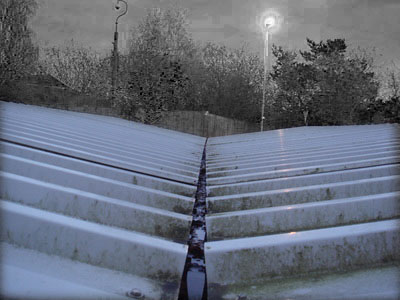
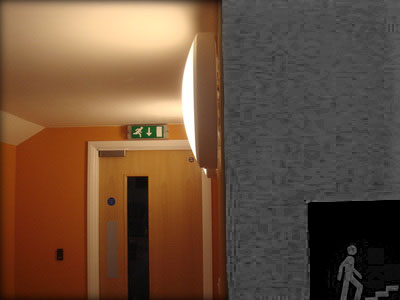
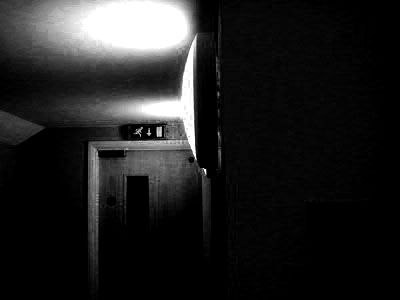
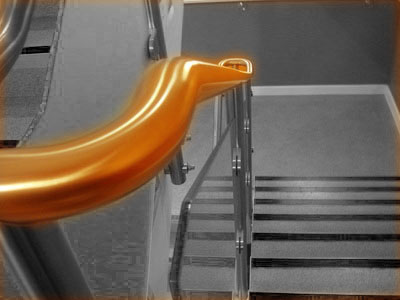
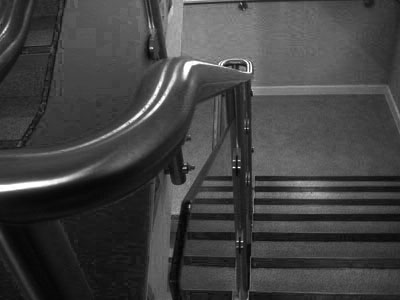
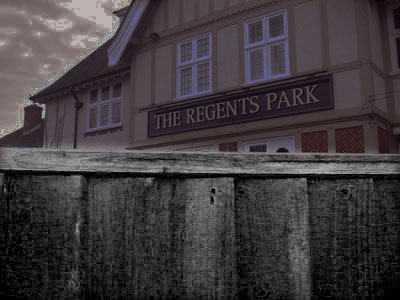
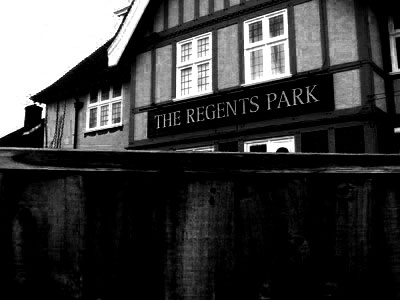
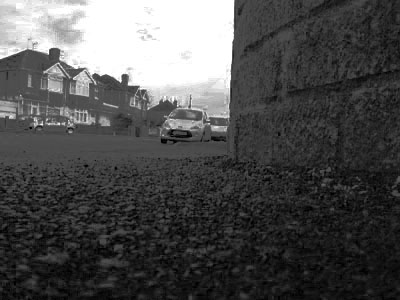
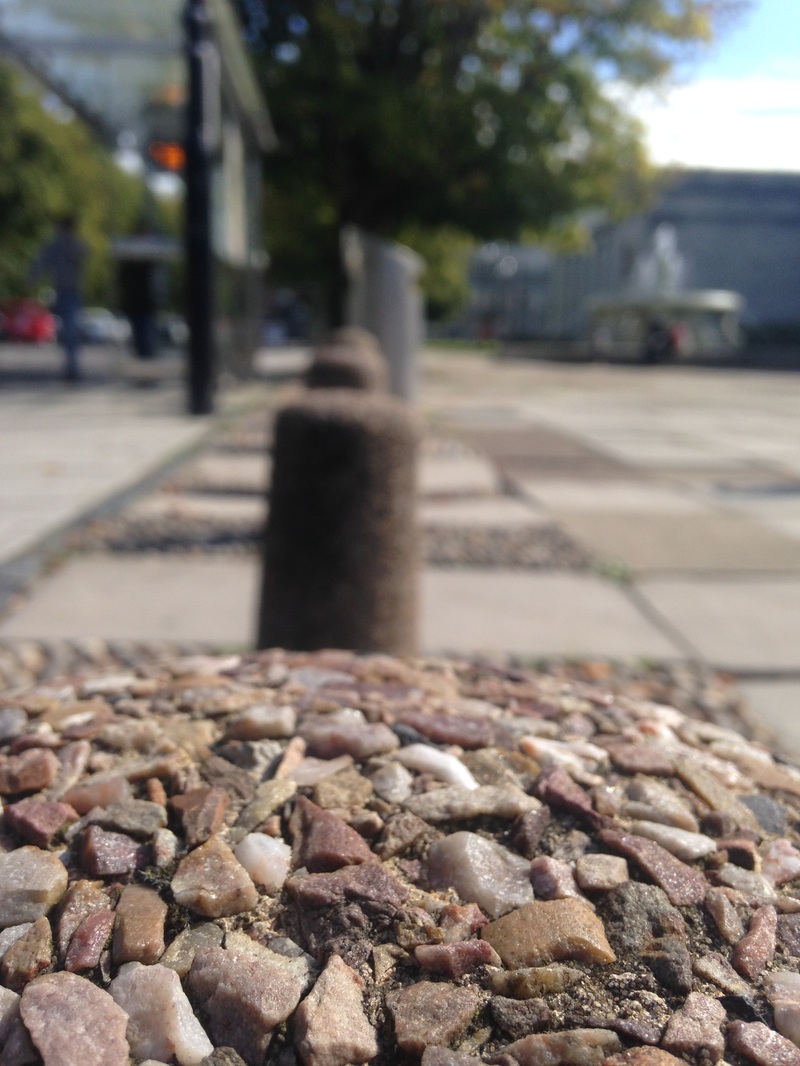
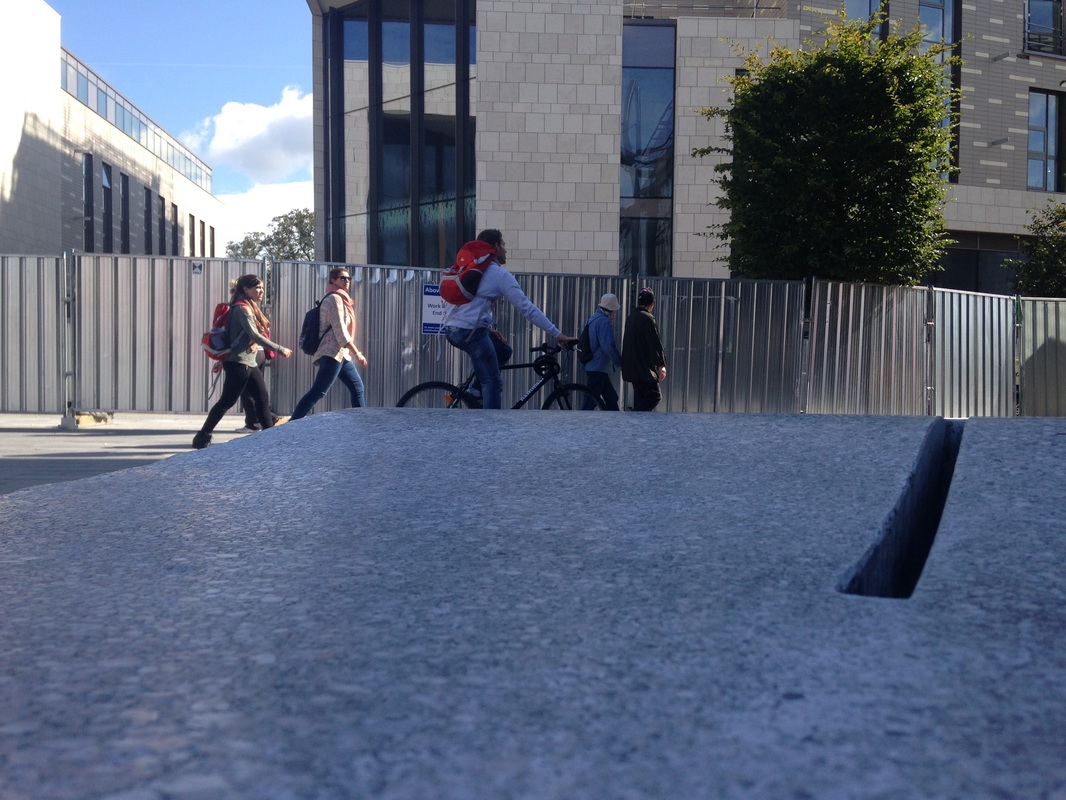
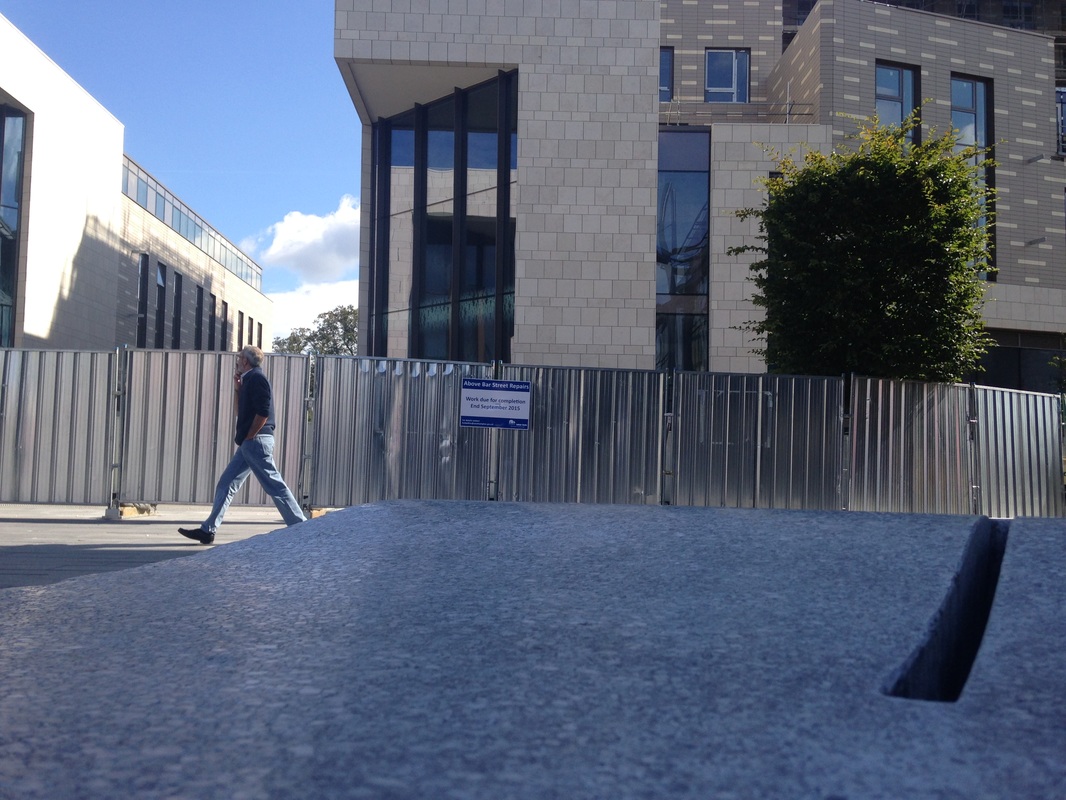
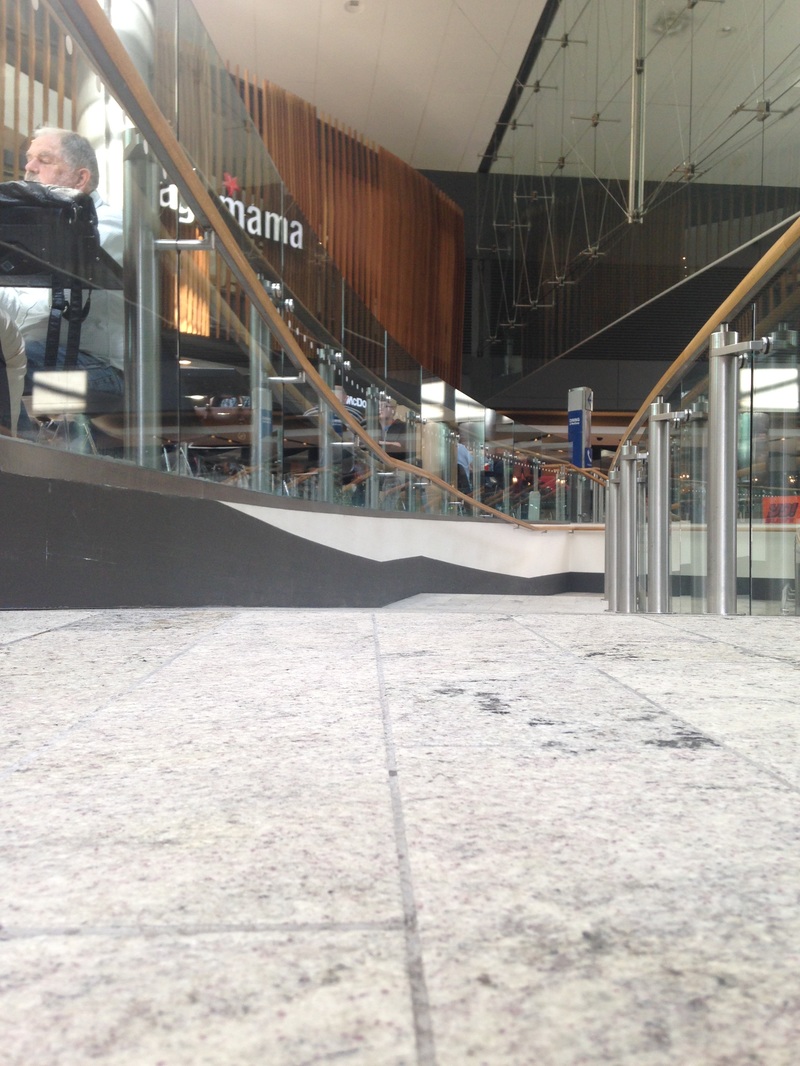
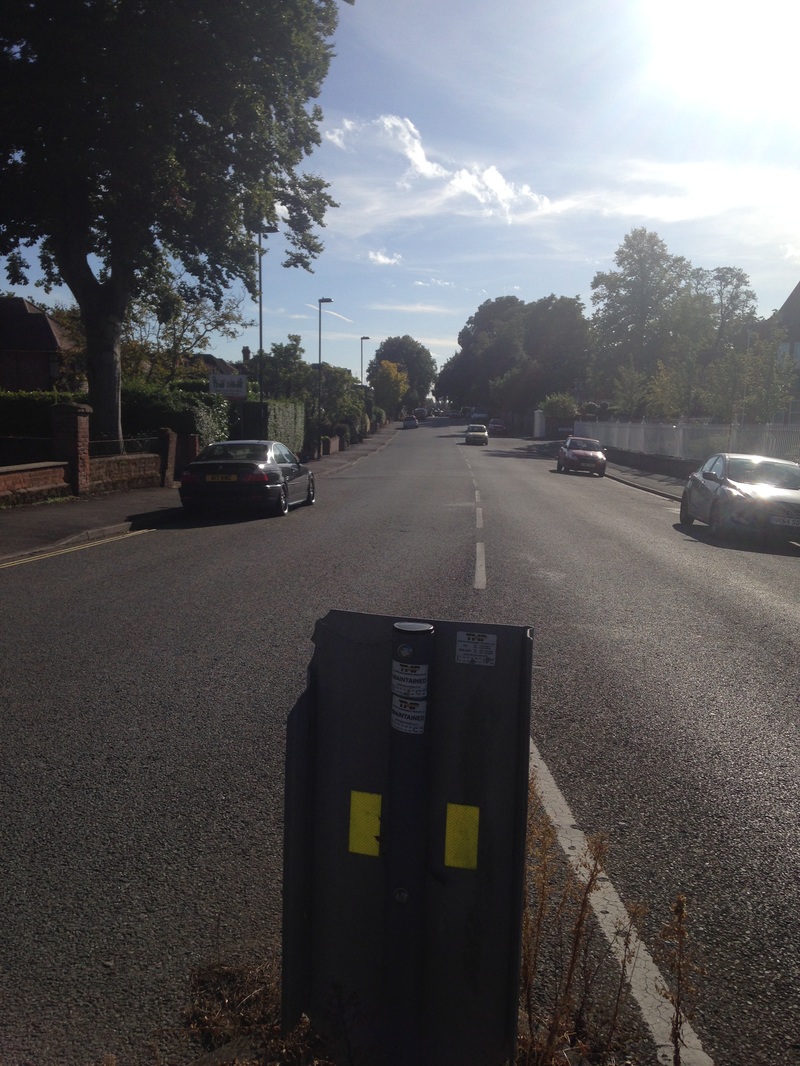
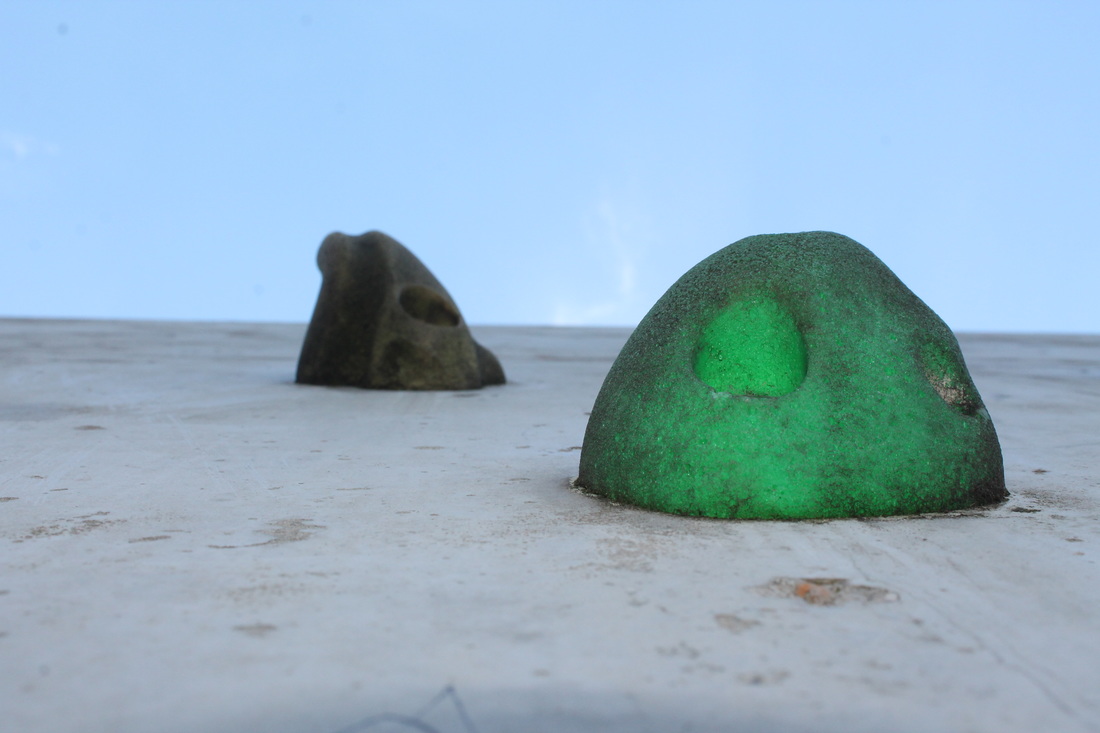
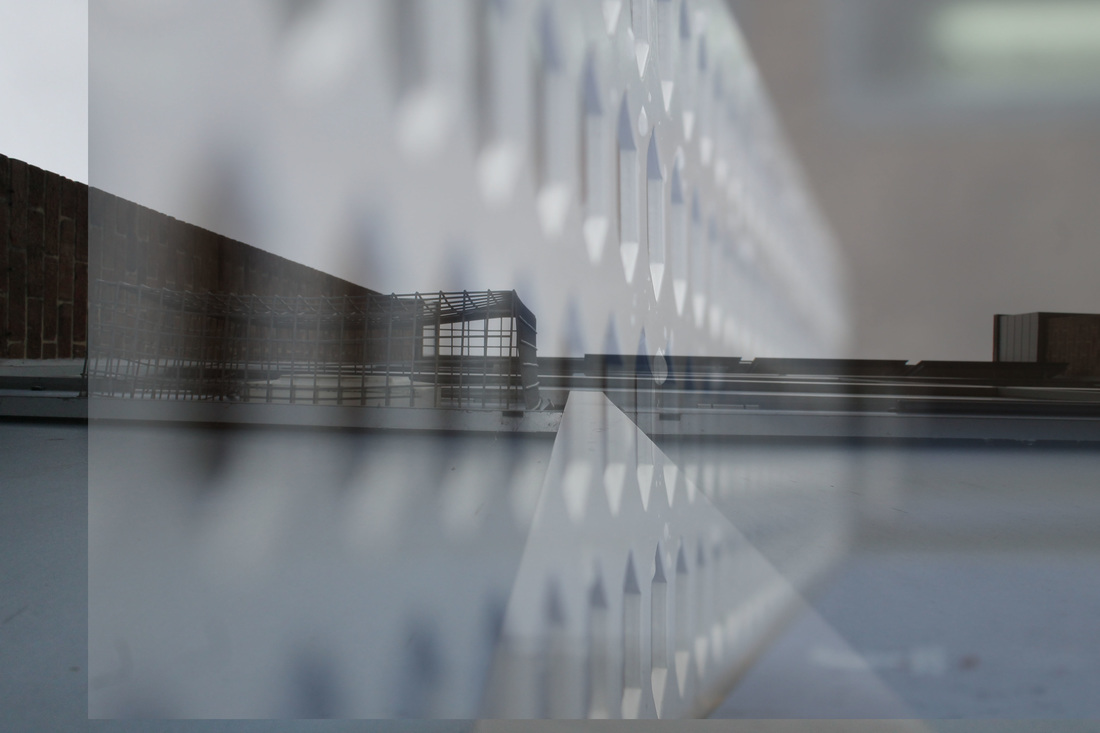
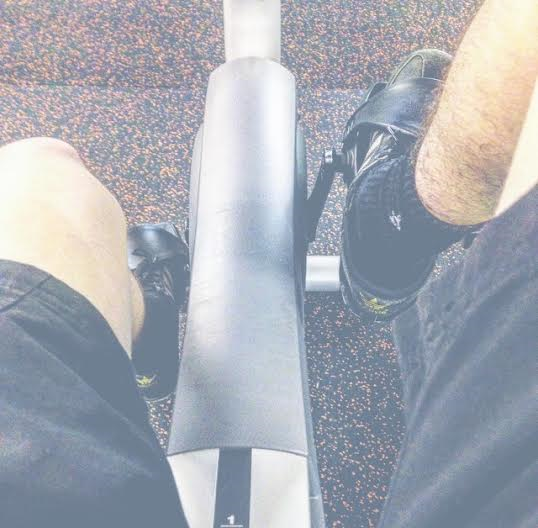
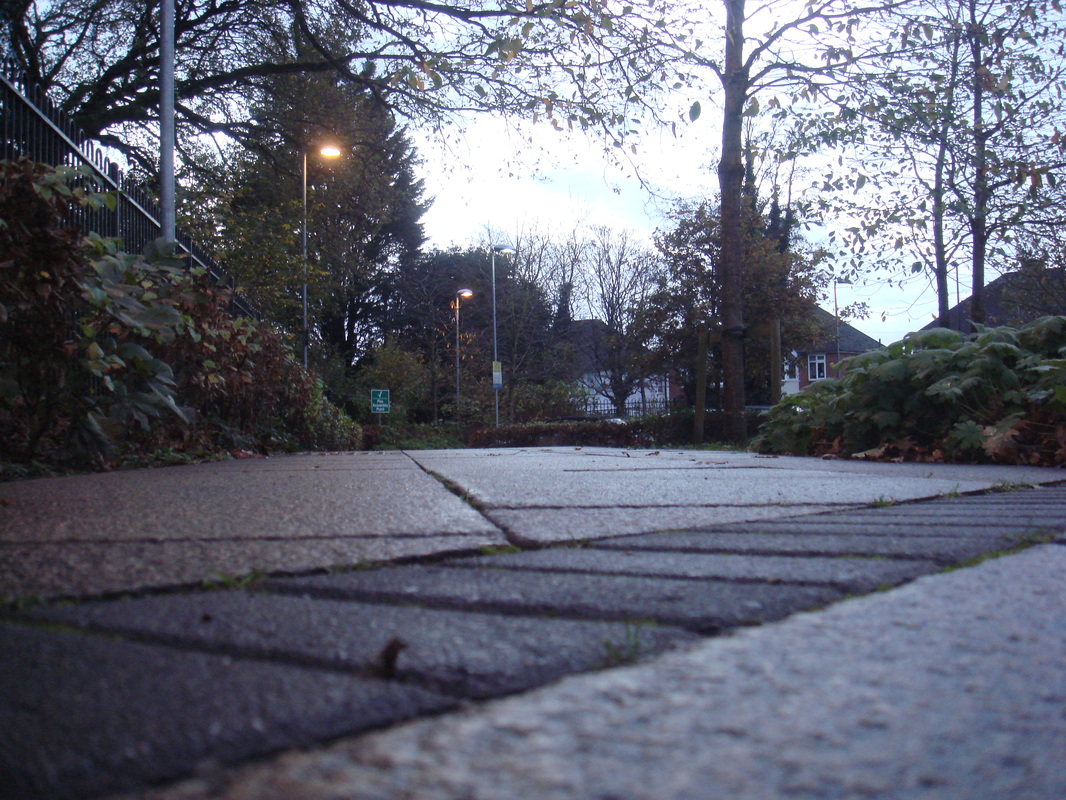
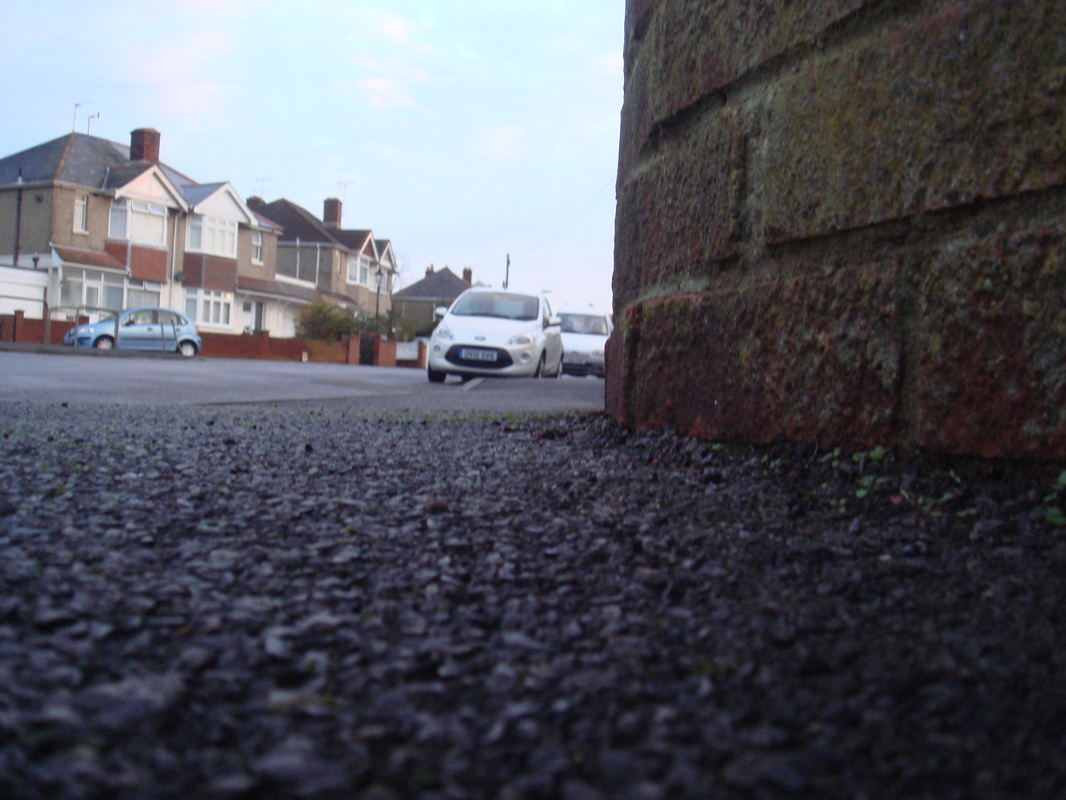
My Favourite Picture Edit
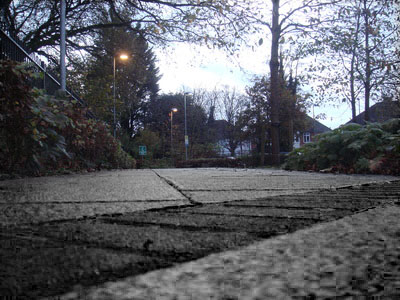
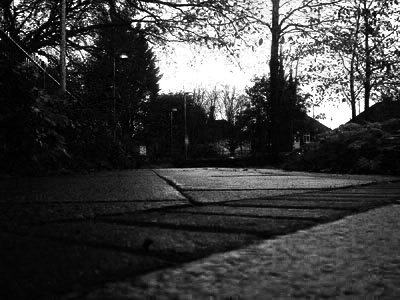
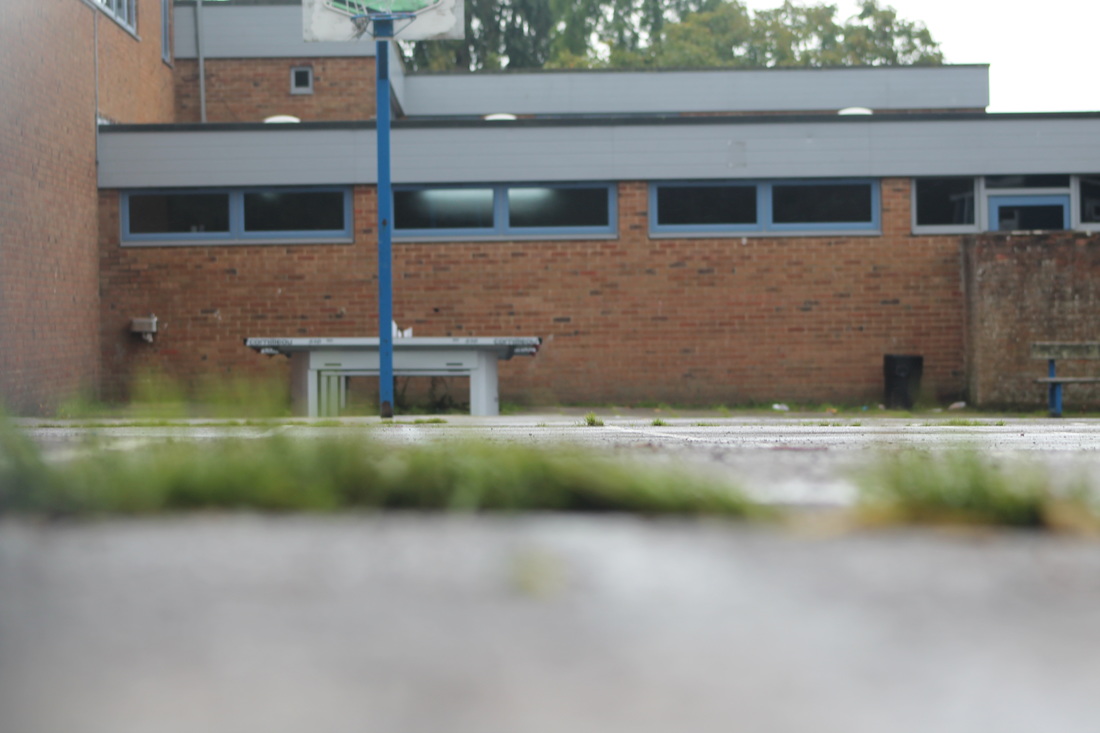
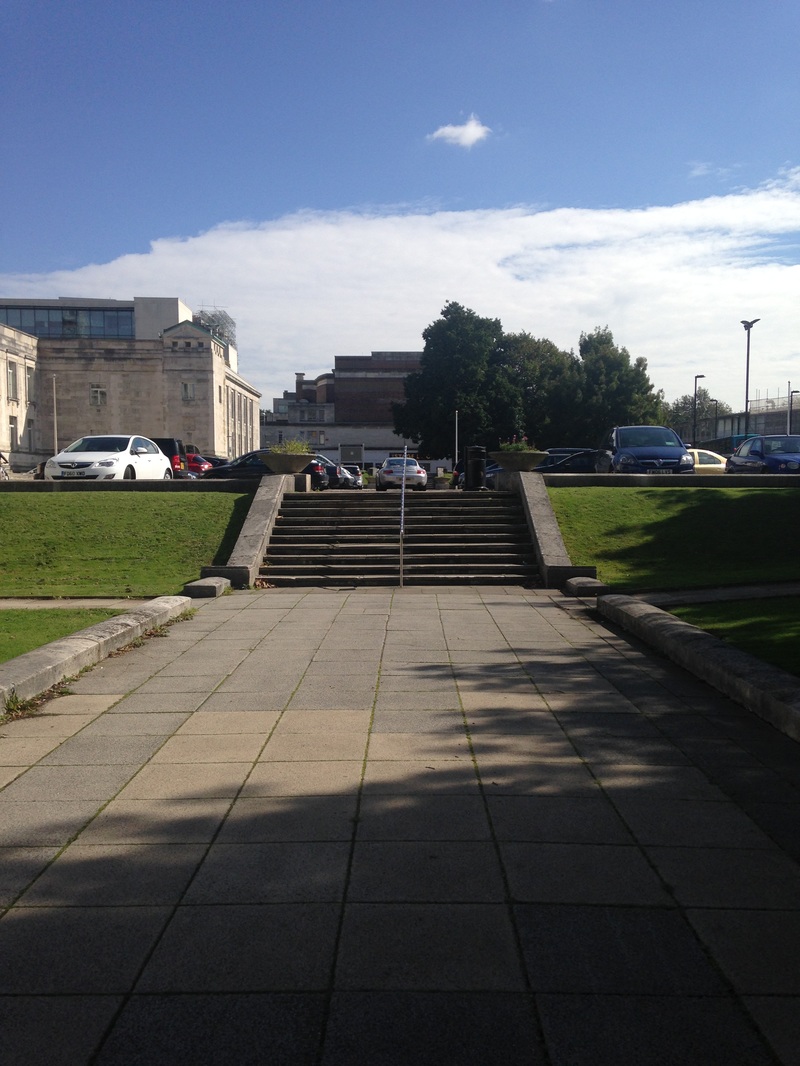
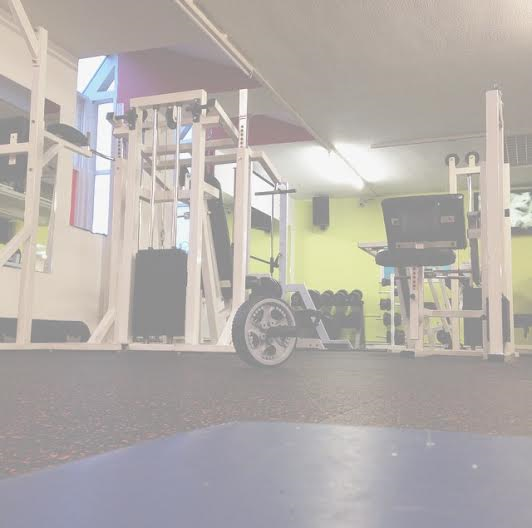
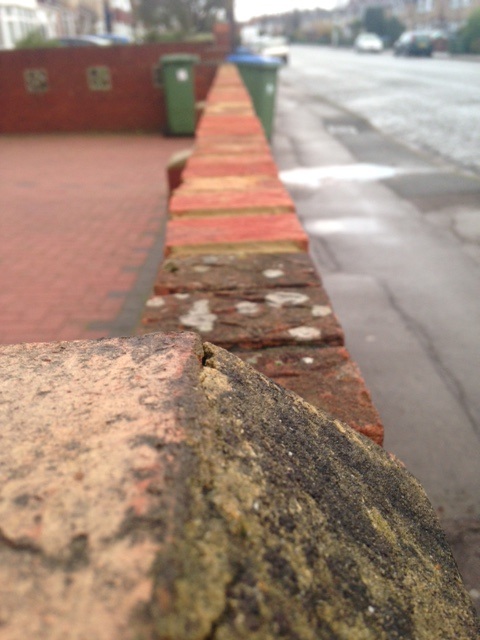
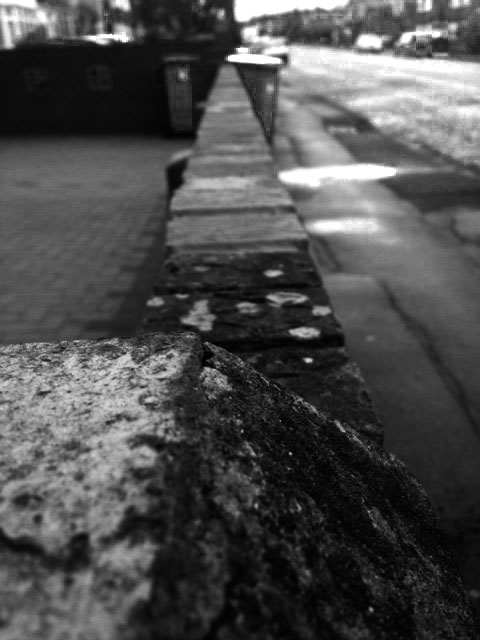
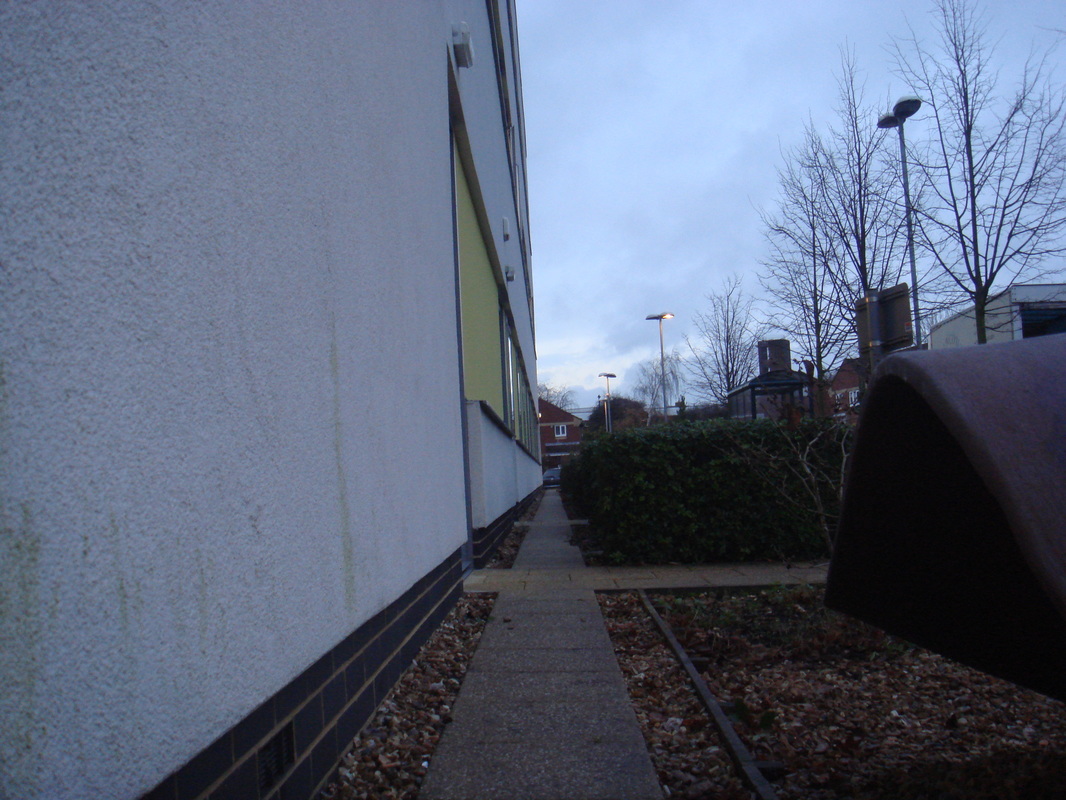
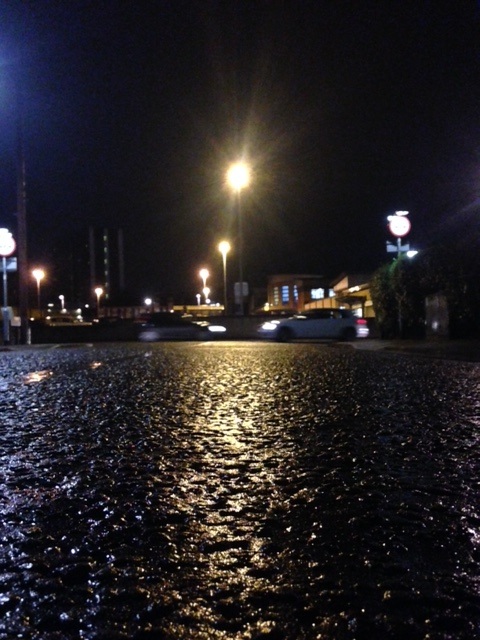
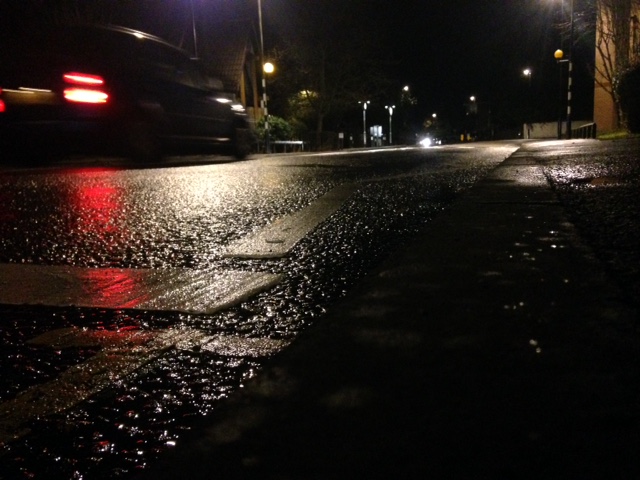
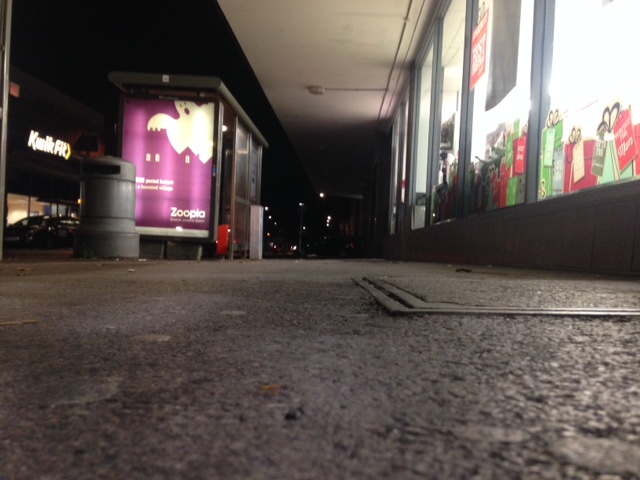
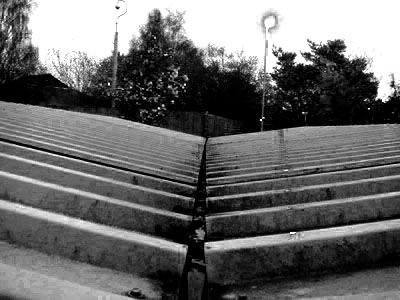
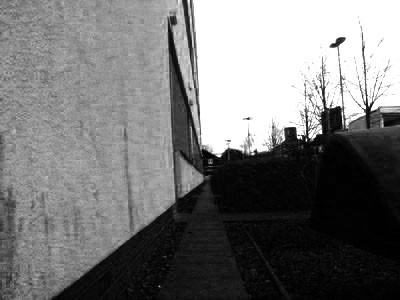
I chose both of these edits as my favourite because I like how the floor is up close to the camera and the background image is in the distance shining out clearly. this shows I have got every part of the image in the photo and I can do more editing to it. How I done this is that I placed my camera on the floor and took a picture to get a good view. how I edited it was very good, for picture 1 I done black and white and colour. to do this you simply use the crop tool to crop a part of a picture out and then you right click on the mouse and go to 'make selection', you then press okay and then go to edit, copy and then edit again but press paste. you then unlock the lock picture by double clicking on it and then go to 'image, adjustments, and then black and white and pick the blend that suits you. the second picture you just use curves and black and white to edit the picture, it also makes the picture darker and lighter.
Ghosting edits Refining my Final Ideas
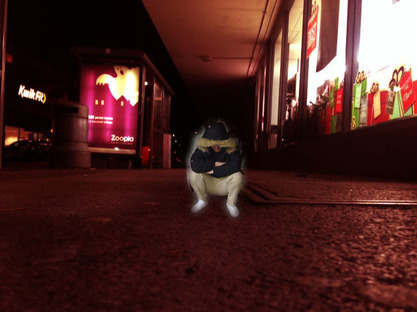
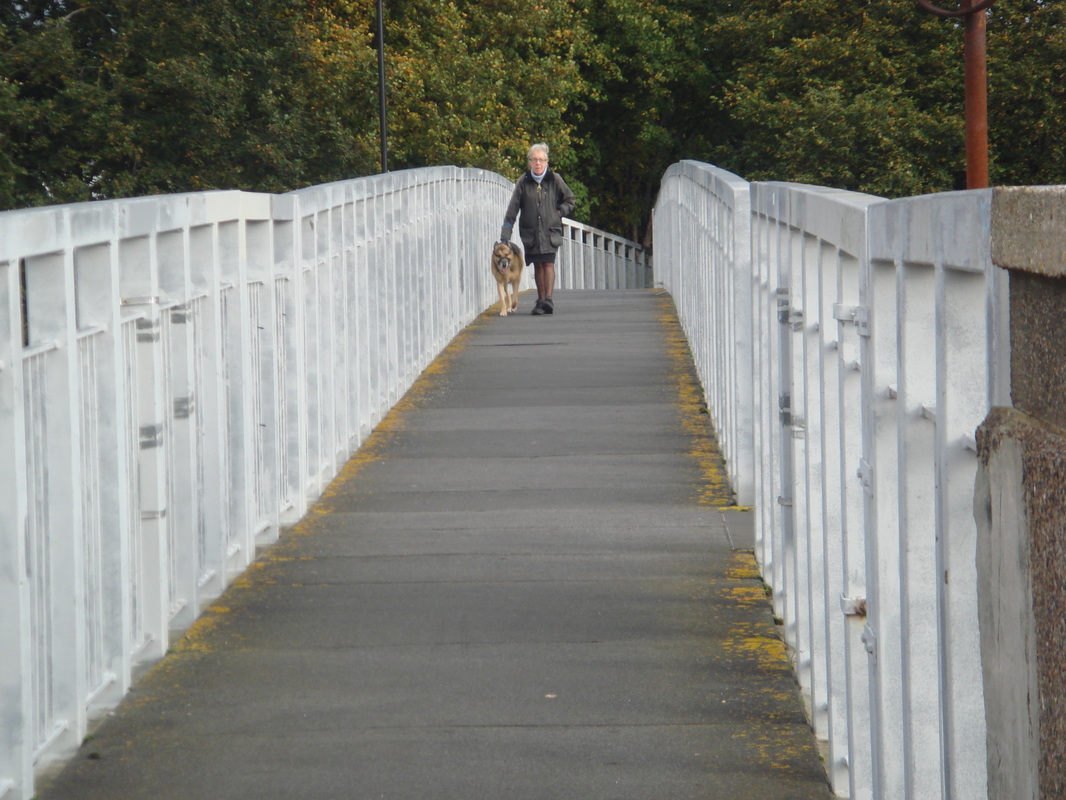
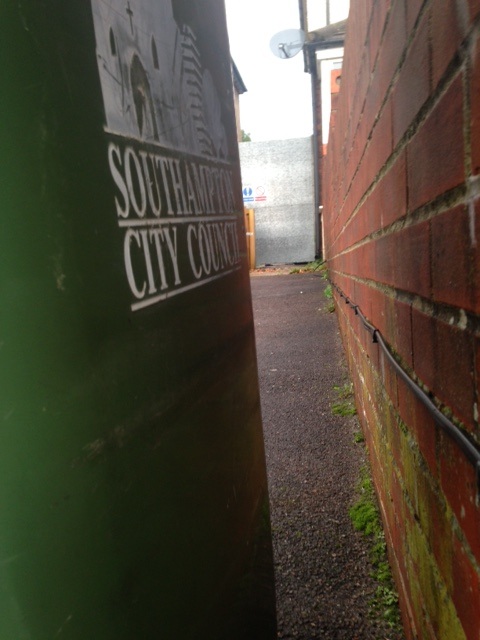
My Final Piece
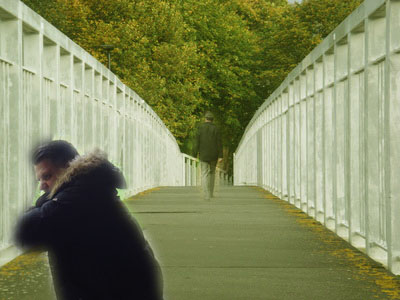
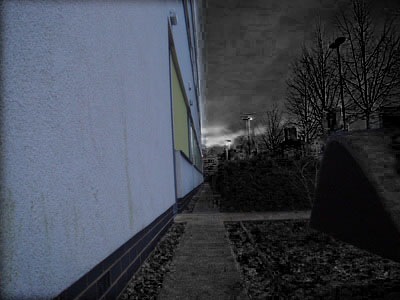
I chose this photo for two reasons, one is because I chose two people to be on a bridge actually looking at something and doing something and secondly I chose my dad to be in because he motivates to be an even bigger person in life and he always said to work out to achieve your dreams and I look up to him and to think that every minute of my life. I chose it because there is also a background colour in the photo and how I done it was that I used Photoshop. I had a picture of a bridge and a picture of my dad leaning against another bridge and a man walking whilst I am capturing photos. first I used the crop tool to crop round the people and then I right clicked and pressed 'make selection' and then I press okay and then went to edit and pressed copy. Then I went to my bridge photo and went to edit and pressed paste. at this point the two people will appear on the bridge photo and you use the free- transform control box and dragged each image to the correct places. finally I pressed colour balance and it comes up with a selection of colours. I chose the green and yellowe effect and it made me feel happy.
